Volkswagen Golf / Golf GTI / Golf Variant. Manual - part 259
Tightening Specifications
2.6
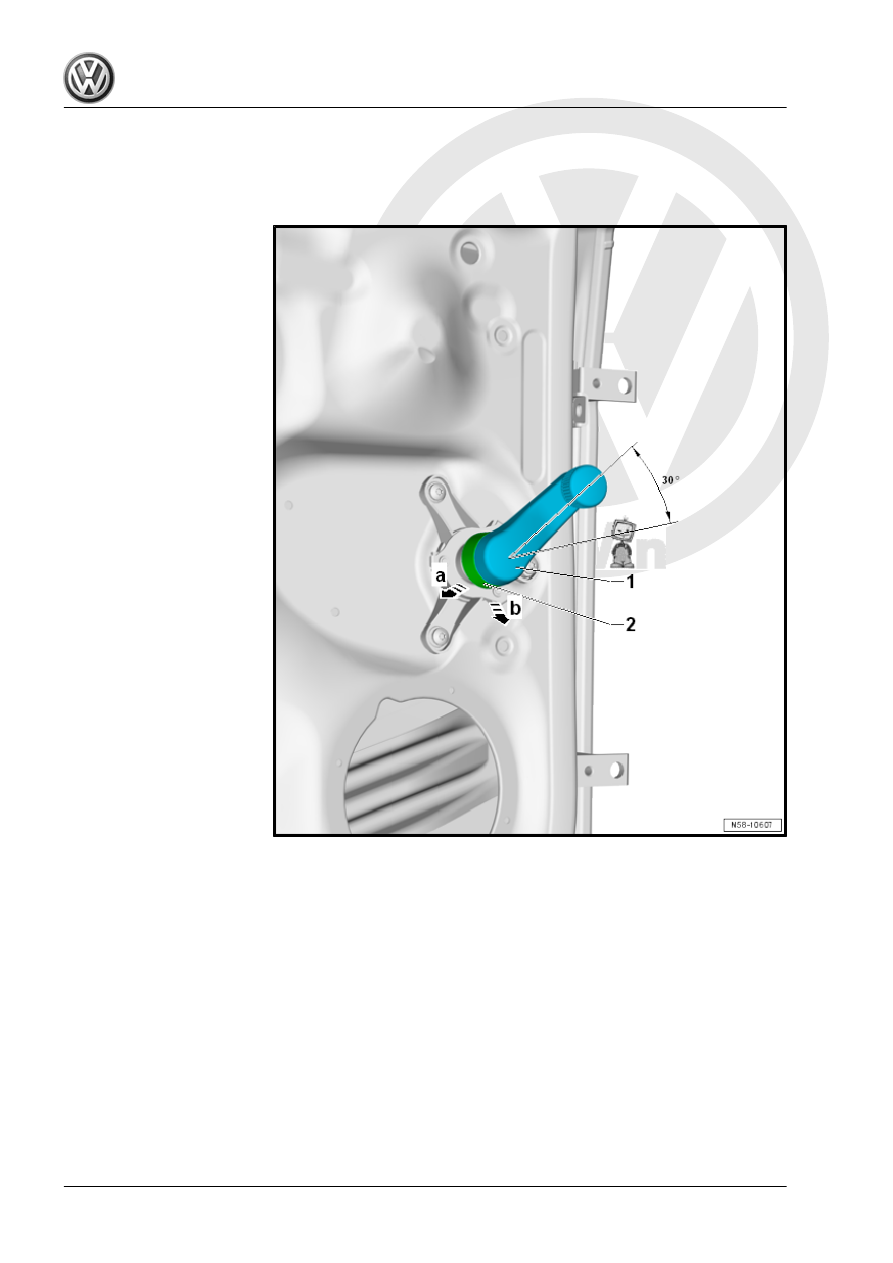
Window Crank, Removing and Installing
Removing
– Push the spacer ring -2- in the direction of -arrow a- and re‐
move the window crank -1- from the mechanism in direction
of -arrow b-.
Installing
– Push in the spacer ring -2- and push the window crank -1- on
the mechanism.
The installation position of the window crank -1- runs vertically
upward when the door window is closed.
Deviation of the window cranks to each other may be maximum
6°.
2.7
Window Crank, Removing and Installing
Special tools and workshop equipment required
♦ Torque Wrench 1783 - 2-10Nm - VAG1783-