Content .. 2160 2161 2162 2163 ..
Toyota Tundra (2015 year). Manual - part 2162
HINT:
Use the same procedures described for the LH side.
9. INSTALL ROOF HEADLINING ASSEMBLY
(a) for Regular Cab:
.
(b) for Double Cab:
.
10. INSTALL BACK DOOR GLASS CHANNEL (for Power Slide Type)
HINT:
Perform these procedures only when replacing the back window glass.
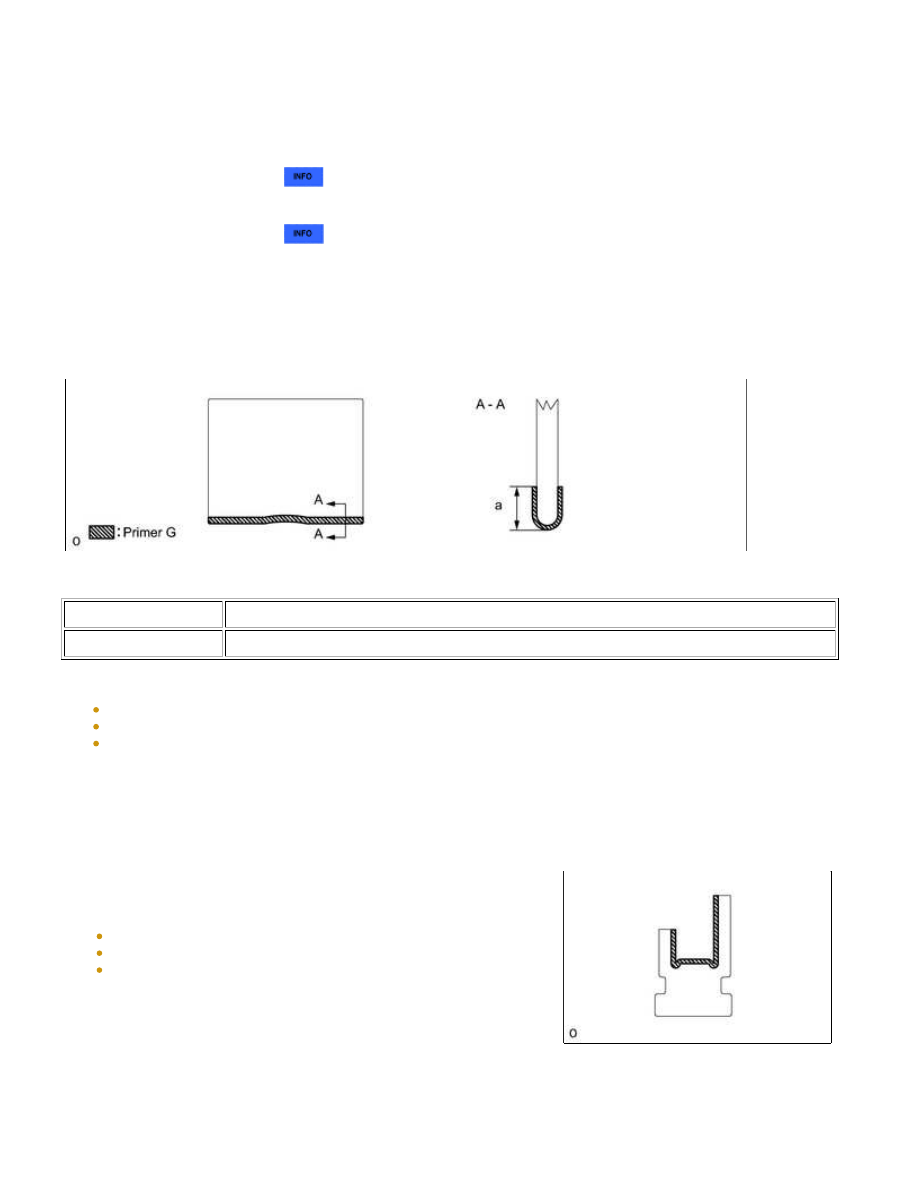
AREA
SPECIFIED CONDITION
a
10.0 mm (0.394 in.)
NOTICE:
Allow the primer to dry for 3 minutes or more.
Throw away any leftover primer.
Do not apply too much primer.
HINT:
If the primer is applied to an area that is not specified, apply non-residue solvent to a clean cloth and wipe
off the excess primer before it dries.
NOTICE:
Allow the primer to dry for 3 minutes or more.
Throw away any leftover primer.
Do not apply too much primer.
HINT:
If the primer is applied to an area that is not specified, apply
non-residue solvent to a clean cloth and wipe off the excess
primer before it dries.
(c) Apply adhesive to the back door glass channel.
WINDSHIELD / WINDOWGLASS: BACK WINDOW GLASS (for Re...