Subaru Legacy IV (2008 year). Manual - part 81
CO(H4SO)-10
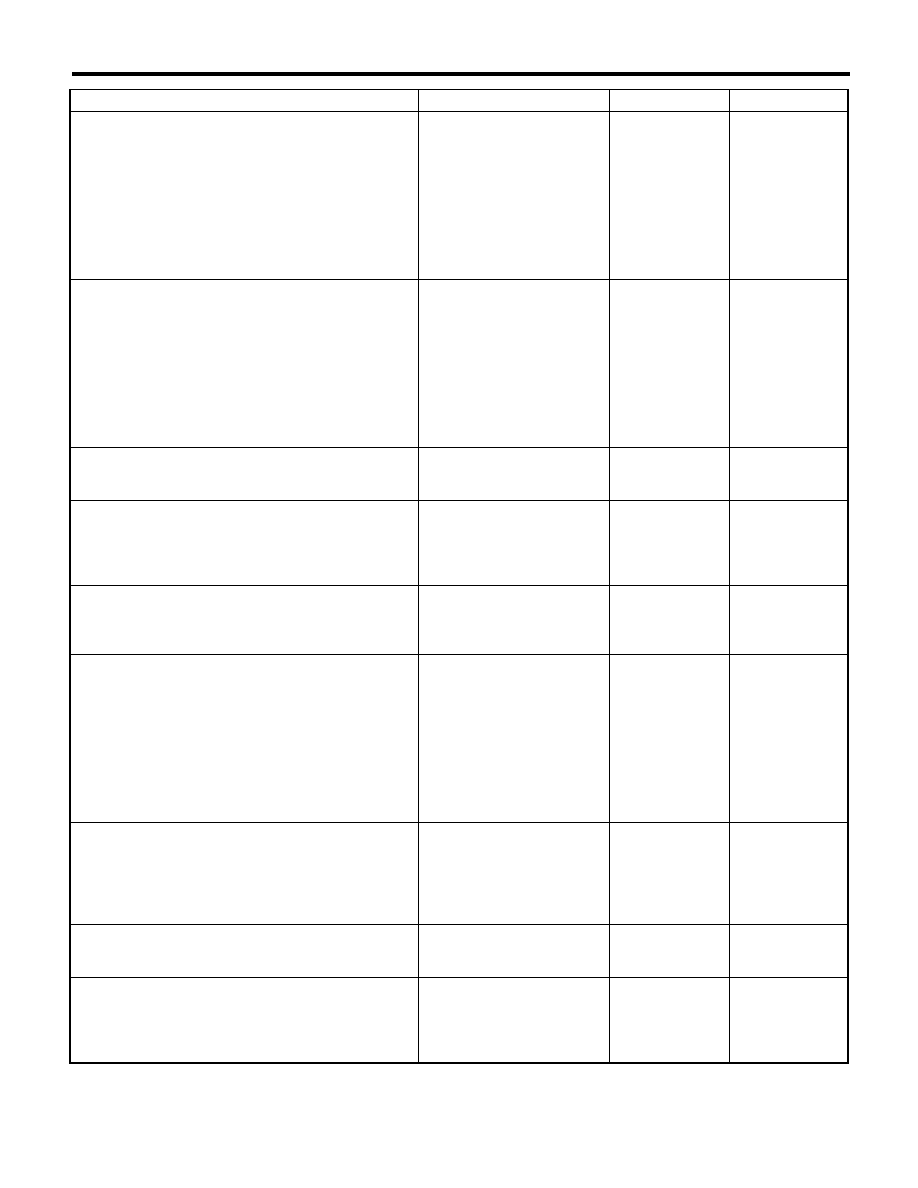
Radiator Fan System
COOLING
9
CHECK HARNESS BETWEEN SUB FAN RE-
LAY TERMINAL AND SUB FAN MOTOR
CONNECTOR.
1) Disconnect the connector from the sub fan
motor.
2) Measure the resistance of harness between
the sub fan relay terminal and sub fan motor
connector.
Connector & terminal
(F16) No. 2 — (F27) No. 11:
Is the resistance less than 1
:? Go to step 10.
Repair the open
circuit of harness
between sub fan
relay terminal and
sub fan motor con-
nector.
10
CHECK HARNESS BETWEEN SUB FAN MO-
TOR CONNECTOR AND MAIN FAN RELAY 2
CONNECTOR.
1) Remove the main fan relay 2 from the relay
holder.
2) Measure the resistance of harness between
sub fan motor connector and main fan relay 2
connector.
Connector & terminal
(F16) No. 1 — (F27) No. 18:
Is the resistance less than 1
:? Go to step 11.
Repair the open
circuit of the har-
ness between sub
fan motor connec-
tor and main fan
relay 2 connector.
11
CHECK POOR CONTACT.
Check poor contact of sub fan motor connector.
Is there poor contact in the sub
fan motor connector?
Repair the poor
contact of sub fan
motor connector.
Go to step 12.
12
CHECK SUB FAN MOTOR.
Connect the battery positive (+) terminal to ter-
minal No. 2 of the sub fan motor, and the ground
(–) terminal to terminal No. 1.
Does the radiator sub fan
rotate?
Go to step 13.
Replace the sub
fan motor. <Ref. to
CO(H4SO)-26,
Radiator Sub Fan
and Fan Motor.>
13
CHECK MAIN FAN RELAY 2.
Measure the resistance of main fan relay 2.
Terminals
No. 21 — No. 18:
Is the resistance less than 1
:? Go to step 14.
Replace the main
fan relay 2. <Ref. to
AC-41, Relay and
Fuse.>
14
CHECK HARNESS BETWEEN MAIN FAN
RELAY 2 AND MAIN FAN MOTOR CONNEC-
TOR.
1) Disconnect the connector from the main fan
motor.
2) Measure the resistance of the harness
between main fan relay 2 terminal and main fan
motor connector.
Connector & terminal
(F17) No. 2 — (F27) No. 21:
Is the resistance less than 1
:? Go to step 15.
Repair the open
circuit of the har-
ness between
main fan relay 2
terminal and main
fan motor connec-
tor.
15
CHECK MAIN FAN MOTOR AND GROUND
CIRCUIT.
Measure the resistance between main fan
motor connector and chassis ground.
Connector & terminal
(F17) No. 1 — Chassis ground:
Is the resistance less than 5
:? Go to step 16.
Repair the open
circuit of the har-
ness between
main fan motor
connector and
chassis ground.
16
CHECK POOR CONTACT.
Check poor contact of main fan motor connec-
tor.
Is there poor contact in the
main fan motor connector?
Repair the poor
contact of main fan
motor connector.
Go to step 17.
17
CHECK MAIN FAN MOTOR.
Connect the battery positive (+) terminal to ter-
minal No. 2 of the main fan motor, and the
ground (–) terminal to terminal No. 1.
Does the radiator main fan
rotate?
Go to step 18.
Replace the main
fan motor. <Ref. to
CO(H4SO)-24,
Radiator Main Fan
and Fan Motor.>
Step
Check
Yes
No