Nissan Titan A60. Manual - part 529
EXT-22
< REMOVAL AND INSTALLATION >
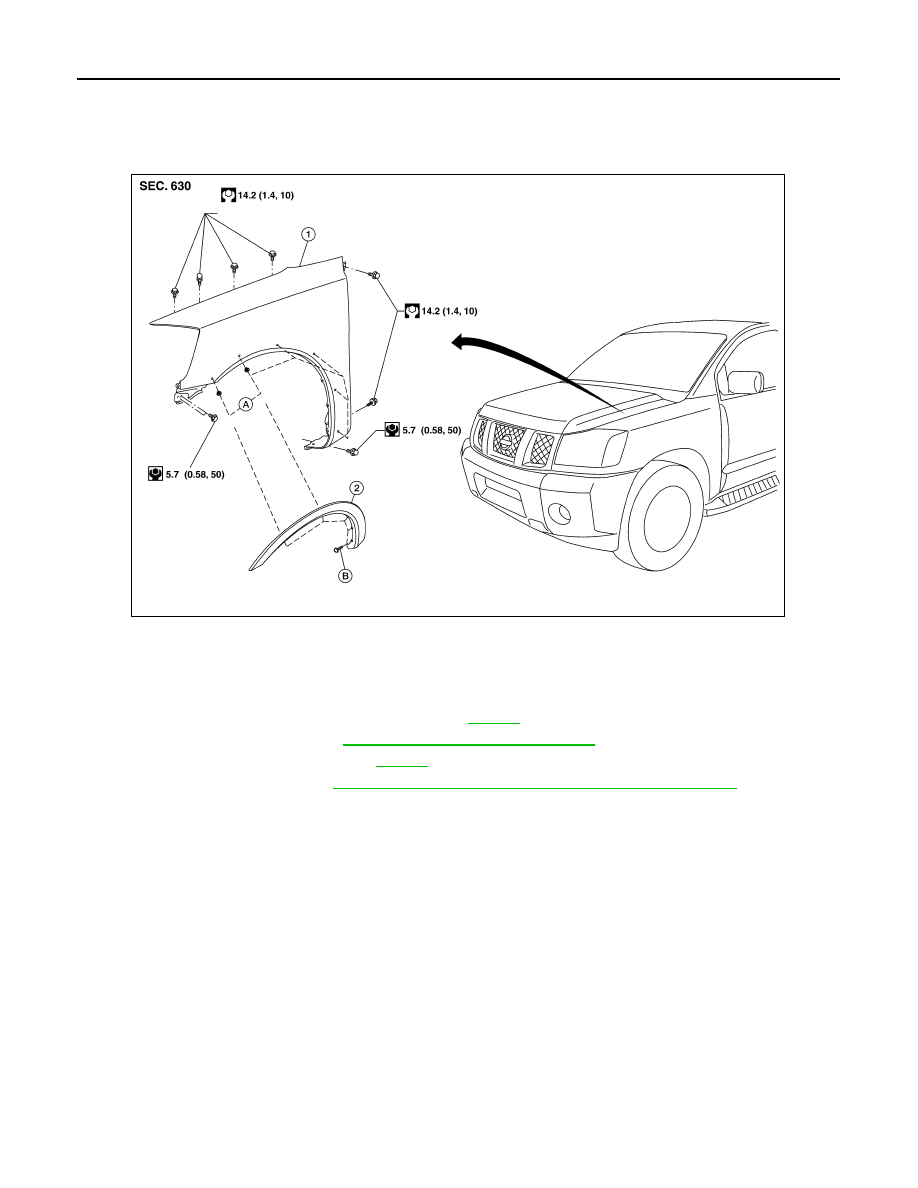
FRONT FENDER
FRONT FENDER
Removal and Installation
INFOID:0000000006163339
REMOVAL
1. Remove the front mudguards (if equipped). Refer to
2. Remove the headlamps. Refer to
EXL-139, "Removal and Installation"
.
3. Remove the fender protector. Refer to
.
4. Remove the hood stay. Refer to
DLK-119, "Removal and Installation of Hood Lock Control"
5. Remove the front fender.
6. Remove the front fender wheel opening finisher screws, then remove the front fender wheel opening fin-
isher, using a suitable tool (if equipped).
INSTALLATION
Installation is in the reverse order of removal.
1.
Front fender LH shown
2.
Front fender wheel opening finisher (if equipped)
A.
Clip C205
B.
Screws
AWKIA0019ZZ