Content .. 1230 1231 1232 1233 ..
Nissan Quest E52. Manual - part 1232
TM-158
< REMOVAL AND INSTALLATION >
[CVT: RE0F09B]
TCM
TCM
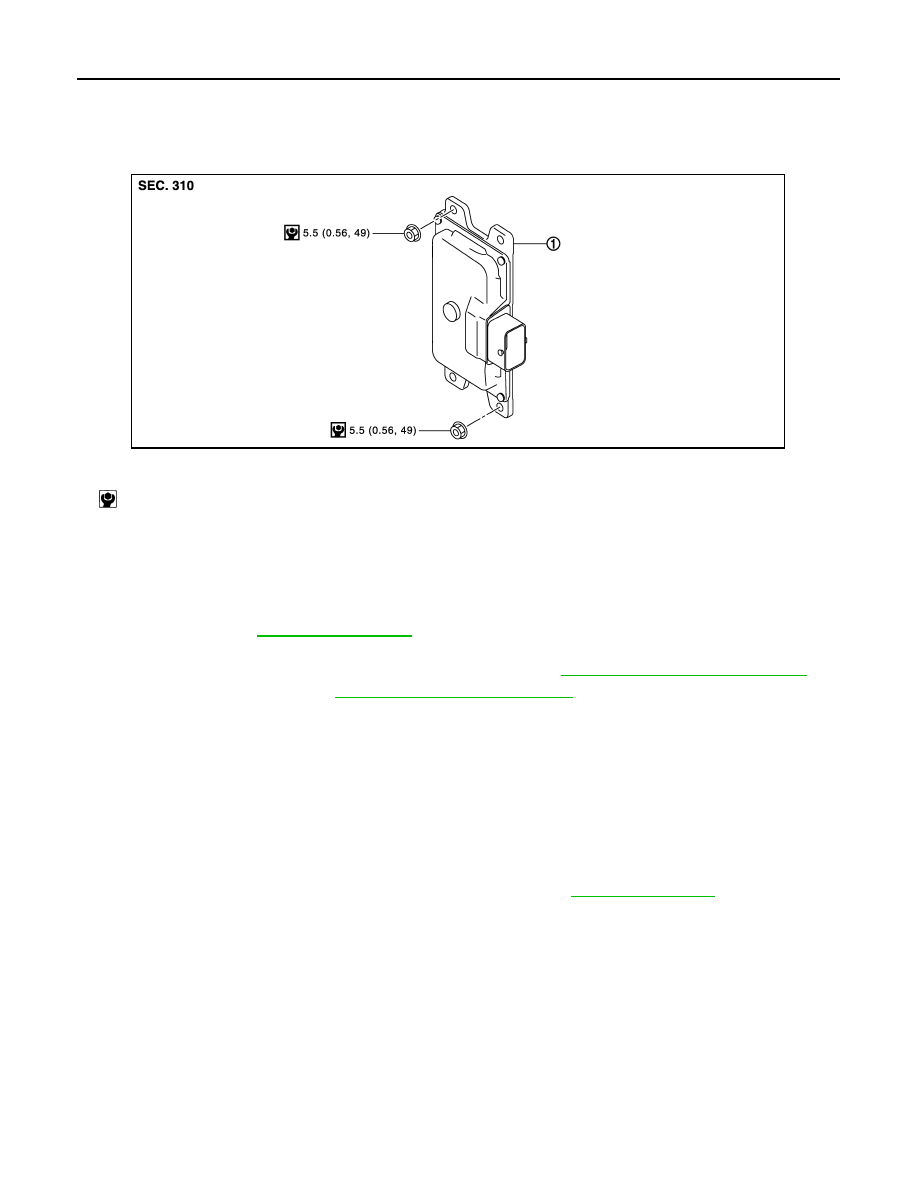
Exploded View
INFOID:0000000009650229
Removal and Installation
INFOID:0000000009650230
REMOVAL
CAUTION:
• When replacing TCM and transaxle assembly as a set, replace transaxle assembly first and then
replace TCM. Refer to
.
• Never impact on TCM when removing or installing TCM.
1.
Disconnect the battery cable from the negative terminal. Refer to
PG-105, "Removal and Installation"
2.
Remove air duct (inlet). Refer to
EM-26, "Removal and Installation"
3.
Move battery harness to a place to keep the harness clear of working area.
4.
Disconnect TCM connector.
5.
Remove TCM.
INSTALLATION
Install in the reverse order of removal.
Adjustment
INFOID:0000000009650231
ADJUSTMENT AFTER INSTALLATION
Perform “ADDITIONAL SERVICE WHEN REPLACING TCM”. Refer to
1.
TCM
: N·m (kg-m, in-lb)
JPDIA0870GB