Nissan Frontier. Manual - part 91


  Index      Nissan     Nissan Frontier (2014 year) - Service and Repair Manual


Search            


Content   ..  89  90  91  92   ..


Nissan Frontier. Manual - part 91


AV-356

< REMOVAL AND INSTALLATION >

[NAVIGATION]

MICROPHONE

MICROPHONE

Removal and Installation

INFOID:0000000009482260

REMOVAL

1. Remove the roof console. Refer to 

INT-25, "Removal and Installation"

.

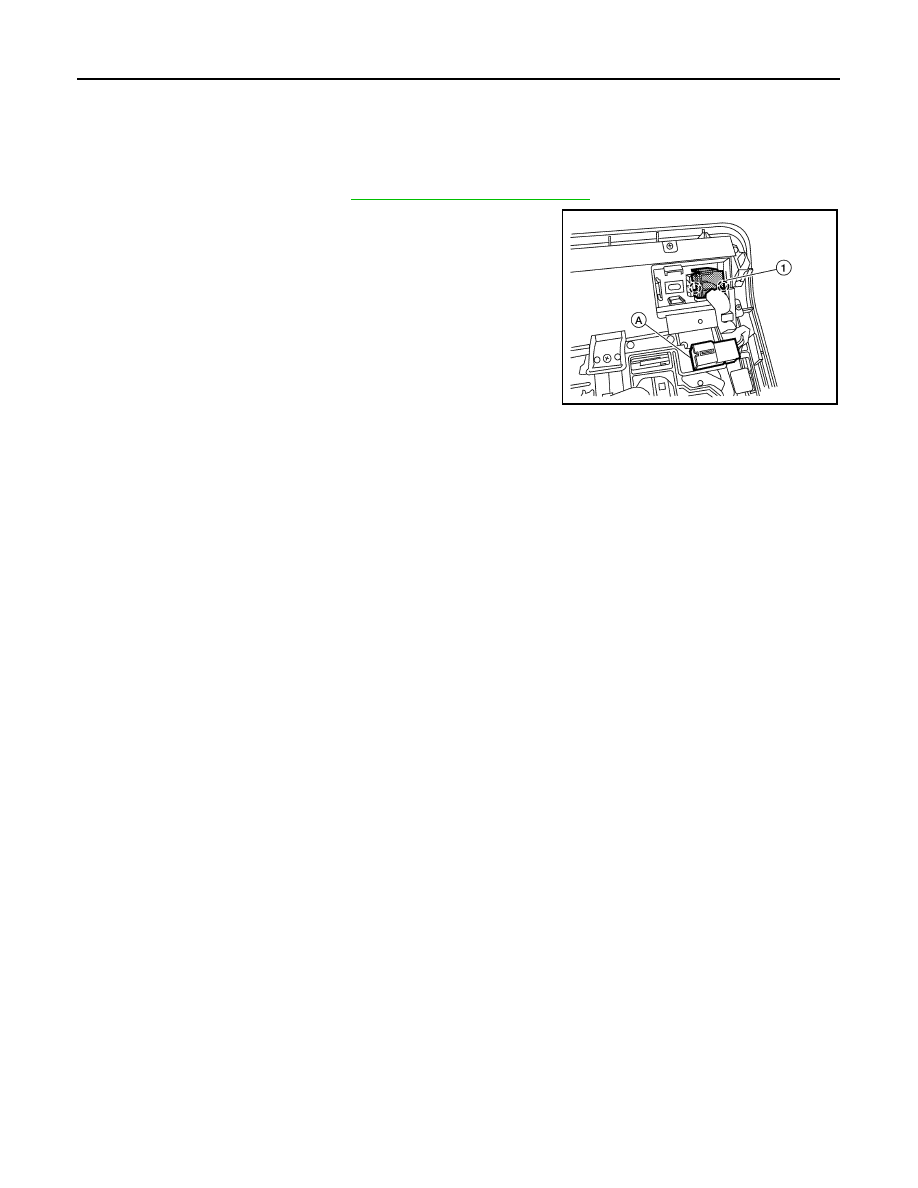
2. Release the pawls that retain the Bluetooth microphone (1) to

the roof console.

3. Disconnect the harness connector (A) from the Bluetooth micro-

phone (1) and remove.

INSTALLATION

Installation is in the reverse order of removal.

ALNIA2931ZZ

AV

AUDIO ANTENNA

AV-357

< REMOVAL AND INSTALLATION >

[NAVIGATION]

C

D

E

F

G

H

I

J

K

L

M

B

A

O

P

AUDIO ANTENNA

Location of Antenna

INFOID:0000000009482261

Removal and Installation

INFOID:0000000009482262

REMOVAL

1. Remove instrument lower panel RH and glove box. Refer to 

IP-24, "Removal and Installation"

.

2. Disconnect audio antenna cable from antenna feeder.

1.

Coaxial antenna feeder

2.

GPS antenna feeder

3.

M100

4.

M99

5.

M38

6.

GPS antenna

7.

Satellite antenna feeder

8.

M67

9.

M500

10. M501

ALNIA1503ZZ

AV-358

< REMOVAL AND INSTALLATION >

[NAVIGATION]

AUDIO ANTENNA

3. Remove antenna rod.
4. Remove rubber seal.
5. Remove cowl top. Refer to 

EXT-24, "Removal and Installation"

.

6. Remove fender protector. Refer to 

EXT-27, "Removal and Instal-

lation of Front Fender Protector"

.

7. Remove antenna base bolts.
8. Remove antenna base and cable.

INSTALLATION

Installation is in the reverse order of removal.

CAUTION:

Always properly tighten the antenna rod during installation or the antenna rod may bend or break dur-

ing vehicle operation.

AEL610C

AV

AUXILIARY INPUT JACK

AV-359

< REMOVAL AND INSTALLATION >

[NAVIGATION]

C

D

E

F

G

H

I

J

K

L

M

B

A

O

P

AUXILIARY INPUT JACK

Removal and Installation

INFOID:0000000009482263

Removal

1. Remove the front center console bin. Refer to 

IP-29, "Exploded View"

.

2. Remove the auxiliary input jack.

Installation

Installation is in the reverse order of removal.


Content   ..  89  90  91  92   ..