Nissan Almera Tino V10. Manual - part 197
AT-512
[ALL]
ASSEMBLY
Assembly (3)
ECS009CY
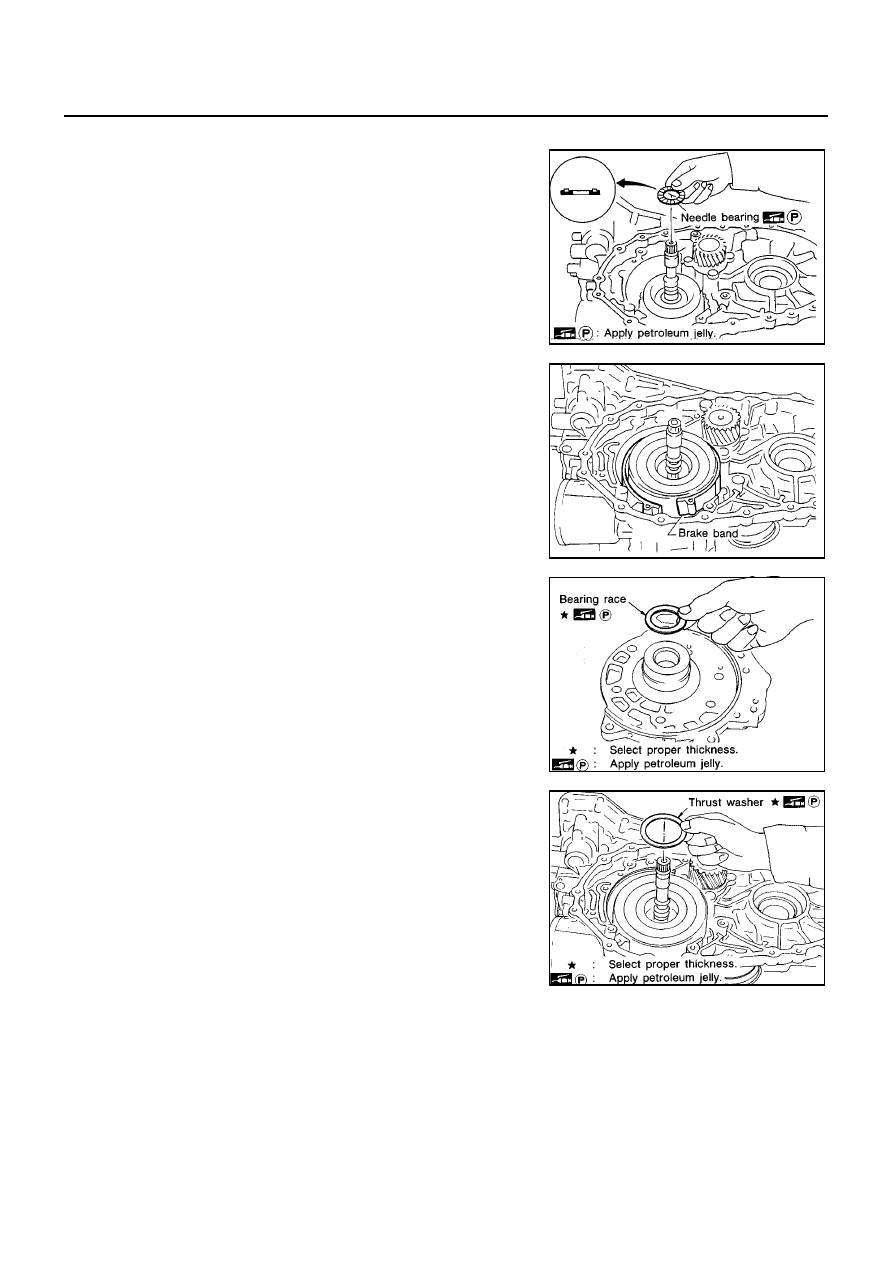
1.
Remove reverse clutch assembly and install needle bearing on
high clutch assembly.
●
Pay attention to direction of needle bearing.
2.
Install reverse clutch assembly
3.
Install anchor end pin and lock nut on transmission case.
4.
Place brake band on outside of reverse clutch drum. Tighten
anchor end pin just enough so that brake band is evenly fitted on
reverse clutch drum.
5.
Place bearing race selected in total end play adjustment step on
oil pump cover.
●
Apply petroleum jelly to bearing race.
6.
Place thrust washer selected in reverse clutch end play step on
reverse clutch drum.
●
Apply petroleum jelly to thrust washer.
SAT387D
SAT038D
SAT389D
SAT390D