Nissan Teana J32. Manual - part 756


  Index      Nissan     Nissan Teana J32 (2008 year) - Service and Repair Manual


Search            


Content   ..  754  755  756  757   ..


Nissan Teana J32. Manual - part 756


INT-44

< ON-VEHICLE REPAIR >

REAR PARCEL SHELF FINISHER

5.

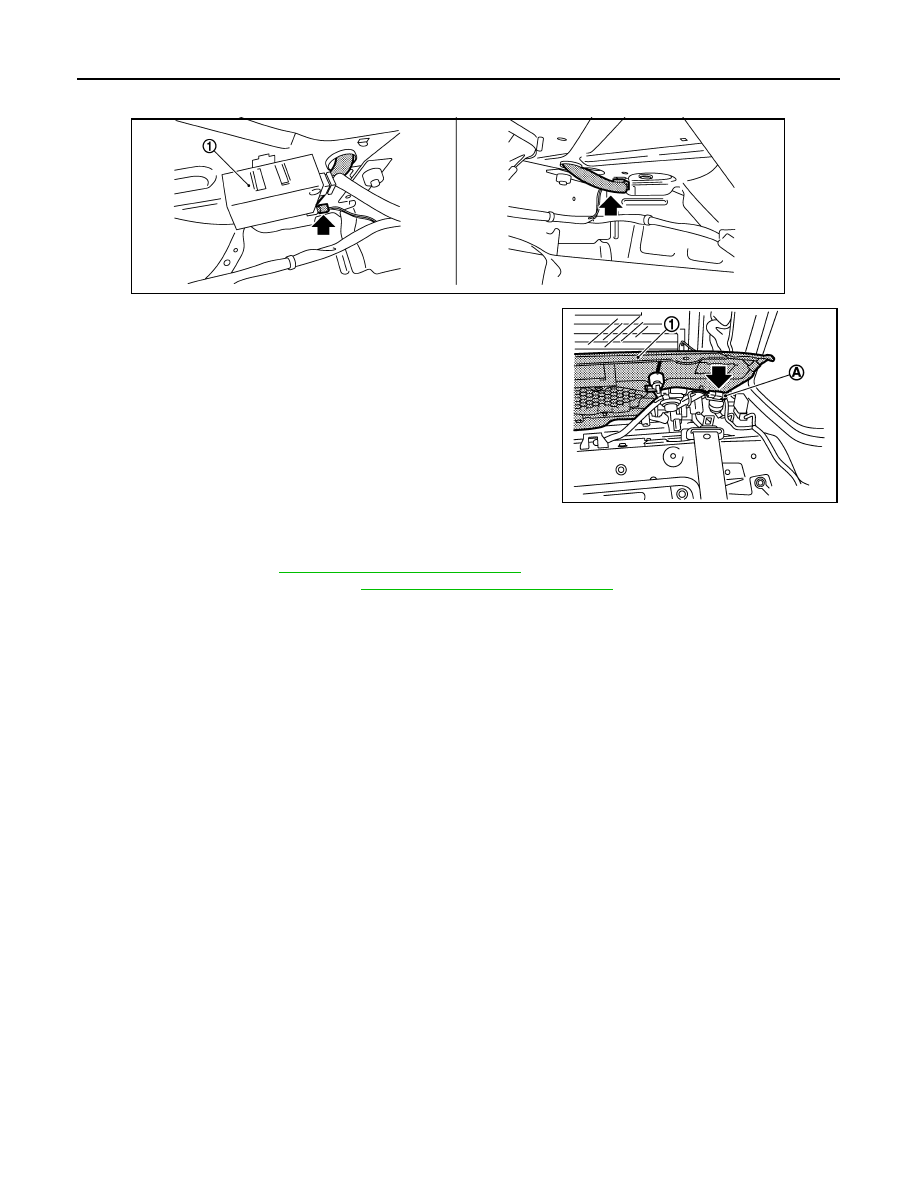
From the trunk room, disconnect left side speaker harness connector located behind sunshade control
unit (1) and the right side rear tweeter harness connector (LH/RH) as shown in the figure below.

6.

Hold from both sides the rear parcel shelf (1), pull it upward to
disengage the clips and then disconnect high-mounted stop
lamp harness connector (A) located on the left side only.

7.

Pull rear parcel shelf finisher to remove it.

8.

Remove the following parts after removing the rear parcel shelf.
• Rear tweeter. Refer to 

AV-654, "Removal and Installation"

.

• High-mounted stop lamp. Refer to 

EXL-193, "Removal and Installation"

.

INSTALLATION

Install in the reverse order of removal.

CAUTION:

Check that clips are securely fitted in panel holes on body when installing, and then press them in.

JMJIA1781ZZ

JMJIA1782ZZ

REAR SUNSHADE

INT-45

< ON-VEHICLE REPAIR >

C

D

E

F

G

H

I

K

L

M

A

B

INT

N

O

P

REAR SUNSHADE

Exploded View

INFOID:0000000003826196

Removal and Installation

INFOID:0000000003826197

REMOVAL

1.

Remove the rear parcel shelf finisher. Refer to 

INT-43, "Removal and Installation"

.

2.

Remove the rear sunshade (1) fixing bolts (LH/RH).

1.

Rear sunshade

2.

Child anchor cover

3.

Rear parcel shelf finisher

: Clip

JMJIA1802ZZ

: Bolt

JMJIA1783ZZ

INT-46

< ON-VEHICLE REPAIR >

REAR SUNSHADE

3.

From the trunk room, disconnect the rear sunshade harness
connector (A) located between the left speaker (1) and the
speaker amp. (2).

4.

Remove the rear sunshade assembly.

INSTALLATION

Install in the reverse order of removal.

CAUTION:

Check that clips are securely fitted in panel holes on body when installing, and then press them in.

: Harness connector

JMJIA1784ZZ

FLOOR TRIM

INT-47

< ON-VEHICLE REPAIR >

C

D

E

F

G

H

I

K

L

M

A

B

INT

N

O

P

FLOOR TRIM

Exploded View

INFOID:0000000003819226

Removal and Installation

INFOID:0000000003819227

REMOVAL

1.

Remove front seat assembly (LH/RH). Refer to 

SE-92, "Removal and Installation"

.

2.

Remove rear seat cushion. Refer to 

SE-99, "Removal and Installation"

.

3.

Disengage clip of floor hook (1) with remover tool (A).

4.

Remove front seat belt per-tensioner anchor bolt (LH/RH). Refer to 

SB-5, "SEAT BELT RETRACTOR :

Removal and Installation"

.

5.

Remove center console assembly. Refer to 

IP-22, "Removal and Installation"

.

1.

Trim clip

2.

Floor trim

3.

Front floor spacer (RH)

4.

Front floor spacer (LH)

5.

Floor hook

6.

Heel mat

7.

Fixing clip

: Vehicle front

JMJIA1803ZZ

: Clip

JMJIA0092GB


Content   ..  754  755  756  757   ..