Nissan Teana J32. Manual - part 641
GW-18
< ON-VEHICLE REPAIR >
FRONT DOOR GLASS
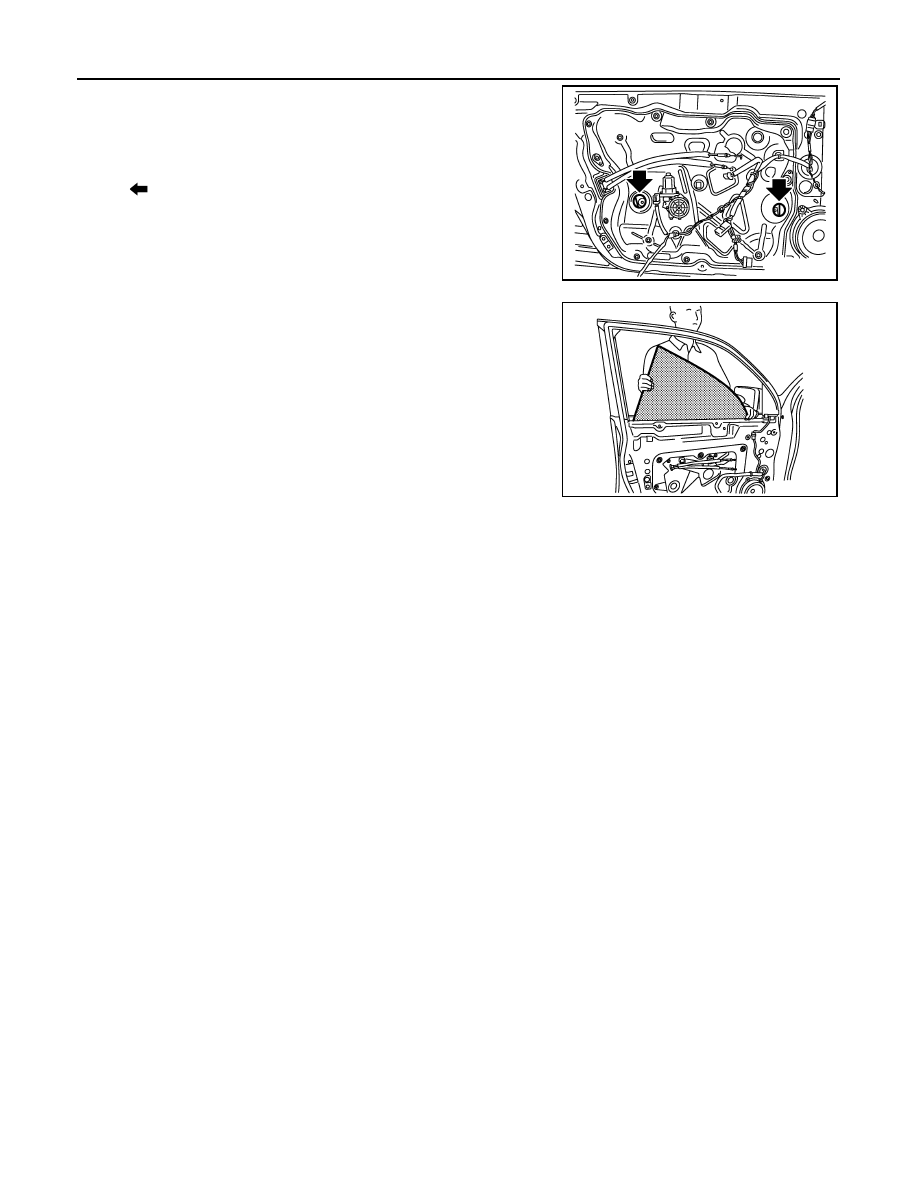
5.
Reconnect the power window main switch and then operate the
power window main switch to raise or lower the door window
until the glass mounting bolts can be seen.
6.
Remove the front door glass mounting bolts.
7.
Hold securely the front door glass and pull it out of the sash to
remove the door glass.
INSTALLATION
Install in the reverse order of removal.
Inspection and Adjustment
INFOID:0000000003825381
SYSTEM INITIALIZATION
Initialize the system if any of the following work has been done.
• Electric power supply to power window switch or motor is interrupted by blown fuse or disconnecting battery
cable, etc.
• Removal and installation of the regulator assembly.
• Removal and installation of the motor from the regulator assembly.
• Removal and installation of the harness connector of the power window switch.
• Removal and installation of the door glass.
• Removal and installation of the front door glass run.
• Disconnection and connection of the minus terminal of the battery.
Initialization
Follow the steps below after installing each component to the vehicle.
1.
Disconnect the minus terminal of battery or disconnect power window switch harness connector tempo-
rarily. Then reconnect after at least 1 minute.
2.
Turn ignition switch ON.
3.
Operate power window switch to open the window full width.
4.
Draw fully the power window switch in the up direction (auto close position) and hold. Continue holding
the switch even when window is completely closed and then release after more than 3 seconds.
5.
Inspect the anti-pinch system function.
NOTE:
Initialization may be cancelled with continuous opening and closing operation. In this case, initialize the
system.
INSPECT THE FUNCTION OF THE ANTI-PINCH SYSTEM
1.
Fully open the door glass.
2.
Place a wooden piece (wooden hammer handle, etc.) at near fully closed position.
3.
Perform fully closing operation with auto up switch.
: Bolt
JMKIA2311ZZ
JMKIA0626ZZ