Nissan Teana J32. Manual - part 606
EXT-34
< ON-VEHICLE REPAIR >
DOOR OUTSIDE MOLDING
REAR DOOR OUTSIDE MOLDING
1.
Remove rear door finisher. Refer to
INT-36, "Removal and Installation"
.
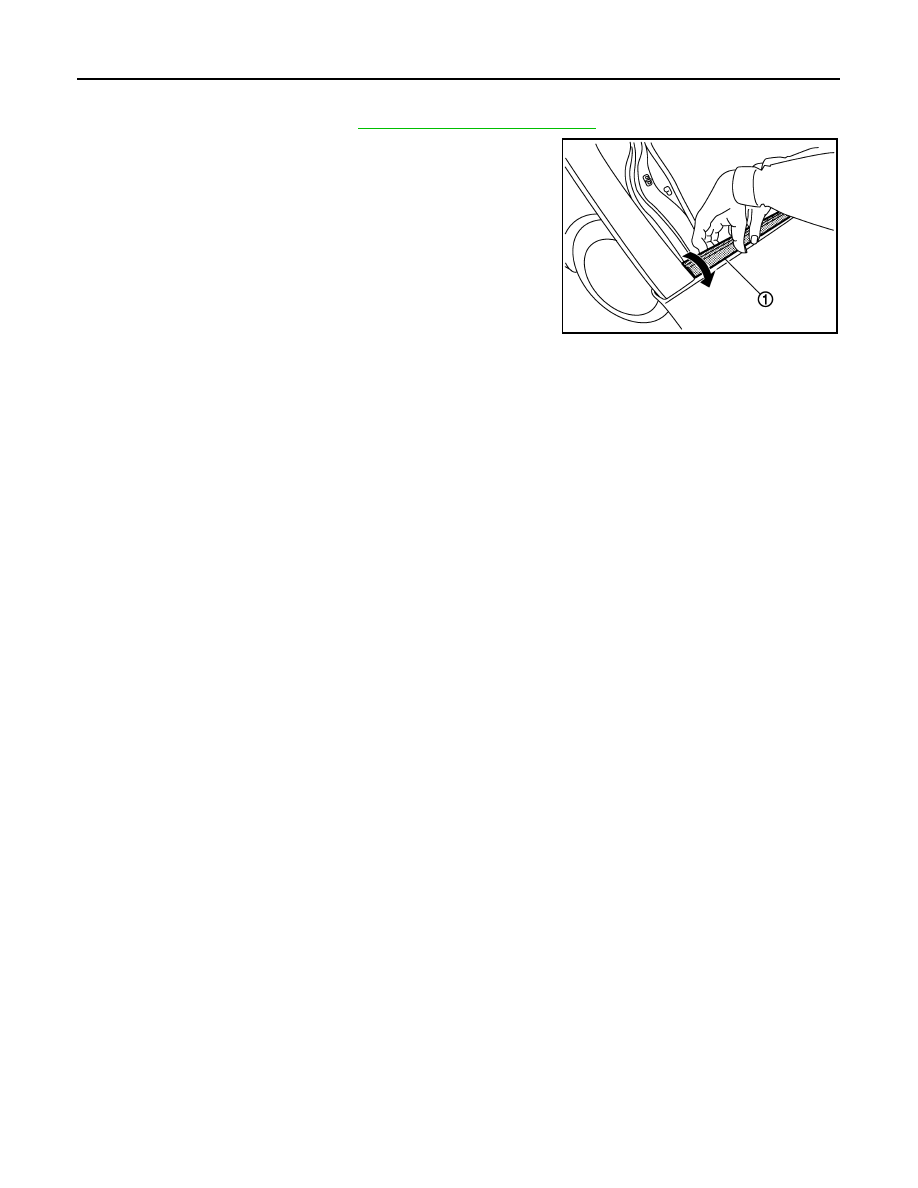
2.
Twists and pull up to upper side, and then remove rear door out-
side molding (1).
INSTALLATION
Install in the reverse order of removal.
JMKIA0117GB