Nissan Teana J32. Manual - part 605
EXT-30
< ON-VEHICLE REPAIR >
ROOF SIDE MOLDING
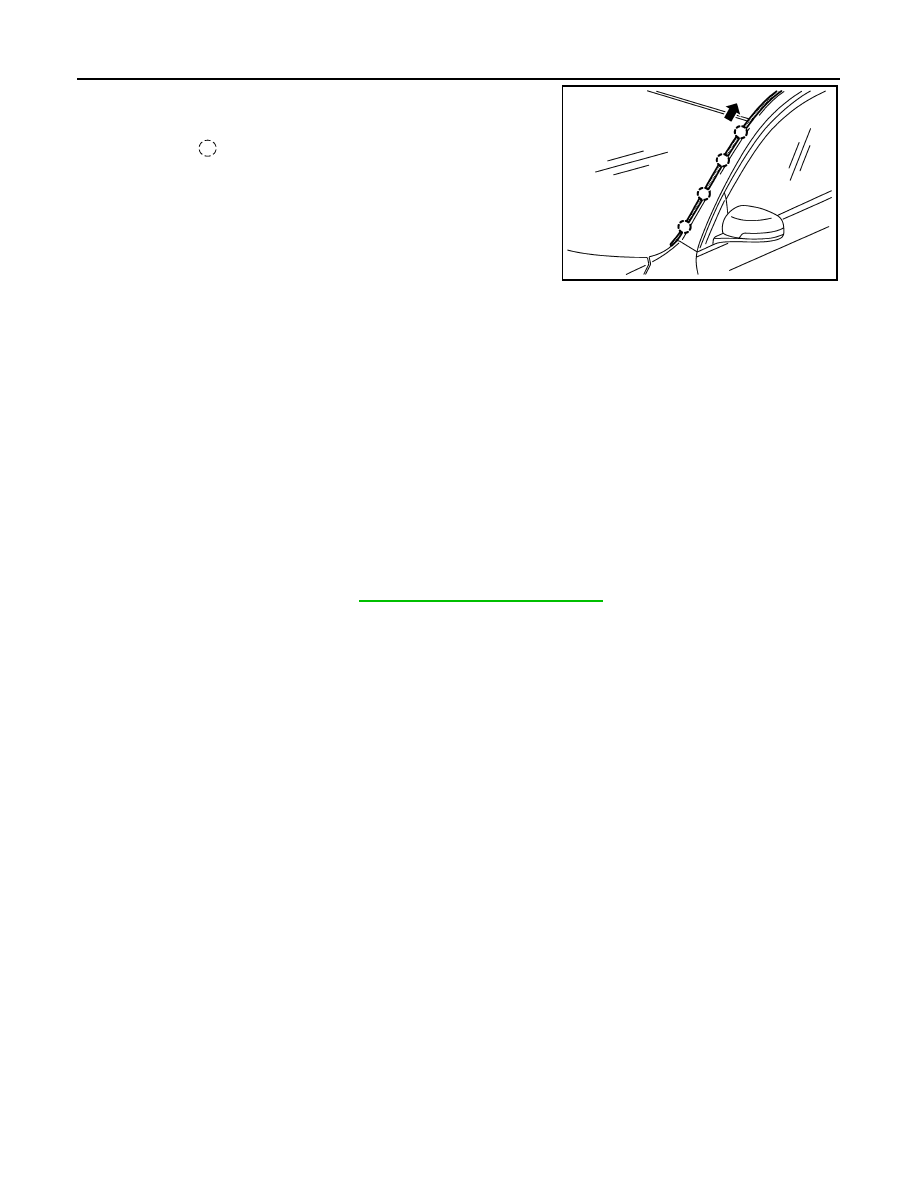
3.
Remove roof side molding after sliding it in the backward direc-
tion of the vehicle.
CAUTION:
The position of roof side molding front end fixing clip moves when removing roof side molding.
Before removing the roof side molding, always check and mark the position of roof side molding front
end fixing clip. Put matching marks between the molding and the roof side molding and the body side
panel or the glass.
INSTALLATION
1.
Reinstall roof side molding front end fixing clips that is removed from the vehicle to the matching mark
position of the molding.
2.
Align the matching mark positions of the molding and vehicle, and install from the front end to rear end.
CAUTION:
When installing, visually check the roof side molding and the clips, then replace them with new parts if
they are damaged.
REMOVAL AND INSTALLATION OF ROOF SIDE MOLDING CLIP
Removal
1.
Remove roof side molding. Refer to
EXT-29, "Removal and Installation"
.
2.
Heat adhesive tape interface using a dryer, and then peel roof side molding clips (body side) using long-
nose pliers.
CAUTION:
Be careful not to damage the body.
Installation
1.
Clean tape removed surface with a shop cloth soaked in white gasoline or IPA.
2.
Use two-part epoxy adhesive.
3.
Apply adhesive evenly to clip tape surface.
4.
Position applied parts to the proper location, and then sufficiently press-fit until the adhesive protrudes to
tape side.
5.
Tape clips after press fit, and temporarily hold it for specified time based on the following.
6.
Install from roof side molding rear end to front end in this order after temporarily holding.
CAUTION:
• Use double-faced adhesive tape after hardening for clips.
• Securely insert molding rear end cap onto roof rear end cutout (installation standard).
: Clip
JMKIA2616ZZ
Adhesive
: 3M-weld DP–100 or equivalent
Thickness
: Approximately 0.5 mm (0.020 in)
Press-fit limit
: 19.6 N
×
2 seconds
5 to 10
°
C (41 to 50
°
F)
: 1 hour or more
11 to 23
°
C (52 to 73
°
F)
: 30 minutes or more
24
°
C or more (75
°
F or more)
: 15 minutes or more