содержание .. 1190 1191 1192 1193 ..
Nissan Murano Z51. Manual - part 1192
RF-108
< REMOVAL AND INSTALLATION >
FRONT SUNROOF GLASS
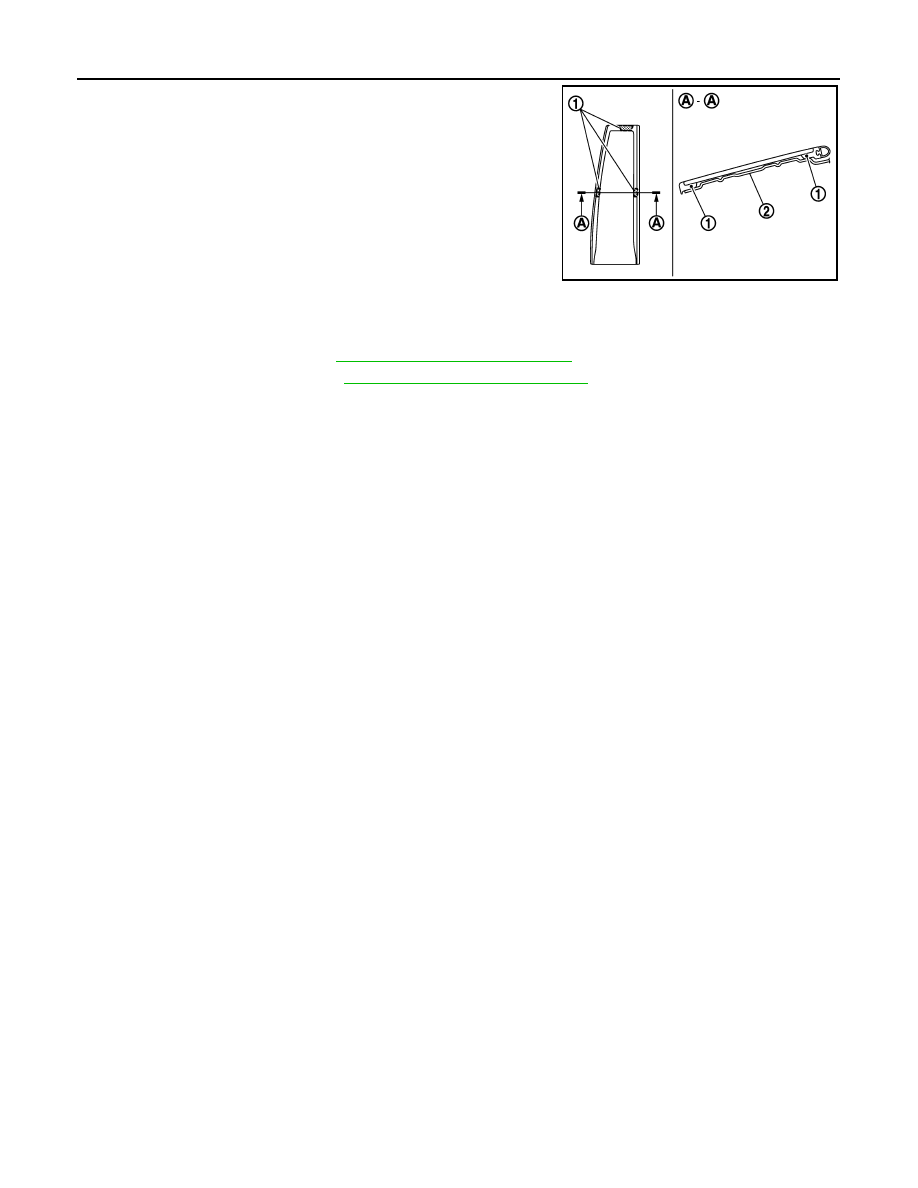
7.
Press glass till positioning ribs (1) faces with a sunroof frame
(2).
8.
Using a spatula, repair any adhesive overflow or shortage to make the surface smooth.
9.
Remove protective tape.
10. Install roof side finisher. Refer to
RF-95, "Removal and Installation"
11. Install roof rail assembly. Refer to
EXT-29, "Removal and Installation"
JMKIA1930ZZ