содержание .. 2246 2247 2248 2249 ..
Nissan X-Trail 32. Manual - part 2248
WASHER NOZZLE AND TUBE
WW-99
< REMOVAL AND INSTALLATION >
C
D
E
F
G
H
I
J
K
M
A
B
WW
N
O
P
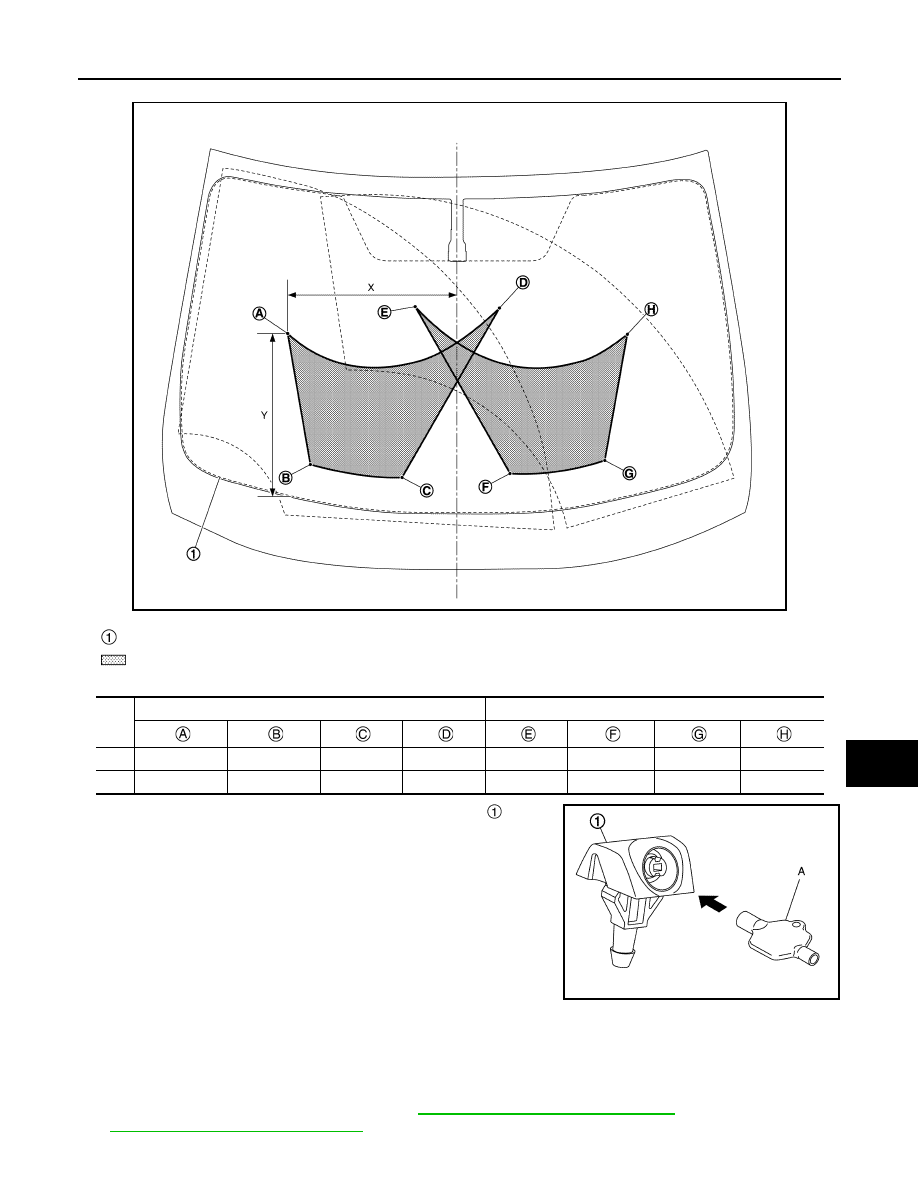
RHD models
Unit: mm (in)
• Use washer nozzle adjuster (A) for front washer nozzle
adjust-
ment.
CAUTION:
Never use needle or small pin.
REAR WASHER NOZZLE
REAR WASHER NOZZLE : Removal and Installation
INFOID:0000000010785466
REMOVAL
1.
Remove high-mounted stop lamp. Refer to
EXL-207, "Removal and Installation"
(for LED headlamp) or
EXL-392, "Removal and Installation"
(for Halogen headlamp).
JMLIA5015ZZ
Black printed frame line
: Spray area
Driver side
Passenger side
X
409 (16.10)
356 (14.02)
127 (5.00)
103 (4.06)
103 (4.06)
133 (5.24)
354 (13.94)
409 (16.10)
Y
398 (15.67)
100 (3.94)
93 (3.66)
496 (19.53)
497 (19.57)
80 (3.15)
90 (3.54)
380 (14.96)
JMLIA1539ZZ