содержание .. 1324 1325 1326 1327 ..
Nissan X-Trail 32. Manual - part 1326
GW-22
< REMOVAL AND INSTALLATION >
WINDSHIELD GLASS
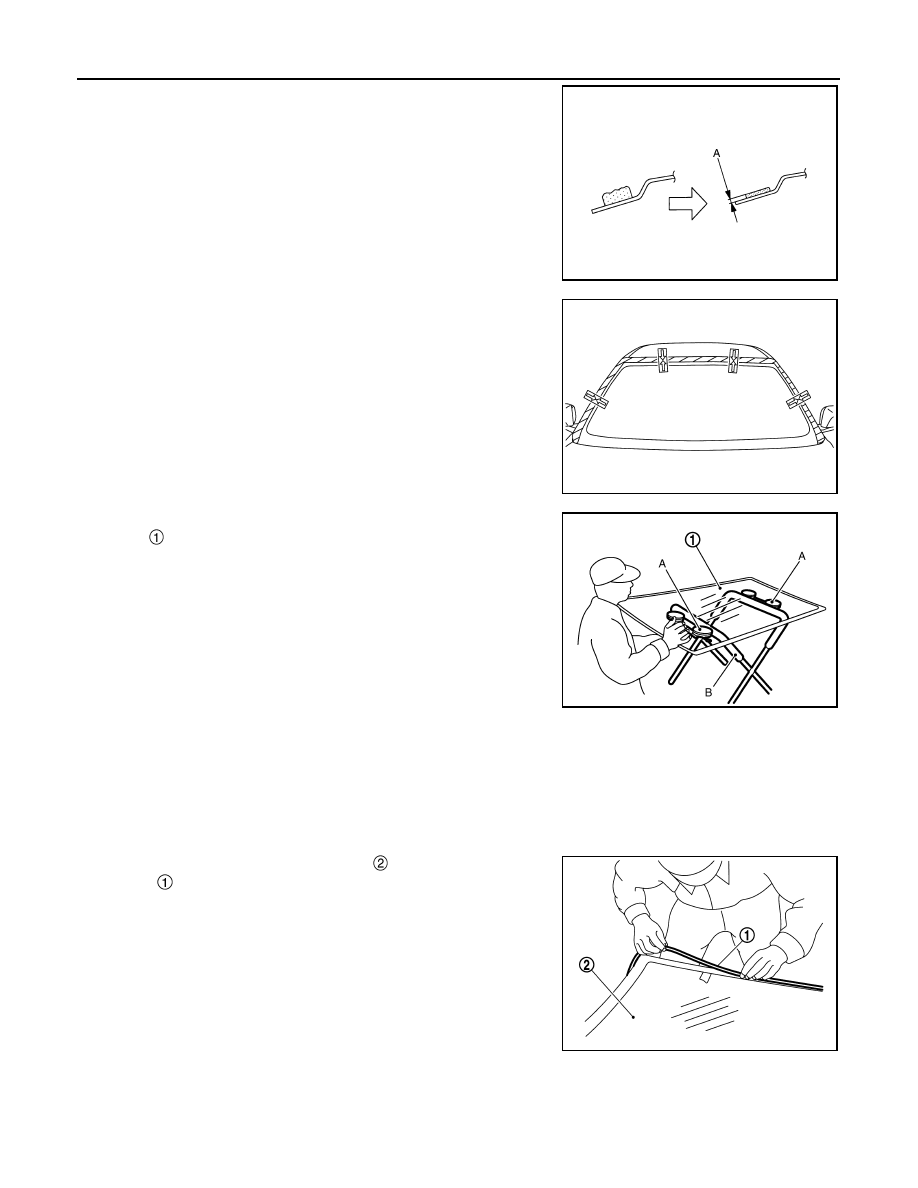
1.
Use a cutter knife or scraper, and leave the of adhesive and
sealant on the body side approximately 2 mm (0.079 in) (A) to
make adhesive and sealant surface smooth.
CAUTION:
• If the bonded area on the body is scratched, repair it
using a 2 liquid type urethane paint. Never use lacquer
type paint.
• Smooth out adhesive and sealant surface.
2.
Place new windshield glass on the vehicle temporarily, put on
matching marks on windshield glass, roof panel and both side of
body side outer panel.
CAUTION:
To prevent the gap when install new windshield glass put
on matching marks by all means.
3.
Use suction lifter (A) or rubber suction cups to set windshield
glass
on glass stand (B).
4.
Clean the bonded area on windshield glass and body panel side using a white gasoline or degreasing
agent.
5.
Install new windshield glass lower molding, new windshield glass spacers and new windshield glass
upper molding to new windshield glass.
NOTE:
Lightly affix the center of windshield glass upper molding and lower molding. Affix the whole length while
checking the length on the left and right.
6.
When installing new windshield glass
, apply the dam sealant
rubber
from the edge of the glass so as to hide the black print.
CAUTION:
Start to apply the dam sealant rubber at the outline mark of
black print. Apply it so as to only place it without pulling.
Stop applying at another outline mark of black print.
7.
Apply glass primer along the entire circumference of windshield glass.
CAUTION:
• There are 2 types of primer. Never confuse the application methods.
- Painted surfaces primer
JMKIB1454ZZ
JMKIB1945ZZ
JMKIA1137ZZ
JMKIB2171ZZ