содержание .. 1246 1247 1248 1249 ..
Nissan X-Trail 32. Manual - part 1248
DOOR SASH TAPE
EXT-51
< REMOVAL AND INSTALLATION >
C
D
E
F
G
H
I
J
L
M
A
B
EXT
N
O
P
DOOR SASH TAPE
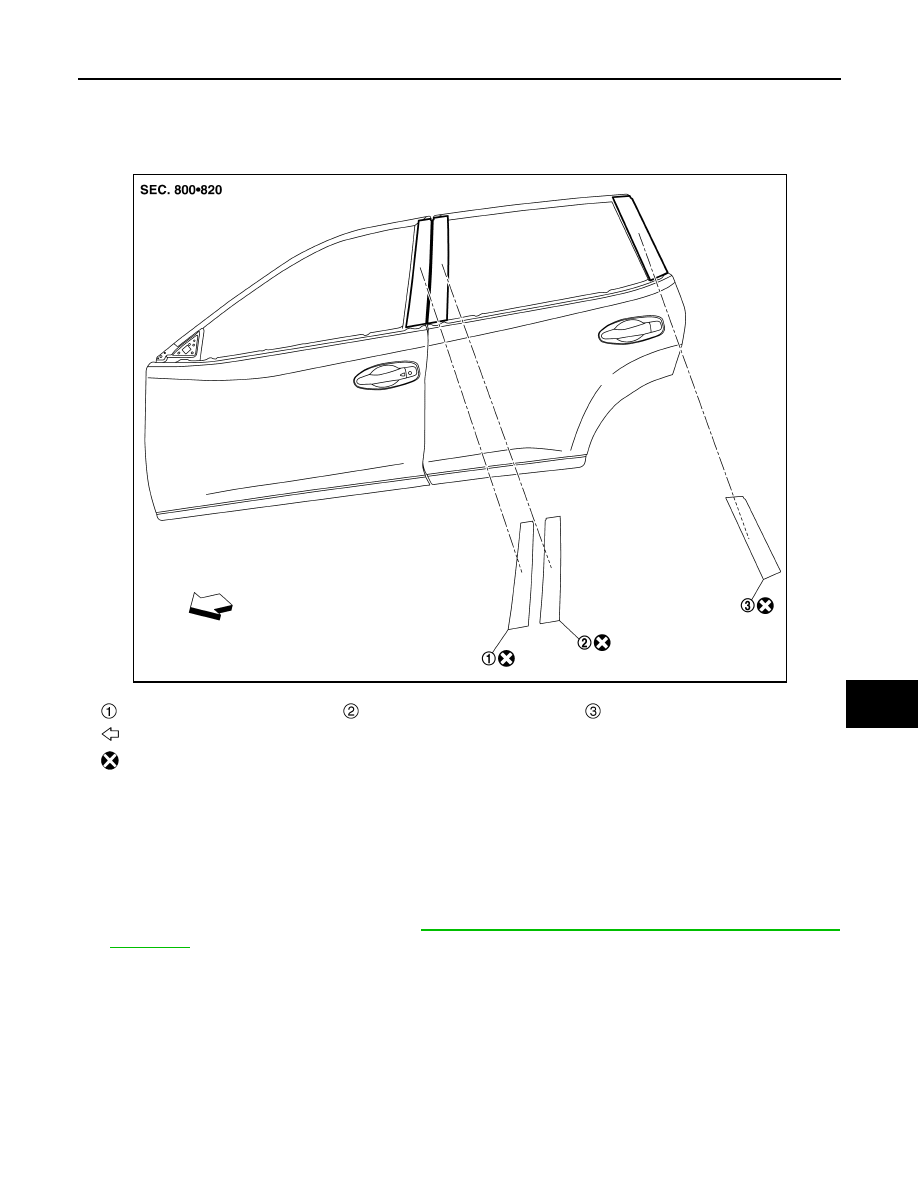
Exploded View
INFOID:0000000010787465
FRONT DOOR SASH TAPE
FRONT DOOR SASH TAPE : Removal and Installation
INFOID:0000000010787466
REMOVAL
CAUTION:
Never damage painted surface of front door panel.
1.
Remove front door sash molding. Refer to
EXT-49, "FRONT DOOR SASH MOLDING : Removal and
.
2.
Heat front door sash tape surface using a dryer, and then peel front door sash tape.
INSTALLATION
NOTE:
Refer to the figure for front door sash tape position and overlap distance between the front door sash tape.
Front door sash tape
Rear door sash tape front
Rear door sash tape rear
: Vehicle front
: Always replace after every disassembly.
JMKIB3000ZZ