содержание .. 618 619 620 621 ..
Nissan Primera P12. Manual - part 620
MA-22
ENGINE MAINTENANCE (YD22DDTI)
5.
Drain oil and refill with new engine oil.
Oil specification and viscosity:
●
API grade CF-4.
●
Refer to
MA-15, "RECOMMENDED FLUIDS AND LUBRI-
.
Oil capacity (Approximate):
●
The refill capacity depends on the oil temperature and drain time. Use these specifications for reference
only.
Always use the dipstick to the determine when the proper amount of oil is in the engine.
CAUTION:
●
Be sure to clean drain plug and install with new washer.
●
The refill capacity depends on the oil temperature and drain time. Use these specifications for ref-
erence only.
Always use the dipstick to the determine when the proper amount of oil is in the engine.
6.
Warm up engine and check area around drain plug and oil filter for oil leakage.
7.
Stop engine and wait for 10 minutes.
8.
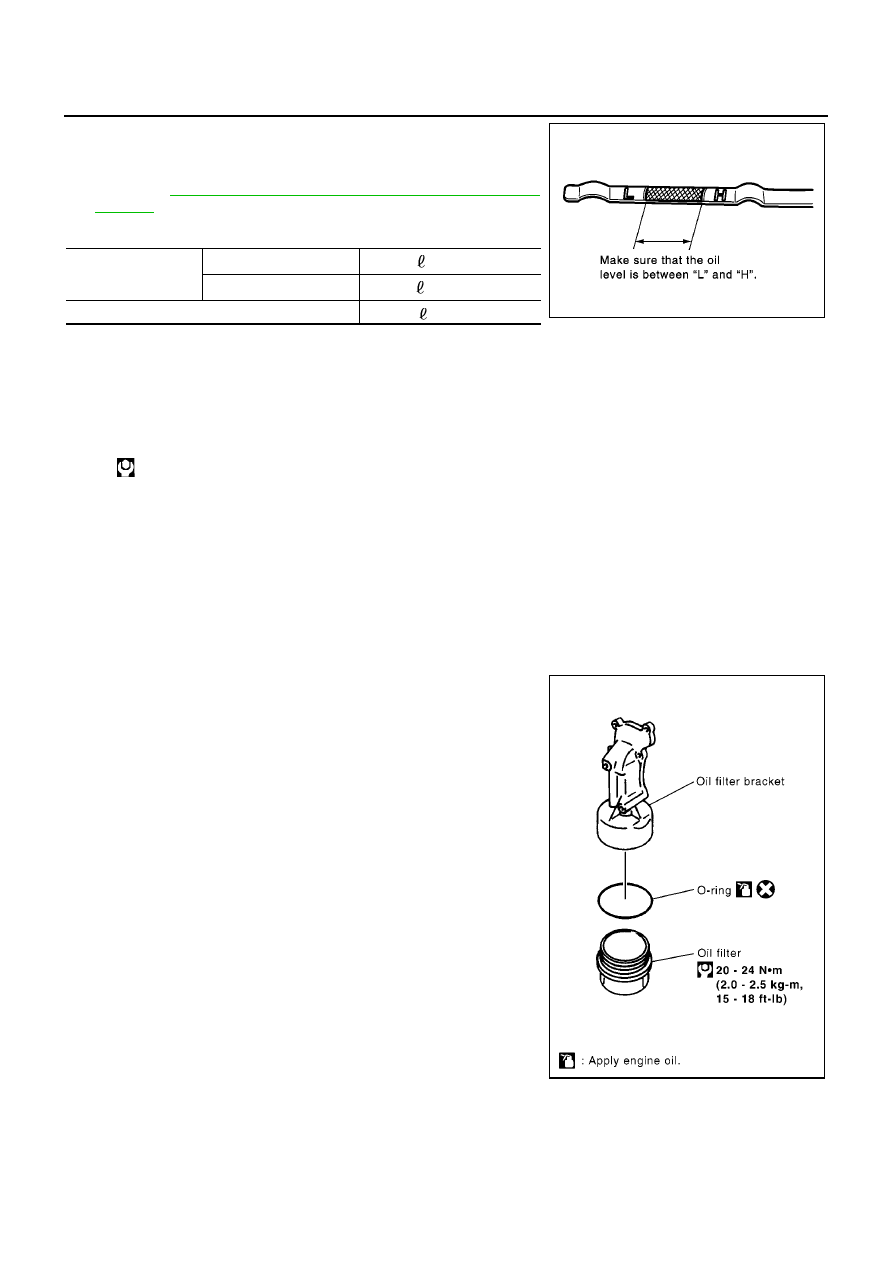
Check oil level.
Changing Oil Filter
ELS000OW
REMOVAL
CAUTION:
●
Be careful not to get burned when the engine and engine oil
are hot.
●
When removing, prepare a shop cloth to absorb any oil
leakage or spillage.
●
Do not allow engine oil to adhere to the drive belts.
●
Completely wipe off any oil that adhere to the engine and
the vehicle.
Drain and refill
With oil filter change
5.2
(4-5/8 Imp qt)
Without oil filter change
4.9
(4-3/8 Imp qt)
Dry engine (engine overhaul)
6.3
(5-1/2 Imp qt)
Oil pan drain plug:
: 29 - 39 N·m (3.0 - 4.0 kg-m, 22 - 29 ft-lb)
SBIA0122E
MBIB1013E