Mitsubishi Outlander XL. Manual - part 1090


  Index      Mitsubishi     Mitsubishi Outlander XL - service repair manual 2007 year


Search            


Content   ..  1088  1089  1090  1091   ..


Mitsubishi Outlander XL. Manual - part 1090


AUDIO AMPLIFIER

RADIO AND CD CHANGER

ZC6008760018

Connectors: C-16, C-20, C-112, C-113

C-20

C-113 (BR)

C-16

C-112

ZC6008750016

Connectors: C-126, C-127

C-127 (BR)

C-126


ZC6008800003

Connectors: D-15, D-21 

D-15 (B)

D-21

ZC6008790005

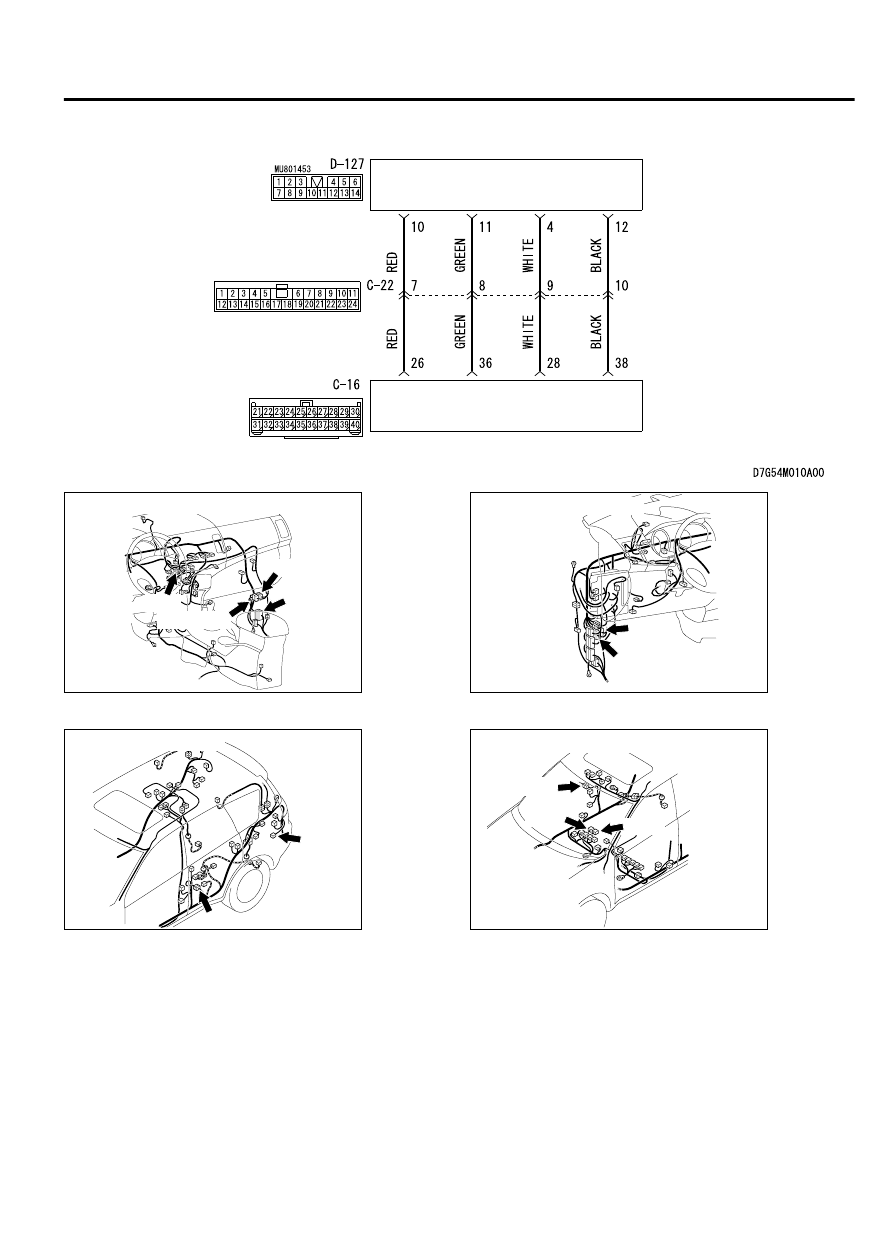
Connectors: D-36, D-126, D-127

D-36

D-127

D-126


AUDIO AND NAVIGATION SYSTEM

54B-41

DIAGNOSIS

ZC6008810001

Connectors: E-02, E-04, E-10, E-14, E-17, E-24

E-02 (B)

E-14 (B)

E-17

E-24

E-10

E-04


COMMENTS ON TROUBLE SYMPTOM
If the sound is not heard from one of the speakers, the
speaker,  radio  and  CD  changer,  audio  amplifier,
communication line from the radio and CD changer to
the  audio  amplifier,  or  communication  line  from  the
audio amplifier to the speaker may have a problem.
Also,  the  option  coding  information  may  be
inconsistent.

PROBABLE CAUSES

Malfunction of speaker

Malfunctions of radio and CD changer

Malfunction of audio amplifier

Option coding information inconsistency

Damaged harness wires and connectors

DIAGNOSIS

Required Special Tools:

MB991223: Harness Set

MB992006: Extra Fine Probe

MB991958: Scan Tool (M.U.T.-III Sub Assembly)

MB991824: Vehicle Communication Interface (V.C.I.)

MB991827: M.U.T.-III USB Cable

MB991910: M.U.T.-III Main Harness A

STEP 1. ETACS-ECU coding data check.

(1)

Operate scan tool MB991958 to read the ETACS-ECU option
coding information. (Refer to GROUP 00, Coding Table P.
00-34.)

(2)

Check that the "Speaker" is set to "Premium."

Q:Is the check result normal?

YES:

 Go to Step 2.

NO:

 Operate scan tool MB991958 to set the option coding

"Speaker" to "Premium," and check the trouble symptom.

STEP 2. Checking with audio speaker check.
Perform  the  audio  speaker  check,  and  check  which  speaker
does not output the sound. Refer to P.54B-163.

Q:Is the check result normal?

YES(normal for all):

 The trouble can be an intermittent

malfunction (Refer to GROUP 00, How to Cope with
Intermittent Malfunction P.00-15).

NO<abnormal for all>:

 Refer to Inspection Procedure 2

"No sound is heard" P.54B-23.

54B-42

AUDIO AND NAVIGATION SYSTEM

DIAGNOSIS

NO<only front door speaker (RH) is abnormal>:

 Go to Step

3.

NO<only front door speaker (LH) is abnormal>:

 Go to Step

9.

NO<only rear door speaker (RH) is abnormal>:

 Go to Step

15.

NO<only rear door speaker (LH) is abnormal>:

 Go to Step

19.

NO<only tweeter (RH) is abnormal>:

 Go to Step 23.

NO<only tweeter (LH) is abnormal>:

 Go to Step 27.

NO<only subwoofer is abnormal>:

 Go to Step 31.

STEP 3. Check front door speaker (RH) connector E-04 for
loose, corroded or damaged terminals, or terminals pushed
back in the connector.

Q:Is  front  door  speaker  (RH)  connector  E-04  in  good

condition?

YES:

 Go to Step 4.

NO:

 Repair or replace the damaged component(s). Refer to

GROUP 00E, Harness Connector Inspection P.00E-2.

STEP 4. Check the front door speaker (RH).

(1)

Remove the front door speaker (RH). Refer to P.54B-170.

ZC3064660000

5 volts

(2)

Check  that  the  front  door  speaker  (RH)  outputs  the  noise
when  the  voltage  of  five  volts  is  applied  to  the  front  door
speaker (RH) connector terminal.

Q:Does the front door speaker (RH) output the noise?

YES:

 Go to Step 5.

NO:

 Replace the front door speaker (RH).

STEP 5. Check audio amplifier connector D-126 for loose,
corroded or damaged terminals, or terminals pushed back
in the connector.

Q:Is audio amplifier connector D-126 in good condition?

YES:

 Go to Step 6.

NO:

 Repair or replace the damaged component(s). Refer to

GROUP 00E, Harness Connector Inspection P.00E-2.

STEP 6. Check the wiring harness between audio amplifier
connector D-126 (terminal 27, 37) and front door speaker
(RH) connector E-04 (terminal 1, 2).

NOTE: 

Also check intermediate connectors C-20 and C-112 for

loose, corroded, or damaged terminals, or terminals pushed
back in the connector. If intermediate connector C-20 or
C-112 is damaged, repair or replace the connector as
described in GROUP 00E, Harness Connector Inspection P.
00E-2.

Check the communication lines for open circuit.

AUDIO AND NAVIGATION SYSTEM

54B-43

DIAGNOSIS

Q:Is the wiring harness between audio amplifier connector

D-126  (terminal  27,  37)  and  front  door  speaker  (RH)

connector E-04 (terminal 1, 2) in good condition?

YES:

 Go to Step 7.

NO:

 The wiring harness may be damaged or the connector

(s) may have loose, corroded or damaged terminals, or
terminals pushed back in the connector. Repair the wiring
harness as necessary.

STEP 7. Check radio and CD changer connector C-104 and
audio amplifier connector C-16 for loose, corroded or
damaged terminals, or terminals pushed back in the
connector.

Q:Are  radio  and  CD  changer  connector  C-104  and  audio

amplifier connector C-16 in good condition?

YES:

 Go to Step 8.

NO:

 Repair or replace the damaged component(s). Refer to

GROUP 00E, Harness Connector Inspection P.00E-2.

STEP 8. Check the wiring harness between radio and CD
changer connector C-16 (terminal 26, 36) and audio
amplifier connector D-127 (terminal 10, 11).

NOTE: 

Also check intermediate connector C-22 for loose,

corroded, or damaged terminals, or terminals pushed back in
the connector. If intermediate connector C-22 is damaged,
repair or replace the connector as described in GROUP 00E,
Harness Connector Inspection P.00E-2.

Check the communication lines for open circuit.

Q:Is  the  wiring  harness  between  radio  and  CD  changer

connector  C-16  (terminal  26,  36)  and  audio  amplifier

connector D-127 (terminal 10, 11) in good condition?

YES:

 Check the trouble symptom, and go to Step 35.

NO:

 The wiring harness may be damaged or the connector

(s) may have loose, corroded or damaged terminals, or
terminals pushed back in the connector. Repair the wiring
harness as necessary.

STEP 9. Check front door speaker (LH) connector E-17 for
loose, corroded or damaged terminals, or terminals pushed
back in the connector.

Q:Is  front  door  speaker  (LH)  connector  E-17  in  good

condition?

YES:

 Go to Step 10.

NO:

 Repair or replace the damaged component(s). Refer to

GROUP 00E, Harness Connector Inspection P.00E-2.

STEP 10. Check the front door speaker (LH).

(1)

Remove the front door speaker (LH). Refer to P.54B-170.

54B-44

AUDIO AND NAVIGATION SYSTEM

DIAGNOSIS


Content   ..  1088  1089  1090  1091   ..