Mitsubishi Outlander XL. Manual - part 17
ZB600347 0000
: Body sealant
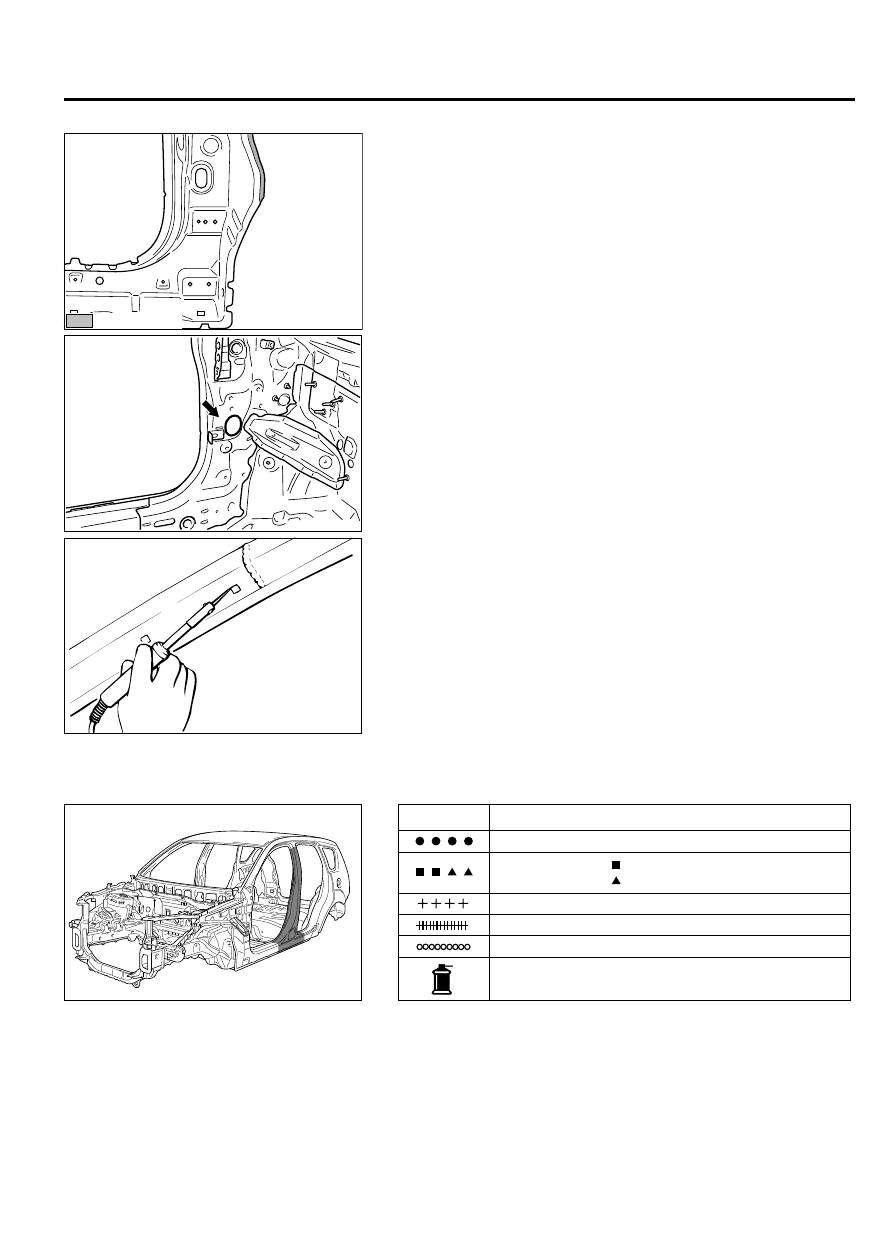
4.
When installing the front pillar outer, apply body sealant as
shown in the figure.
ZB600138 0000
5.
After installing the front pillar outer, seal the hole and flange
with bolt and aluminum tape, and then fill the hole with foam
materials as shown in the figure.
Foam : 3M™ AAD ULTRAPRO Panel foam-Yellow
ZB600112 0001
6.
Wait 2 hours after filling the foam materials to remove the bolt
and aluminum tape, then melt the foam materials with a
soldering gun to ensure that a clip, etc. can be inserted in the
hole filled with foam materials
CENTER PILLAR
M40300000060USA0000010000
ZB600148 0000
( )
Symbol
Operation description
Spot welding
MIG plug welding
indicates two panels to be welded
indicates three panels to be welded
MIG spot welding
MIG arc welding (continuous)
Braze welding
Anti-corrosion agent applications locations
(Use access holes to apply liberally to butt-welded joints.)
WELDED PANEL REPLACEMENT
3-17
CENTER PILLAR