Mitsubishi Outlander XL. Manual - part 16
ZB600128 0000
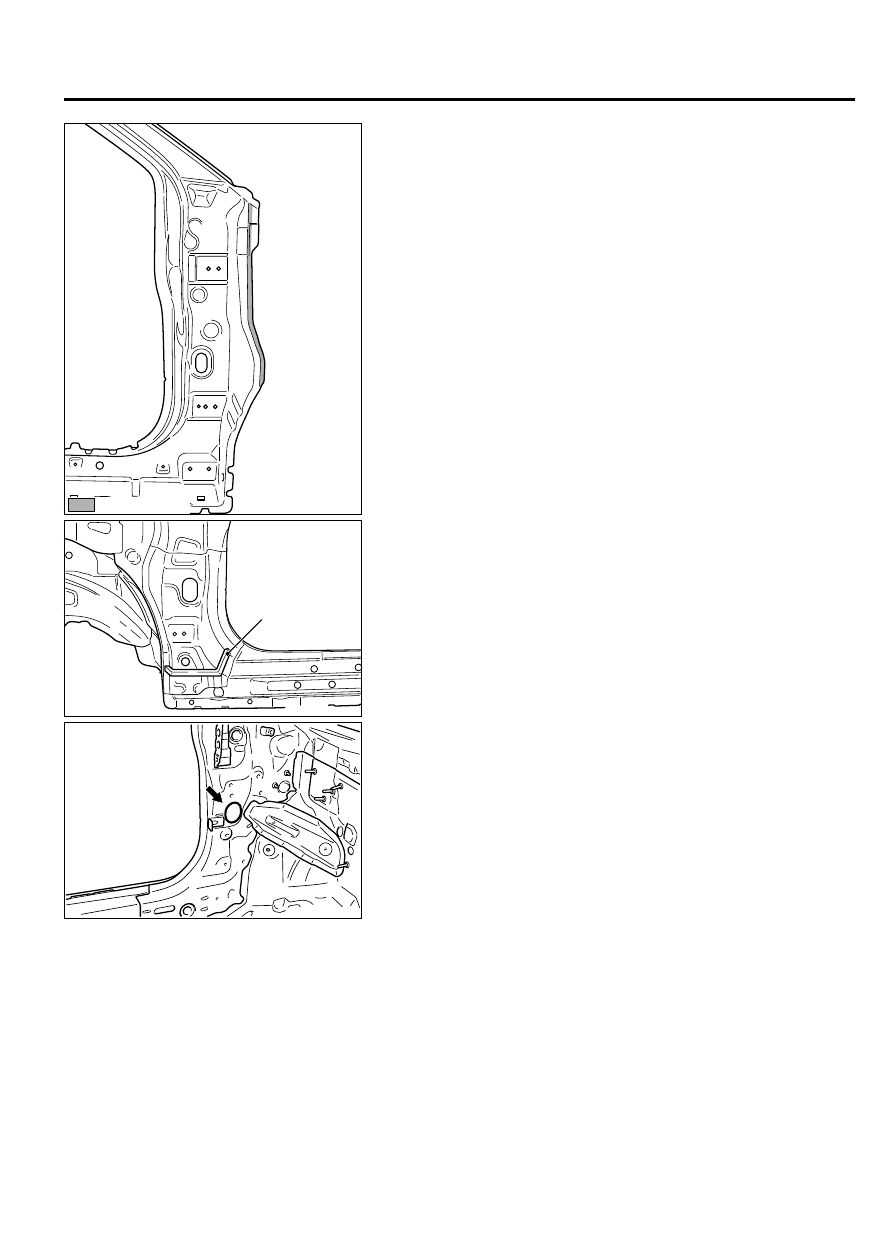
: Body sealant
2.
When installing the front pillar outer, apply body sealant as
shown in the figure.
ZB600362 0000
Urethane
foam
3.
When installing the new front pillar outer, affix urethane foam
as shown in the figure as a temporary measure to fill the inside
of the front pillar.
ZB6001380000
4.
After installing the front pillar outer, seal the hole and flange
with bolt and aluminum tape, and then fill the hole with foam
materials as shown in the figure.
Foam: 3M™ AAD ULTRAPRO Panel foam-Yellow
WELDED PANEL REPLACEMENT
3-13
FRONT PILLAR