Mitsubishi Pajero Pinin. Manual - part 193
PROPELLER SHAFT – Propeller Shaft
25-3
PROPELLER SHAFT
REMOVAL AND INSTALLATION
Caution
Do not reuse the rear propeller shaft already shrunk due to a big impact. The rear propeller shaft
has impact-absorption mechanism (shrinkage).
Pre-removal Operation
D
Shift the lever to “2H”
D
Transfer Gear Oil Draining
(M/T: Refer to GROUP 22 – On-vehicle Service.)
(A/T: Refer to GROUP 23 – On-vehicle Service.)
Post-installation Operation
Transfer Gear Oil Supplying
(M/T: Refer to GROUP 22 – On-vehicle Service.)
(A/T: Refer to GROUP 23 – On-vehicle Service.)
Gear Oil: Hypoid gear oil SAE 75W–90 or
75W–85W or 80W conforming to API GL–4
49 – 59 Nm
49 – 59 Nm
2
2
1
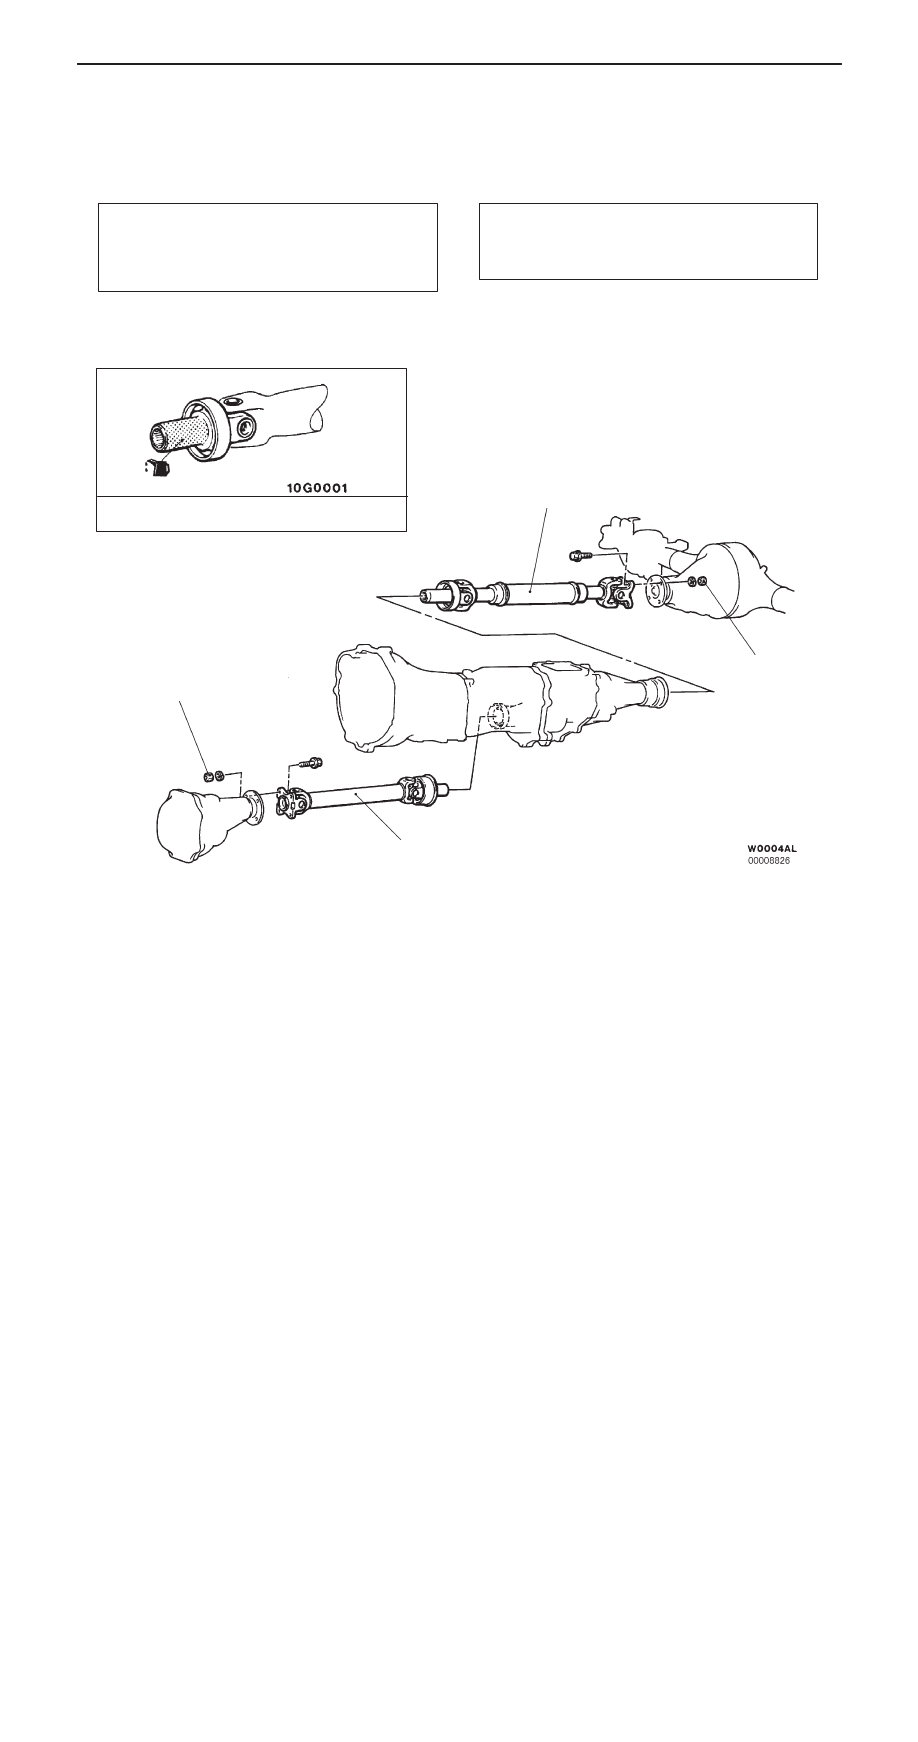
Removal steps
A
A
" "
A
A
1. Front propeller shaft assembly
A
A
" "
A
A
2. Rear propeller shaft assembly