Jaguar X-Type Sedan and Estate (Wagon). Manual - part 493


  Index      Jaguar     Jaguar X-Type Sedan and Estate (Wagon) (2.0 L, 2.5 L and 3.0 L Gasoline; 2.0 L and 2.2 L, Diesel) - manual 2001-2009 year


Search            


Content   ..  491  492  493  494   ..


Jaguar X-Type Sedan and Estate (Wagon). Manual - part 493


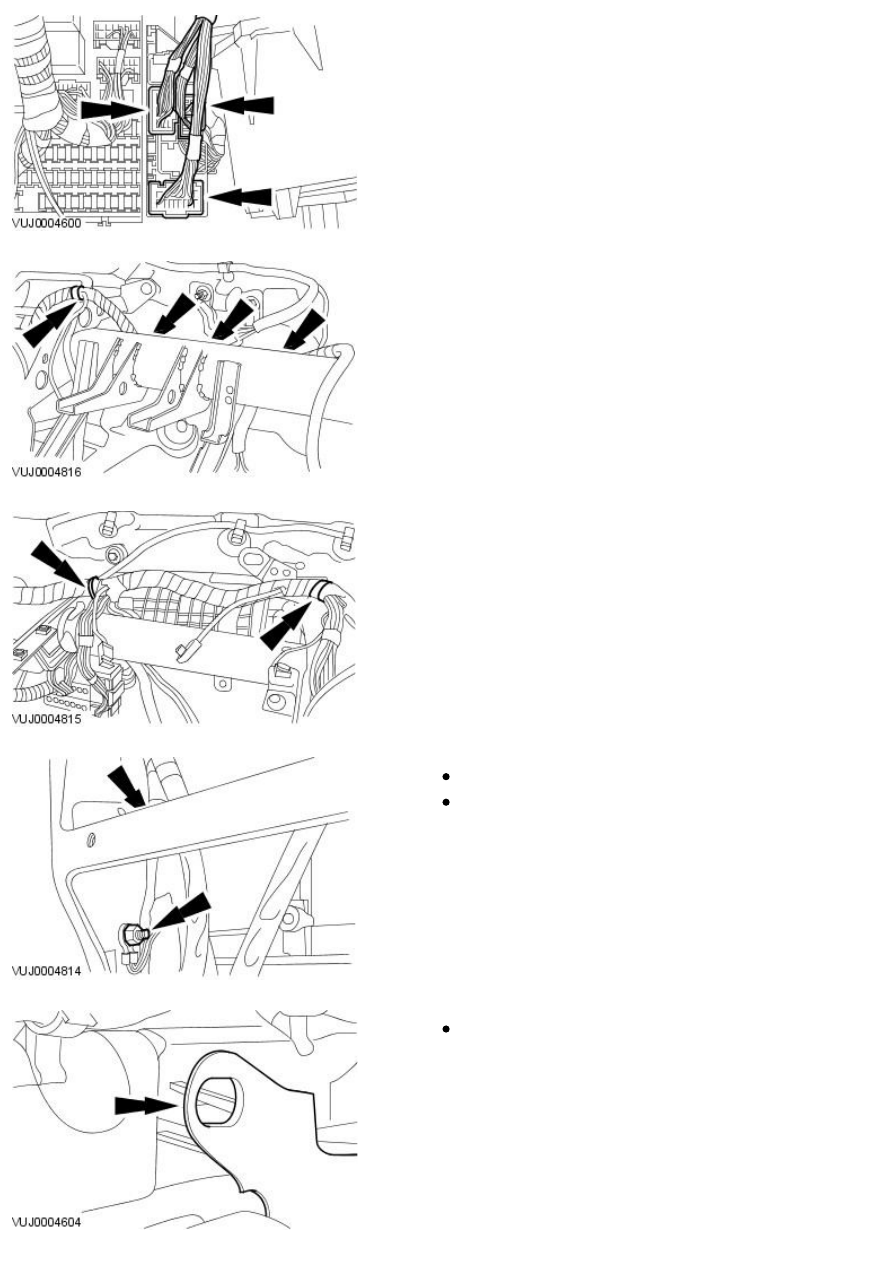
19. Disconnect the electrical connectors.

20. Detach the wiring harness.

21. Detach the wiring harness.

22. Detach the wiring harness.

Remove the earth lead retaining bolt.

Detach the wiring harness.

23. Using a suitable tool cut the bonding on the in vehicle cross beam.

Left-hand side shown, right-hand side similar.

24. Detach the center of the in vehicle cross beam.

25. Remove the in vehicle cross beam retaining bolts.

Left-hand side shown, right-hand side similar.

26. Remove the in vehicle cross beam and the evaporator core housing.

Installation

1. NOTE: Remove the PU bonding from the in vehicle cross beam.

• NOTE: Clean the in vehicle cross beam locator and the vehicle body
locating pegs with a solvent wipe, part number WSKM14J251-A1.

• NOTE: Apply the PU bonding, part number W SKM2G379-A1 to the in
vehicle cross beam locating pegs.

To install, reverse the removal procedure.

2. Tighten to 25 Nm.

Left-hand side shown, right-hand side similar.

3. Tighten to 25 Nm.

Published: 11-May-2011

Heating and Ventilation - Heater Core

Removal and Installation

Removal

1. NOTE: If a leak is suspected, the heater core must be leak tested in the
vehicle before removal. For additional information, refer to Section

 412-00

Climate Control System - General Information

.

Drain the cooling system. For additional information, refer to Section

303-03A Engine Cooling

Section

 303-03B Engine Cooling

.

2. Disconnect the drain tube from the heater core.

3. Disconnect the heater hose from the heater core.

4. Disconnect the heater hose from the heater core.

5. Remove the center console. For additional information, refer to Section

501-12 Instrument Panel and Console

.

6. Position the heater core air duct up.

1. Remove the heater core air duct retaining screw.

2. Position the heater core air duct up.


Content   ..  491  492  493  494   ..