Dodge Nitro. Manual - part 385


  Index      Dodge     Dodge Nitro - service repair manual 2007 year


Search            


Content   ..  383  384  385  386   ..


Dodge Nitro. Manual - part 385


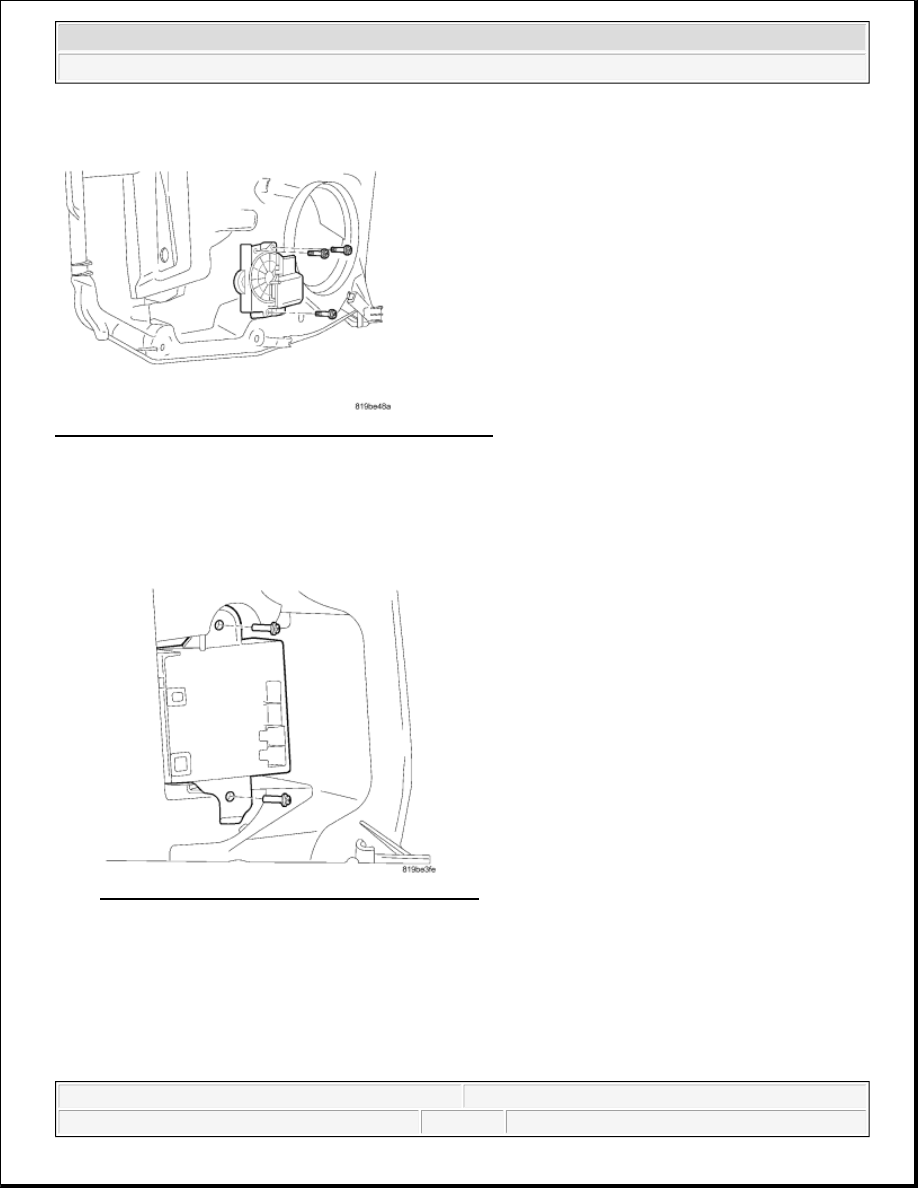
Fig. 39: Removing/Installing Screws And Window Motor 
Courtesy of CHRYSLER LLC 

1. Install the window motor and screws to the carrier plate and tighten to 3.5 N.m (31 in. lbs.). 

Fig. 40: Removing/Installing Screws And Module 
Courtesy of CHRYSLER LLC 

2. Install the module and screws to the carrier plate and tighten to 1.5 N.m (13 in. lbs.). 

NOTE:

All the lock rods are color coded to help identify the location for the particular 
lock rod.


2007 Dodge Nitro R/T 

2007 ACCESSORIES AND EQUIPMENT Body - Nitro


Fig. 41: Identifying Connectors & Electrical Harness 
Courtesy of CHRYSLER LLC 

3. Install the harness to the carrier plate.  

4. Install the electrical harness (2) and seat the rubber grommet into the carrier plate.  

5. Connect the electrical connector (3) to the motor.  

6. Connect the electrical connectors (1) to the module.  

7. Route the harness through all of the hooks in the carrier plate.  

8. Install the electrical harness (4) and seat the rubber grommet into the carrier plate. 

Fig. 42: Removing/Installing Speaker Bolts & Speaker 
Courtesy of CHRYSLER LLC 

9. Install the speaker and bolts to the carrier and tighten to 1.5 N.m (13 in. lbs.). 


2007 Dodge Nitro R/T 

2007 ACCESSORIES AND EQUIPMENT Body - Nitro


Fig. 43: Disconnecting/Connecting Speaker Electrical Connector 
Courtesy of CHRYSLER LLC 

10. Connect the speaker electrical connector.  

11. Install speaker wire to wire clip. 

Fig. 44: Push Pin, Handle & Spring 
Courtesy of CHRYSLER LLC 

12. Install the handle (2) and spring (3) to the carrier.  

13. Install the push pin (1) into the carrier, spring and the handle. 

NOTE:

Make sure that the push pin is seated flush with the carrier.


2007 Dodge Nitro R/T 

2007 ACCESSORIES AND EQUIPMENT Body - Nitro


Fig. 45: Identifying Carrier Plate Slots 
Courtesy of CHRYSLER LLC 

14. Install the latch bracket assembly to the carrier plate slots (1) then slide the latch bracket until fully 

seated. 

Fig. 46: Disconnecting/Connecting Latch Electrical Connector 
Courtesy of CHRYSLER LLC 

15. Connect the latch electrical connector. 


2007 Dodge Nitro R/T 

2007 ACCESSORIES AND EQUIPMENT Body - Nitro


Content   ..  383  384  385  386   ..