DAF CF65, CF75, CF85 Series . Manual - part 297
3
CF65/75/85 series
Removal and installation
MECHANICAL GEARBOX CONTROL
3-1
3. REMOVAL AND INSTALLATION
3.1 REMOVAL AND INSTALLATION, ENTIRE GEAR LEVER UNIT
Note:
If the vehicle is equipped with a gearbox without
range-change switching or splitter box e.g. the
ZF 6S850, the gear lever unit can be removed
without it being necessary to consider the air
pipes.
Removal, entire gear lever unit
1.
Make sure there are no loose items in the
cab. Tilt the cab.
2.
After marking them, remove the air pipes
that run from the switch to the various
valves.
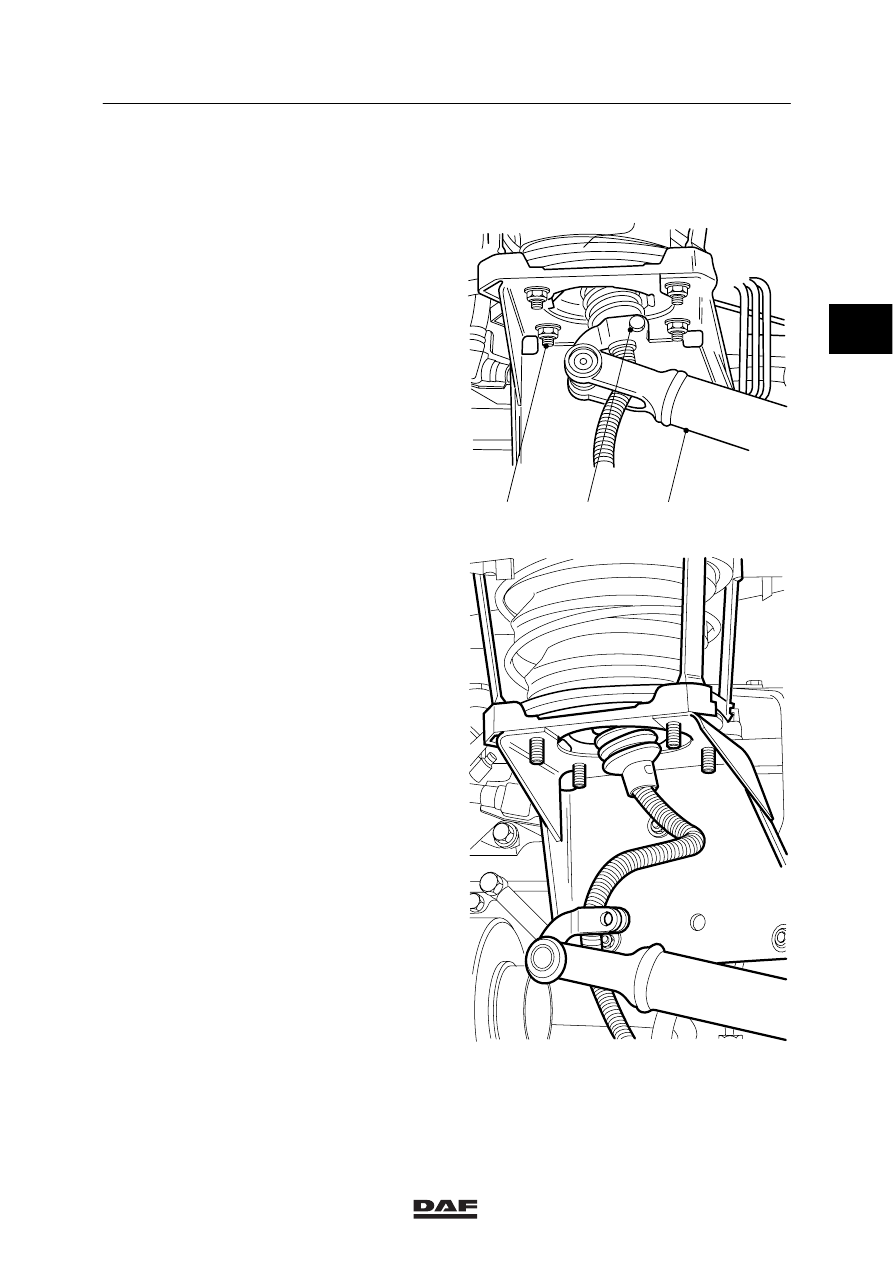
3.
Remove the clamping bolt (1) and remove
the gear lever control rod (2) and secure it
so that it cannot cause any damage to the
air pipes.
4.
Remove the attachment nuts (3) on the
bottom of the gear lever unit or those on the
manifold bracket and then remove the
entire gear lever unit including the set of air
pipes.
3
1
2
V300275
W 3 02 049
ᓻ 0111
2