Chrysler Crossfire. Manual - part 767
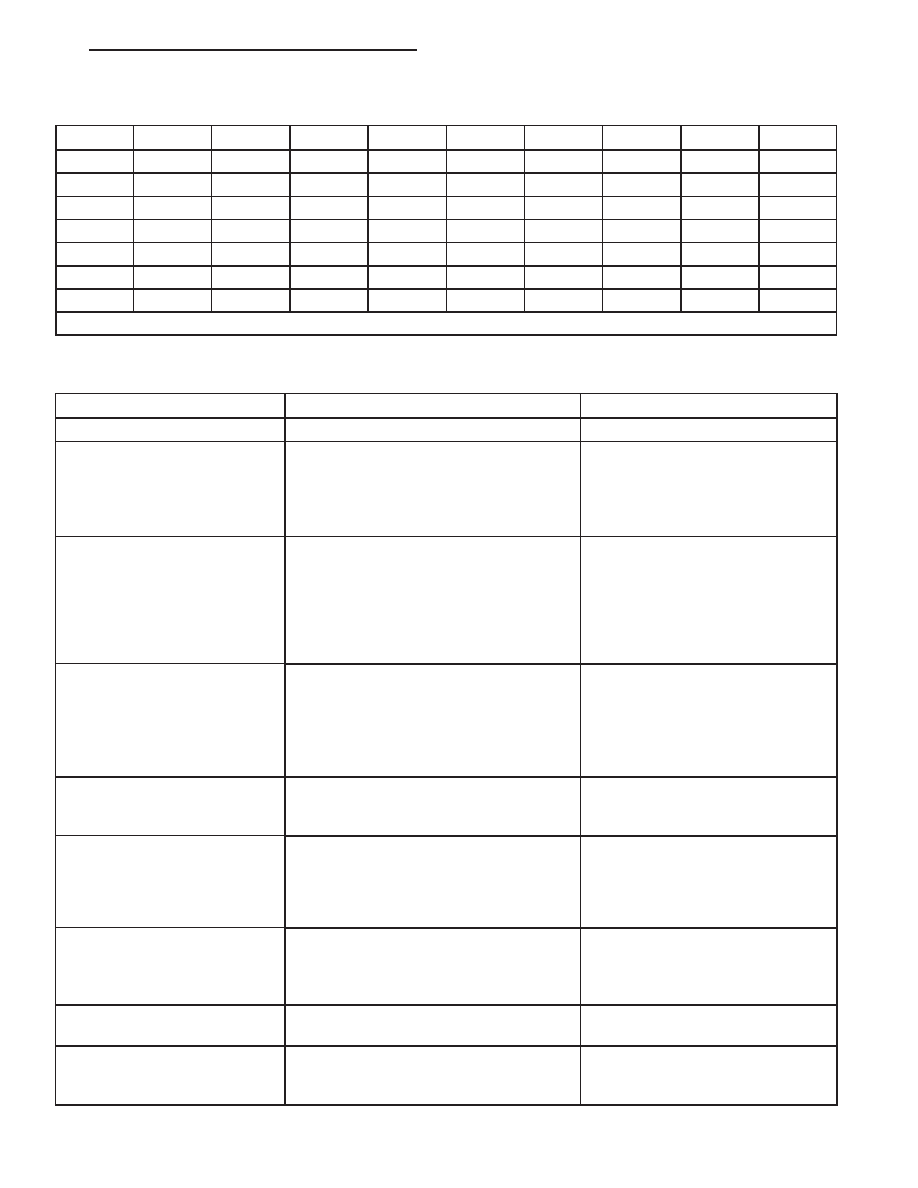
CLUTCH APPLICATION
GEAR
RATIO
B1
B2
B3
K1
K2
K3
F1
F2
1
3.59
X*
X
X*
X
X
2
2.19
X
X
X*
X
3
1.41
X
X
X
4
1.00
X
X
X
5
0.83
X
X
X
X*
N
X
X
R
3.16
X*
X
X
X
* = The shift components required during coast.
DIAGNOSIS AND TESTING - AUTOMATIC TRANSMISSION
CONDITION
POSSIBLE CAUSES
CORRECTION
MAXIMUM SPEED 30 km/h
1. Speed Control 30 Actuated.
1. Instruct Customer.
ENGINE DIES WHEN
TRANSMISSION IS
SHIFTED INTO GEAR,
ALSO NOISES IN N
AND/OR P
1. PWM Valve Blocked.
1. Replace Valve.
2. Torque Converter Lock Up Control
Valve Locked.
2. Enable Movement of Valve,
Remove Particle.
LEVER IN
9
P
9
POSITION
BLOCKED (BRAKE
ACTIVATED)
1. No Vacuum Brake Booster After
Long Immobilization, Brake Pedal
Not Fully Applied/Hard Pedal.
1. Check Vacuum/ Tightness of
Brake Booster.
2. No Stoplamp Switch Signal (no
DTC IN PCM).
2. Check Contact to Stoplamp
Switch. Replace Switch if
Necessary.
GRUMBLING, DRONING,
JERKING WHEN TCC IS
ENGAGED
1. Slip Speed TCC too Low.
1. Switch Off Torque Converter
Lock Up Using DRBIII
T
. If
Complaint is Not Reproduced
Afterwards, Replace PWM
Valve, Set Adaption Values to
Zero.
HOWLING, HUMMING
ABOVE 4000 RPM IN
EACH GEAR
1. Oil Filter Blocked.
1. Replace Oil Filter.
2. Oil Pump.
2. Replace Oil Pump.
WHINING, SINGING
1. Gear Set Noises in 1st, 2nd and
5th Gear.
1. Replace Transmission.
2. Intermediate Bearing of the Drive
Shaft at 0 km/h, Only When Cold.
2. Replace Intermediate
Bearing of the Drive Shaft.
9
CLACK
9
NOISE FROM
CENTER SHIFT AREA
WHEN STOPPING OR
STARTING
1. Park Lock Solenoid.
1. Replace Shift Lever
Assembly.
CRACKING NOISE WHEN
LOAD CYCLE
1. Stick - Slip Between Joint Flange
and Collar Nut.
1. Install Zinc Coated Collar Nut
Together with Washer.
CHATTERING IN CENTER
CONSOLE SHIFT WHILE
ACCELERATING
1. Bushing Shift Shaft has too Much
Clearance.
1. Replace Shifter Lever and
Cover Plate.
ZH
AUTOMATIC - NAG1 SERVICE INFORMATION
21 - 217