Content .. 1008 1009 1010 1011 ..
Chrysler Crossfire. Manual - part 1010
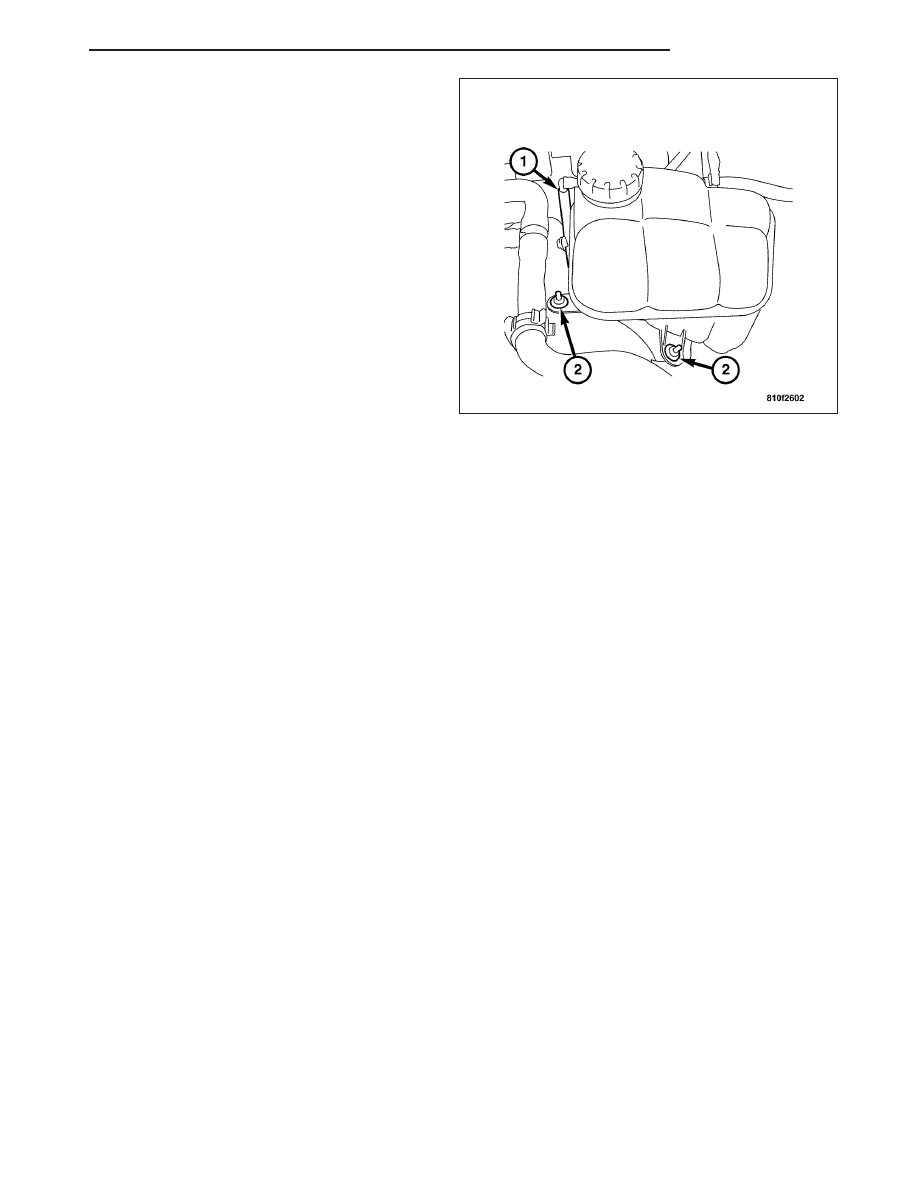
8. Install the coolant reservoir (1). (Refer to 7 -
COOLING/ENGINE/COOLANT
RECOVERY
PRESS CONTAINER - INSTALLATION).
9. Fill the coolant. (Refer to 7 - COOLING/ENGINE/
COOLANT - STANDARD PROCEDURE).
10. Charge the refrigerant in the refrigerant system.
(Refer to 24 - HEATING & AIR CONDITIONING/
PLUMBING - STANDARD PROCEDURE).
11. Connect the negative battery cable.
A/C EVAPORATOR
DESCRIPTION
The Evaporator Coil is located in the HVAC housing, under the Instrument Panel. The Evaporator Coil is positioned
in the HVAC housing so that all air that enters the housing must pass over the fins of the Evaporator before it is
distributed through the system ducts and outlets. However, air passing over the Evaporator Coil fins will only be
conditioned when the compressor is engaged and circulating refrigerant through the Evaporator Coil tubes.
OPERATION
Refrigerant enters the Evaporator from the orifice tube as a low-temperature, low-pressure liquid. As air flows over
the fins of the evaporator, the humidity in the air condenses on the fins, and the heat from the air is absorbed by
the refrigerant. Heat absorption causes the refrigerant to boil and vaporize. The refrigerant becomes a low-pressure
gas before it leaves the evaporator.
The Evaporator Coil cannot be repaired and, if faulty or damaged, it must be replaced.(Refer to 24 - HEATING &
AIR CONDITIONING/PLUMBING/A/C EVAPORATOR - REMOVAL).
REMOVAL
WARNING: ON VEHICLES EQUIPPED WITH AIRBAGS, DISABLE THE AIRBAG SYSTEM BEFORE ATTEMPT-
ING ANY STEERING WHEEL, STEERING COLUMN, OR INSTRUMENT PANEL COMPONENT DIAGNOSIS OR
SERVICE. DISCONNECT AND ISOLATE THE BATTERY NEGATIVE (GROUND) CABLE, THEN WAIT TWO MIN-
UTES FOR THE AIRBAG SYSTEM CAPACITOR TO DISCHARGE BEFORE PERFORMING FURTHER DIAGNO-
SIS OR SERVICE. THIS IS THE ONLY SURE WAY TO DISABLE THE AIRBAG SYSTEM. FAILURE TO TAKE
THE PROPER PRECAUTIONS COULD RESULT IN AN ACCIDENTAL AIRBAG DEPLOYMENT AND POSSIBLE
PERSONAL INJURY.
ZH
PLUMBING
24 - 143