Chery Tiggo. Manual - part 41


  Index      Chery     Chery Tiggo - service repair manual 2009 year


Search            


Content   ..  39  40  41  42   ..


Chery Tiggo. Manual - part 41


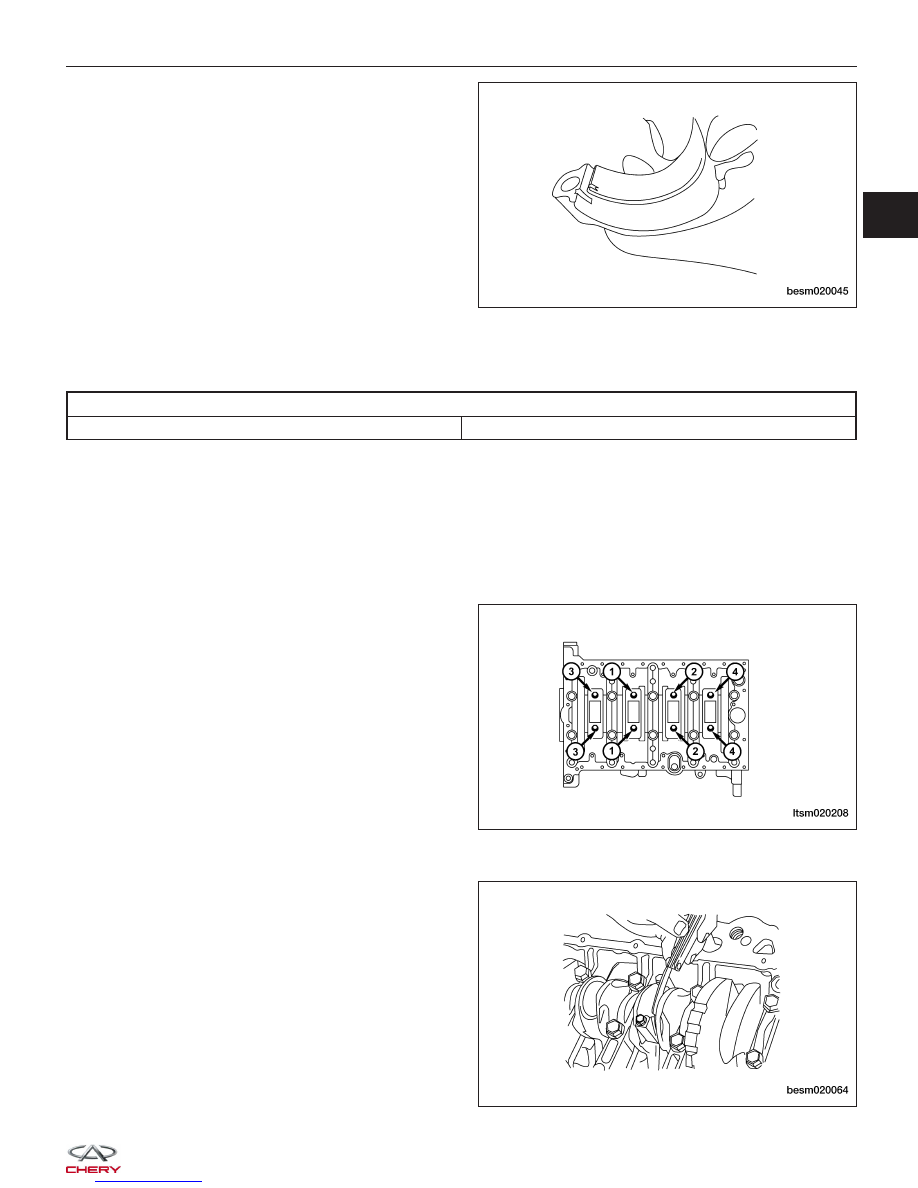
4. Remove the connecting rod bearings.

CAUTION: When removing the connecting rod
side bearings, note the installation position.
Keep them in the correct order.

Inspection

• Check the radial clearance of connecting rod bearing.

CONNECTING ROD RADIAL CLEARANCE

Radial Clearance

0.016 - 0.051 mm

Assembly

NOTE :
The rod bolts should not be reused.

1. Before installing the NEW rod bolts, the threads and under the bolt head should be oiled with clean engine oil.

2. Install each bolt finger tight, then alternately tighten each bolt to assemble the cap properly.

3. Tighten the connecting rod bolts using the two step

torque-turn method:

• 1st Step: Tighten bolts to 25 N·m

• 2nd Step: Tighten the connecting rod bolts an

additional 90°

4. Using a feeler gauge check connecting rod side clearance.

• Check axial clearance of connecting rod.

ENGINE UNIT REPAIR

BESM020045

LTSM020208

BESM020064

02


Crankshaft

Specifications

Torque Specifications

DESCRIPTION

TORQUE (N·m)

Main Bearing Cap Bolts

1st Step: Tighten the bolt to 45 N·m

2nd Step: Tighten the bolt an additional 180°

Lower Cylinder Block Bolts

23

Clearance Specifications

DESCRIPTION

SPECIFICATION (mm)

Diameter of Crankshaft Main Journals

53.981 - 54

Diameter of Crankshaft Rod Journals

47.884 - 47.9

Out-of-Round Maximum of Crankshaft Main Journals

0.008

Axial Clearance of Crankshaft

0.07 - 0.265

Radial Clearance of Crankshaft

0.0035 - 0.034

Coaxality of Crankshaft Main Journals

0.05

Thrust Washer Thickness

2.4 - 2.405

Disassembly

1. Remove the front crankshaft oil seal (See Front Crankshaft Oil Seal Removal & Installation in Section 02

Engine).

2. Remove the rear crankshaft oil seal (See Rear Crankshaft Oil Seal Removal & Installation in Section 02 Engine).

3. Remove the pistons with connecting rod assemblies.

4. Remove the lower cylinder block bolts in the

sequence shown.

NOTE: Before loosening the lower cylinder block
bolts, measure the crankshaft side clearance.

5. Remove the lower cylinder block.

6. Remove the crankshaft.

7. Remove the main bearings and thrust bearings from the cylinder block and lower cylinder block.

NOTE: If reusing the bearings, identify and number the bearings so that they are assembled in the same position
and direction.

ENGINE UNIT REPAIR

BESM020074


Inspection

• The crankshaft main journals should be checked for

excessive wear, roundness and scoring. Limits of
roundness on any crankshaft main journals should
be held to 0.008 mm. Limits of roundness on any
crankshaft rod journals should be held to 0.005
mm. DO NOT nick crank pin or bearing fillets. Lim-
its of out of round on any crankshaft journals
should be held to 0.005 mm.

• Check the axial clearance after installation. Stan-

dard of axial clearance should be 0.07 mm. Limits
of axial clearance should be held to 0.265 mm.

• Oil Clearance of crankshaft main journal

− Clean the journal and bearing.
− Install the crankshaft.
− Cut the plastic-gauge to the same width as

the bearing, and then put it onto the crank-
shaft journal to make it parallel with the cen-
tral line of the crankshaft.

− Install the main bearing cap carefully, and

tighten the bolts to the specified torque.

− Remove the main bearing cap.
− Measure the oil clearance with the plastic-

gauge.

Standard oil clearance of crankshaft main journal
should be 0.022 mm. Limits of oil clearance of crank-
shaft main journal should be 0.058 mm.

ENGINE UNIT REPAIR

BESM020075

BESM020076

BESM020077

02


Assembly

1. Install the main bearings and thrust bearings to the upper cylinder block and lower cylinder block.

NOTE: Identify and number the bearings, if reusing them, so that they are assembled in the same position and
direction.

2. Assemble the crankshaft and main bearings in the reverse order of disassembly.

ENGINE UNIT REPAIR


Content   ..  39  40  41  42   ..