Infiniti I35 (A33). Manual - part 482
SEM949G
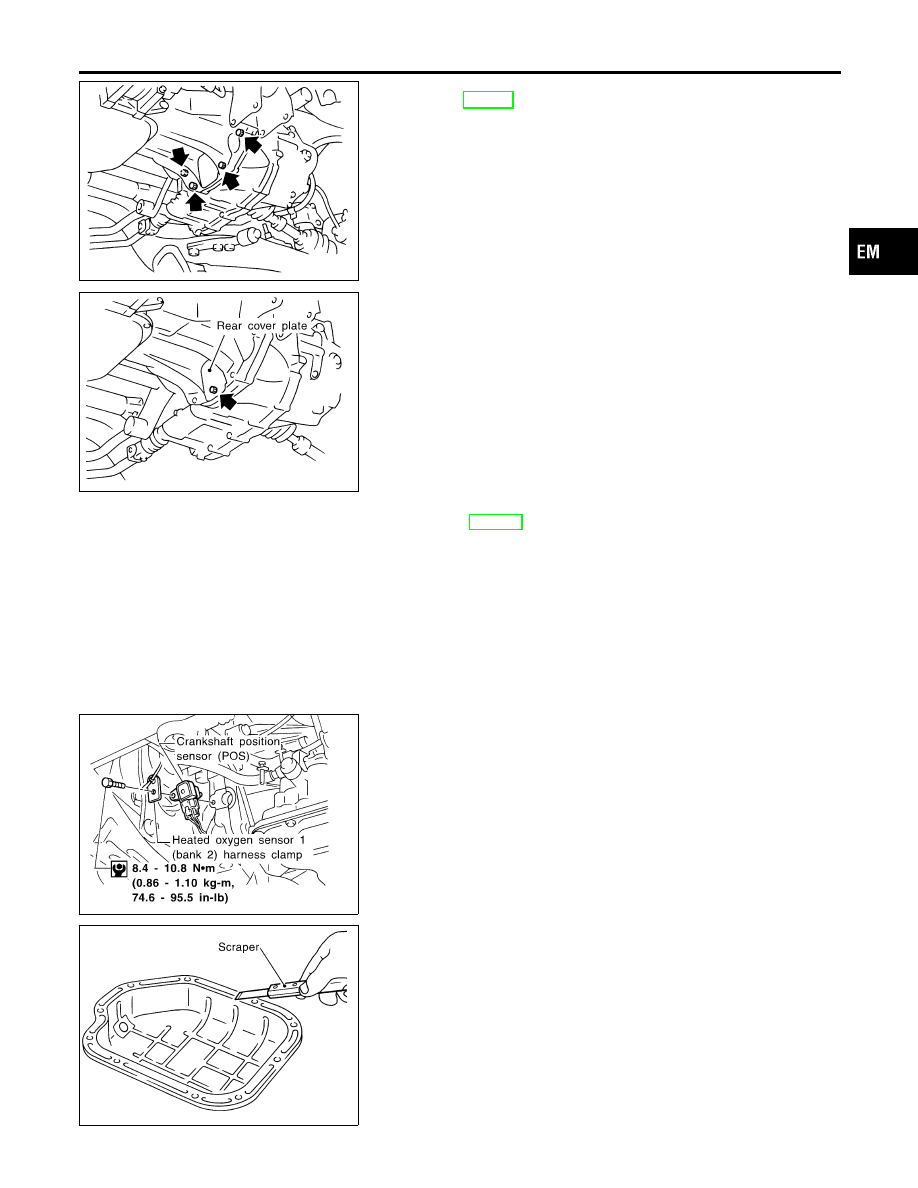
2.
Install the four engine-to-transaxle bolts. For tightening torque,
refer to AT-286, “Installation”.
SEM717G
3.
Install rear cover plate.
4.
Install air conditioner compressor and bracket.
Refer to HA-112, “REMOVAL AND INSTALLATION”.
5.
Install drive belts.
6.
Install center member.
7.
Tighten front and rear engine mounting insulator nuts and
bolts.
SEM222FF
8.
Install crankshaft position sensor (POS) with new rubber seal,
and heated oxygen sensor 1 (bank 2) harness clamp.
I
Make sure that crankshaft position sensor (POS) and
heated oxygen sensor 1 (bank 2) harness clamp are
installed correctly as shown in figure.
9.
Install front exhaust tube and its support.
10. Install oil strainer.
SEM958F
11. Install steel oil pan.
a.
Use a scraper to remove old liquid gasket from mating sur-
faces.
I
Also remove old liquid gasket from mating surface of alu-
minum oil pan.
GI
MA
LC
EC
FE
AT
AX
SU
BR
ST
RS
BT
HA
SC
EL
IDX
OIL PAN
Installation (Cont’d)
EM-19