Honda Odyssey 2004. Manual - part 517
*01
08
*02
10
Seat Belt Buckle (bucket-type second row
seat)
Seat Belt Buckle (bench-type second row
seat)
23-10
Seat Belts
Second Row Seat Belt Replacement (cont’d)
A
7/16-20 UNF
32 N·m (3.3 kgf·m, 24 lbf·ft)
A
B
7/16-20 UNF
32 N·m (3.3 kgf·m, 24 lbf·ft)
A
A
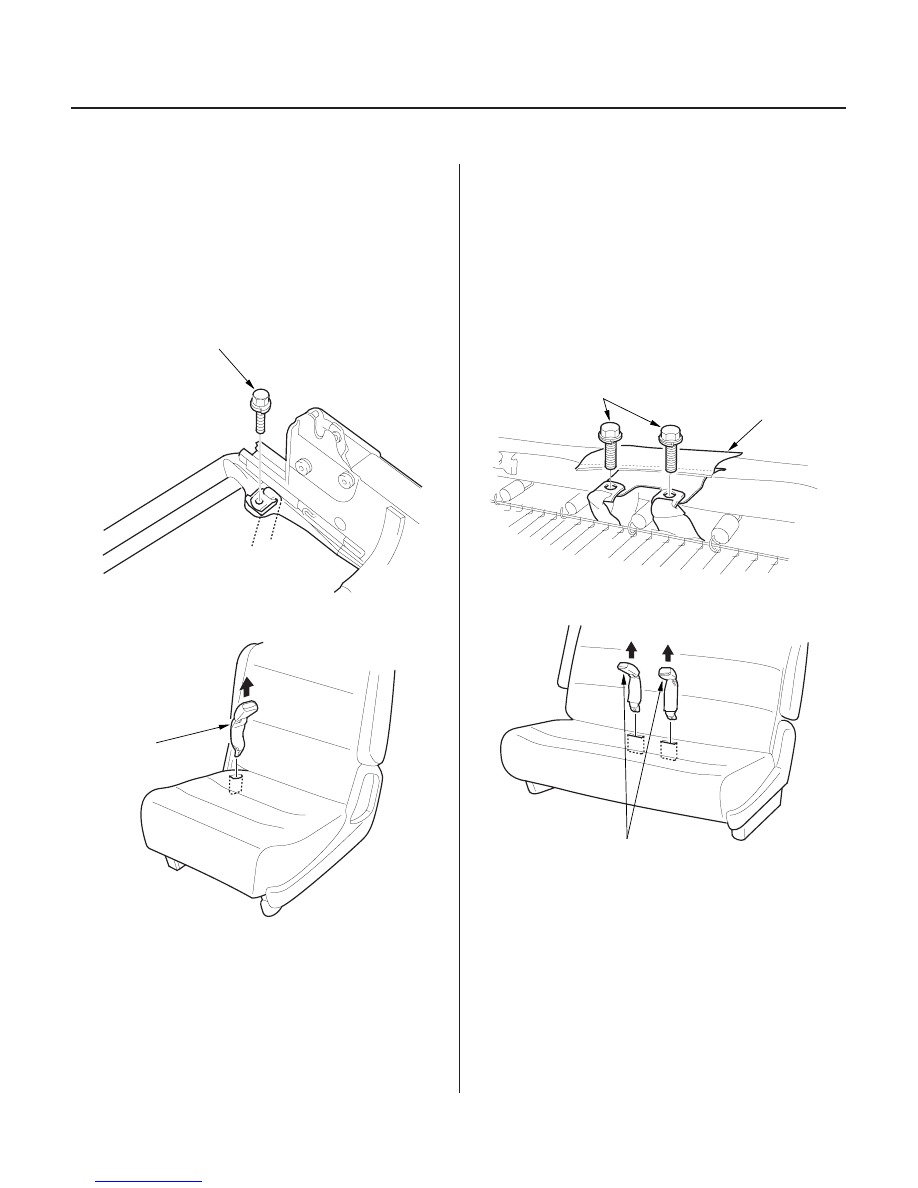
1. Remove the second row seat through the door
opening.
2. Remove the center anchor bolt (A) from under the
seat cushion.
3. Remove the seat belt buckle (A).
4. Install the buckle in the reverse order of removal,
and apply liquid thread lock to the anchor bolt
before reinstallation.
1. Remove the second row seat through the door
opening.
2. Release two clips fastening the cushion cover (see
step 3 on page 20-117).
3. Turn the cushion cover (A) and remove the center
anchor bolts (B) from under the seat cushion.
4. Remove the seat belt buckles (A).
5. Install the buckles in the reverse order of removal,
and apply liquid thread lock to the anchor bolts
before reinstallation.
03/07/29 10:30:39 61S0X050_230_0010