Great Wall Hover. Manual - part 10
N
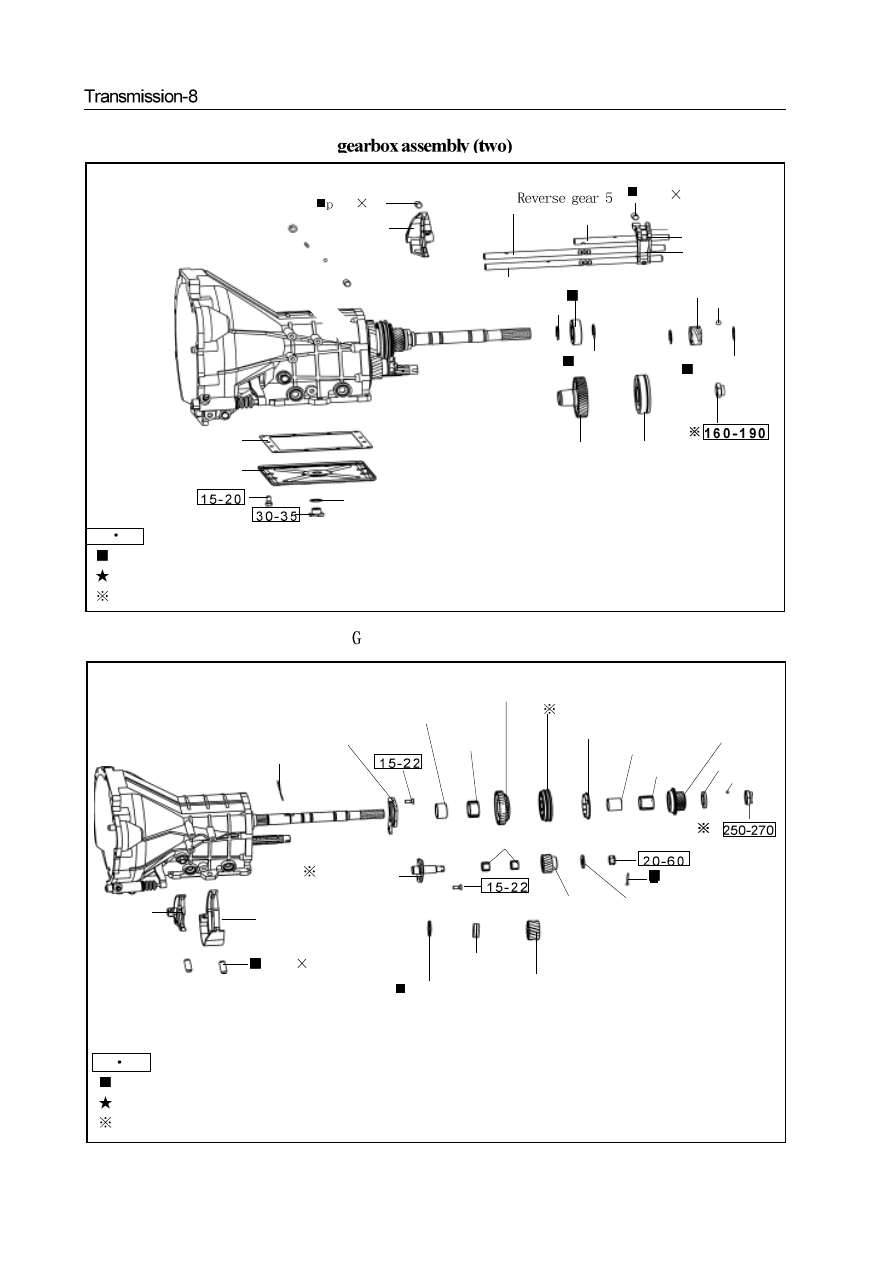
m: specified torque
Used component which can not be used any more.
Pregummed component
Use the special tools
aluminum
washer
lower cover plate assembly
bush
gear 5 drive gear ball bearing
circlip for shaft
steel ball
odometer drive gear
circlip for shaft
ball bearing
circlip for shaft
reverse gear 5
shift fork
in 6
22
declutch shift shaft for
first and secondea
gear 3/4 declutch
shift shaft
declutch shift shaft
pin 5
22
gear 1/2 shift-
ing block
gear 3/4 shifting
block
earbox assembly (three)
steel ball 4.762
pin 6
22
gear 1/2 shift fork
adjusting shim
spacing ring
reverse drive gear
reverse shaft
needle bearing
reverse gear
thrust washer
split pin
grease baffle of air duct
support axial lock plate
reverse needle bearing bushing
needle bearing
thrust washer
gear 5 needle
bearing bushing
synchronizer gear ring
reverse gear 5 synchronizer assembly
N
m: specified torque
Used component which can not be used any more.
Pregummed component
Use the special tools
gear 3/4
shift fork
reverse driven gear assembly
needle bearing
gear 5 driven
gear assembly