BMW 3 (E46). Manual - part 118


  Index      BMW     BMW 3 (E46) - service repair manual 2006 year


Search            


Content   ..  116  117  118  119   ..


BMW 3 (E46). Manual - part 118


 -

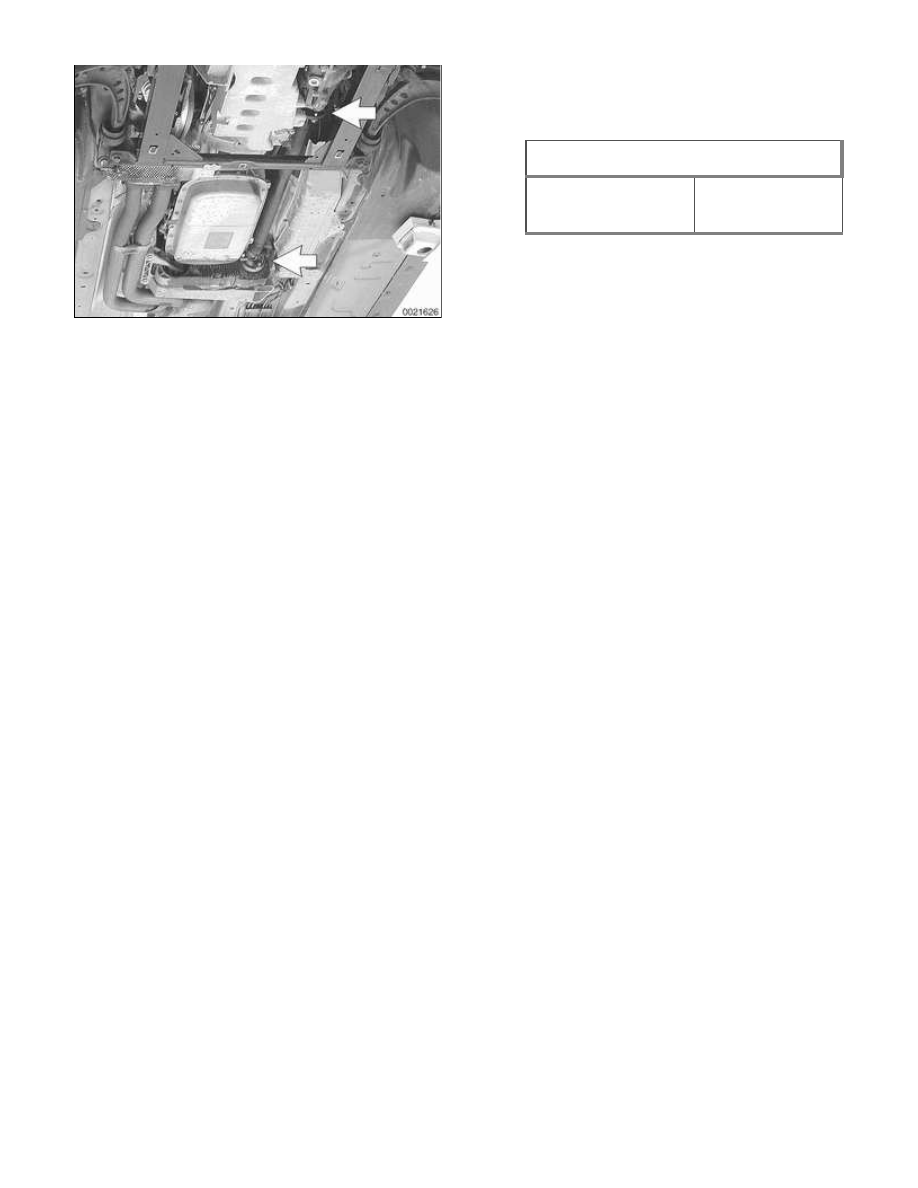
Installation is reverse of removal.

Tightening torques

Driveshaft to drive
flange (M10)

70 Nm (52 ft-lb)

270-1


General

This repair group covers removal and
installation of the all wheel drive
transfer case. Internal transfer case
repair is not covered. Special press
tools and procedures are required to
disassemble and service the internal
geartrain.

Some procedures covered in this repair
group will require you to refer to the
following repair groups:


180 Exhaust System


260 Driveshaft

The transfer case is used in all wheel
drive models to direct power from the
transmission to both the front and rear
differentials via driveshafts. This
transfer case is unique in that it
delivers 38% of the transmission's
torque output to the front differential,
and 62% of the torque to the rear.
Unlike the transfer cases used in many
four wheel drive trucks, the transfer
case used is a single range unit,
permanently engaged to drive all four
wheels all of the time.

270-2


Transfer Case


Transfer case, removing and
installing

 -

Raise vehicle and safely support
to access transfer case.

WARNING!

When raising the car using a
floor jack or a hydraulic lift,
carefully position the jack pad to
prevent damaging the car body.
A suitable liner (wood, rubber,
etc.) should be placed between
the jack and the car to prevent
body damage.

Watch the jack closely. Make
sure it stays stable and does not
shift or tilt. As the car is raised,
the car may roll slightly and the
jack may shift.

 -

Remove engine splash guard from
underside of vehicle.

 -

Remove exhaust system. See 
 

180 Exhaust System

.

Remove exhaust system heat shields
(arrows).

 -

Remove front drive shaft. See 
 

260 Driveshaft

.

 -

Support transmission with
transmission jack or suitable shop
hoist.

Remove transmission crossmember
(arrows).

 -

Detach transfer case vent tube.

 -

Keeping the driveshaft in place,
remove nuts retaining rear
driveshaft to transfer case at
flexible disc.

CAUTION!

Do not allow the driveshaft to hang
down. This may damage universal
joints at drive shaft ends.

 -

Support rear driveshaft center
bearing and release mounting
nuts.

 -

Lower rear driveshaft at center
bearing and remove from
transmission output flange at
flexible disk. Support from vehicle
body using stiff wire.

Remove bolts retaining transfer case to
transmission and remove transfer case.

 -

Installation is reverse of removal,
noting the following:

Replace dowel pins in transfer
case mounting surface if
damaged.

Coat dowel pins with anti-seize


Content   ..  116  117  118  119   ..