BMW 3 (E46). Manual - part 116
 

  Index      BMW     BMW 3 (E46) - service repair manual 2006 year


Search            


Content   ..  114  115  116  117   ..


BMW 3 (E46). Manual - part 116


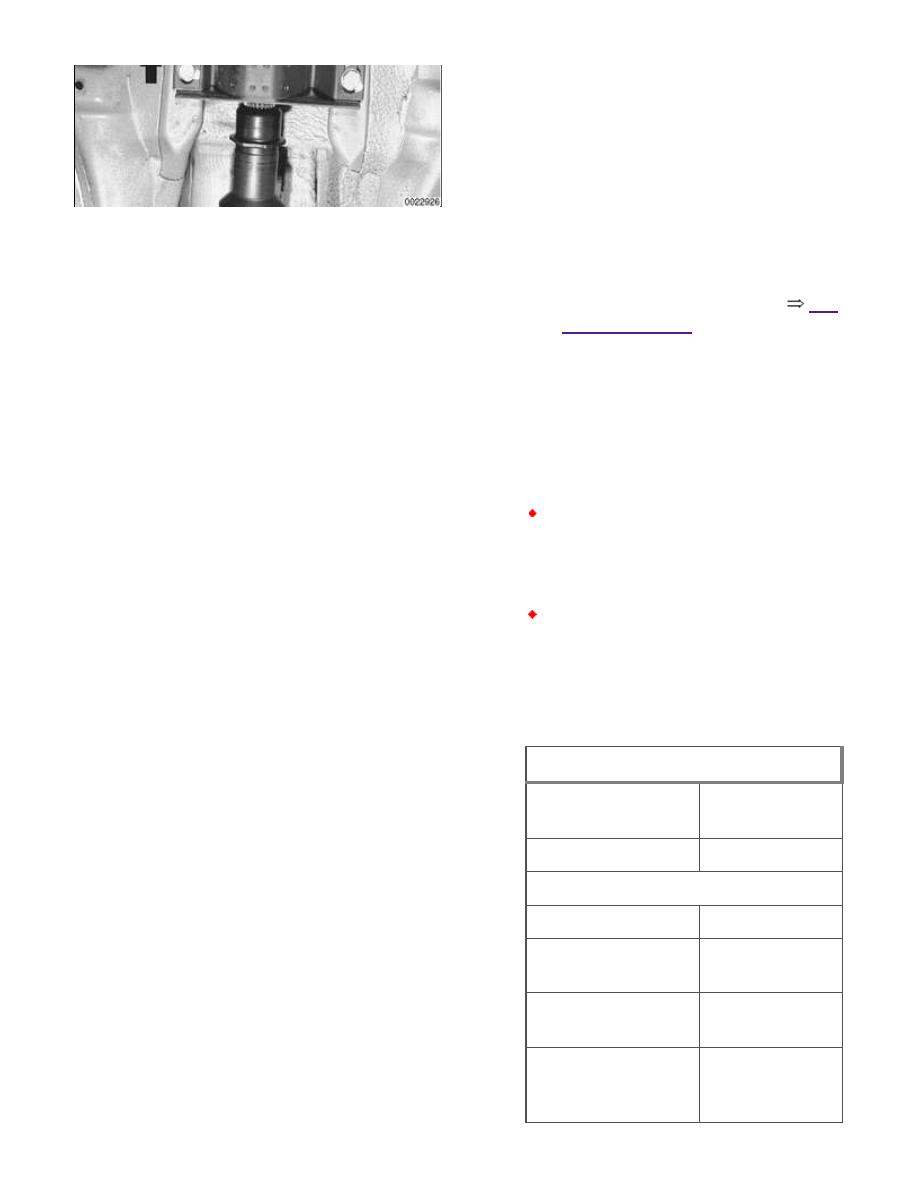
height of the center bearing or
transmission support using shims is
3 mm (0.12 in.).

 -

Tighten threaded sleeve on
driveshaft to proper torque.

 -

Install heat shields.

 -

Install exhaust system. See 


180

Exhaust System

. Connect wiring

harness to oxygen sensors.

 -

Road test vehicle to check for
noise or vibration.

WARNING!

Do not reuse self-locking nuts.
These nuts are designed to be
used only once.

Avoid stressing the flex-disc
when torquing the bolts. Do this
by holding the bolts steady and
turning the nuts on the flange
side.

Tightening torques

Center bearing to
body

21 Nm (15 ft-lb)

Clamping sleeve

10 Nm (89 in-lb)

Drive axle to differential flange

M10 Torx bolt

83 Nm (61 ft-lb)

M10 with locking
teeth (replace bolts) 96 Nm (71 ft-lb)

M10 with ribbed
teeth (black)

100 Nm (74

ft-lb)

M10 with ribbed
teeth (silver) ZNS

80 Nm (59 ft-lb)

Tightening torques

(replace bolts)

Flex-disc to driveshaft or transmission
flangE

M10 (8.8 grade)

48 Nm (35 ft-lb)

M10 (10.9 grade)

60 Nm (44 ft-lb)

M12 (10.9 grade)

100 Nm (74

ft-lb)

Transmission
crossmember to
body (M8)

21 Nm (15 ft-lb)

Note:

Bolt grade is marked on the bolt head.
When replacing bolts, only use bolts of
the same strength and hardness as the
originals installed.


Flex-disc, replacing

The flex-disc between the front section
of the rear driveshaft and the output
flange of the transmission or transfer
case should be checked for cracks,
tears, missing pieces, or distortion.
Check for worn bolt hole bores in the
flange.

 -

Remove driveshaft as described
earlier.

Note:

It is possible to only partially remove
the driveshaft, leaving it connected to
the final drive. The driveshaft can be
tilted down in the center and slid off the
transmission flange once the clamping
sleeve is loosened and the center
bearing bracket is unbolted. Suspend
the driveshaft using stiff wire in as
close to the installed position as
possible. If the driveshaft hangs

unsupported, the rear universal joint
may be damaged.

 -

Unbolt flex-disc from driveshaft.

Note:

Removal and installation of the bolts
may be made easier by placing a large
hose clamp around the flex-disc, and
tightening the clamp slightly to
compress the coupling.

Install new flex-disc using new
self-locking nuts. Molded arrows on
coupling should face flange arms.

 -

Install driveshaft as described
earlier.

Note:

Torque only the nuts while holding the
bolt heads. This will prevent damaging
or fatiguing the rubber.

Tightening torques

Center bearing to
body

21 Nm (15 ft-lb)

Clamping sleeve

10 Nm (89 in-lb)

Drive axle to differential flange

M10 Torx bolt

83 Nm (61 ft-lb)

M10 with locking
teeth (replace bolts) 96 Nm (71 ft-lb)

M10 with ribbed
teeth (black)

100 Nm (74

ft-lb)

M10 with ribbed
teeth (silver) ZNS
(replace bolts)

80 Nm (59 ft-lb)

Flex-disc to driveshaft or transmission
flange

M10 (8.8 grade)

48 Nm (35 ft-lb)

Tightening torques

M10 (10.9 grade)

60 Nm (44 ft-lb)

M12 (10.9 grade)

100 Nm (74

ft-lb)

Transmission
crossmember to
body (M8)

21 Nm (15 ft-lb)


Center bearing assembly,
replacing

To replace the center bearing
assembly, the driveshaft must be
removed from the car. The center
bearing assembly consists of a grooved
ball bearing in a rubber mount. The
bearing assembly is pressed onto the
front section of the driveshaft and
secured by a circlip.

 -

Remove rear driveshaft. See 
 

Rear driveshaft, removing

.

 -

Match mark front and rear
driveshaft sections before
separating.

 -

Loosen clamping sleeve fully and
pull driveshaft sections apart.
Remove rubber bushing, washer,
and clamping sleeve from front
section.

 -

Inspect condition of rubber
bushing for splined coupling.
Replace worn or damaged parts.

Remove center bearing circlip (arrow)
and dust guard.

 -

Install puller so that it pulls on


Content   ..  114  115  116  117   ..