Snowmobile Polaris High Performance (2001 year). Manual - part 22
ENGINE
2.34
Assembly
1.
Clean
all
parts
with
solvent
and
dry
with
compressed air.
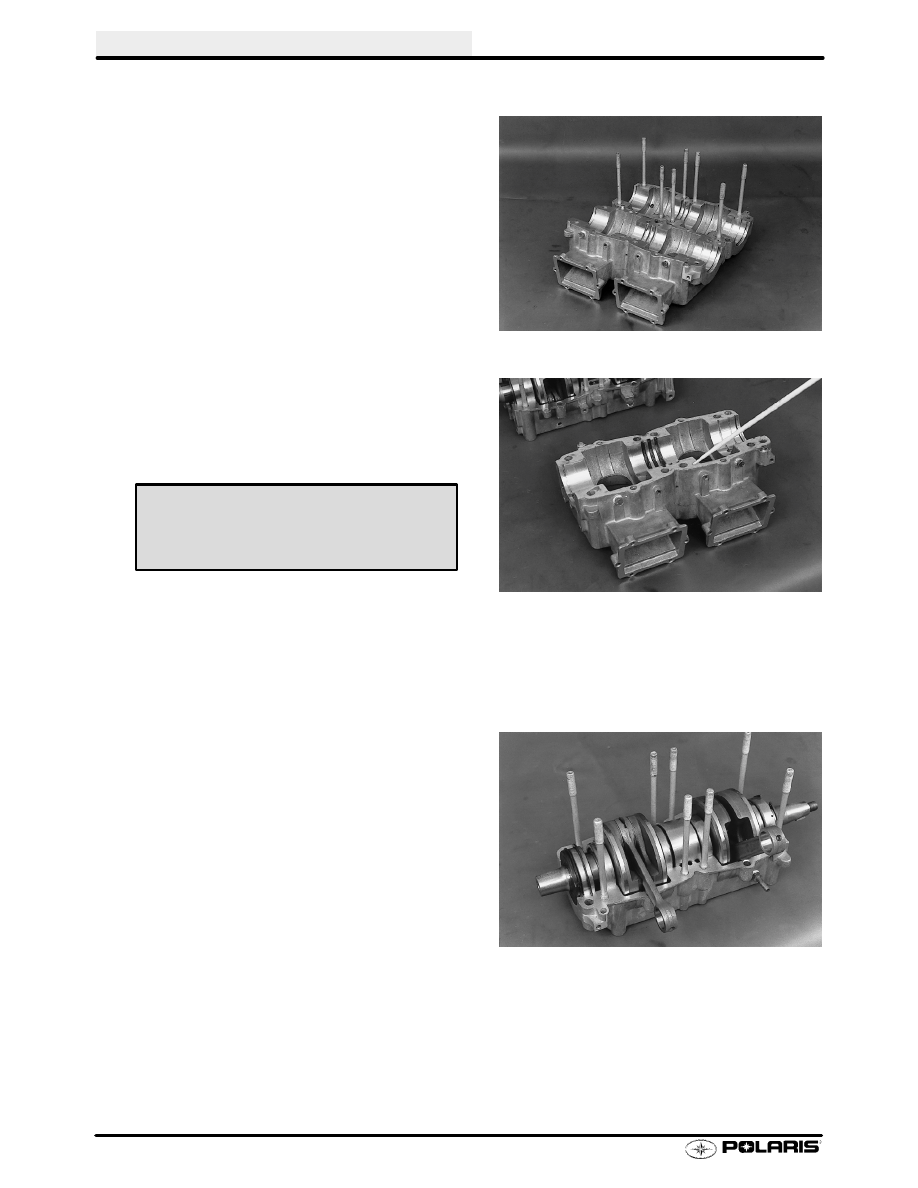
2.
Apply 3-Bond
1215 sealant to upper crankcase
half.
NOTE: Use only 3-Bond
1215 sealant. Curing time
and film thickness are critical for proper bearing clear-
ance.
3.
Set crankshaft in lower crankcase. Lubricate seal
lips with Premium All Season Grease. Make sure
seals are positioned properly with lip and spring
facing inward toward crankshaft. Install snap rings
with gap facing upward toward upper case half.
3-Bond
1215
PN 2871557
120 Gram Tube