Volvo V40 Cross Country (2018 year). Instruction - part 17
STARTING AND DRIVING
}}
293
Foot brake - emergency brake
assistance
Emergency brake assistance EBA (Emergency
Brake Assist) helps to increase the braking force
and so reduce the braking distance.
EBA detects the driver's braking style and increa-
ses the braking force when necessary. The brake
force can be reinforced up to the level when the
ABS system is engaged. The EBA function is
interrupted when the pressure on the brake pedal
is reduced.
When EBA is activated the brake pedal low-
ers slightly more than usual, depress (hold)
the brake pedal as long as necessary. If the
brake pedal is released then all braking
ceases.
Related information
•
•
•
Foot brake - emergency brake lights and
automatic hazard warning flashers (p. 292)
•
Foot brake - anti-lock braking system
(p. 292)
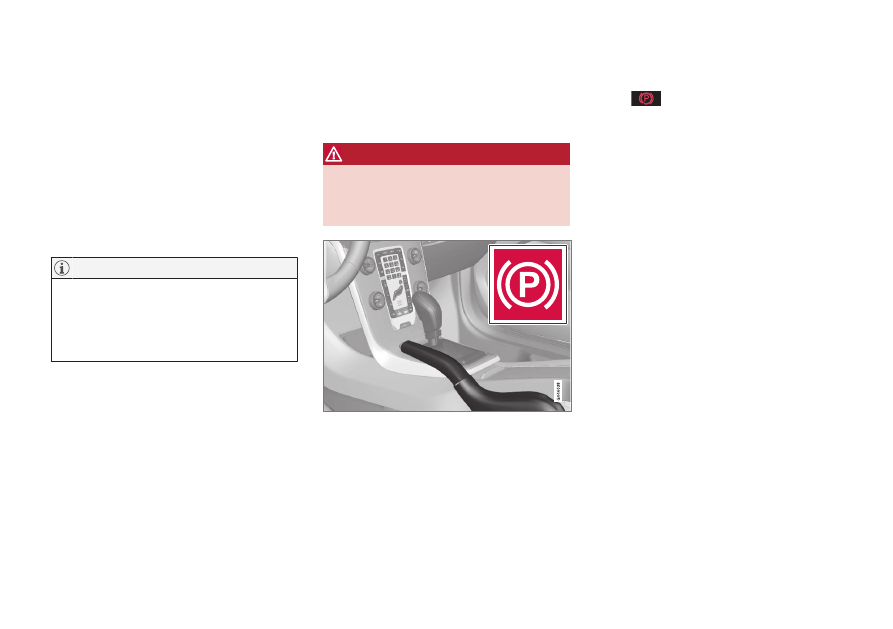
Parking brake
The parking brake prevents the car from rolling
away from stationary by means of mechanically
locking/blocking two wheels.
WARNING
Always apply the parking brake when parking
on a slope - leaving the car in gear, or in P if it
has automatic transmission, is not sufficient
to hold the car in all situations.
Combined instrument panel warning symbol.
Applying the parking brake
1. Press the foot brake pedal down firmly.
2. Pull the lever firmly.
>
The combined instrument panel
warning symbol comes on. The warning
symbol illuminates regardless of whether
the parking brake is applied gently or
firmly.
3. Release the foot brake pedal and make sure
that the car is at a standstill position.
4. If the vehicle moves then the parking brake
lever must be applied at least a little more
firmly.
When parking the vehicle, always engage 1st
gear (for manual gearbox) or put the gear selec-
tor in position P (for automatic gearbox).
Parking on a hill
If the car is parked facing uphill:
•
Turn the wheels away from the kerb.
If the car is parked facing downhill:
•
Turn the wheels towards the kerb.
Disengaging the parking brake
1. Press the foot brake pedal down firmly.
2. Pull the lever up slightly, press the button,
release the lever and release the button.
> The combined instrument panel warning
symbol goes off.
If the driver forgets to release the parking brake –
in addition to the illuminated warning lamp – a
pinging sound combined with a message in the