Volkswagen Golf / Golf GTI / Golf Variant. Manual - part 312
5
Door Windows
⇒ “5.1 Overview - Front Door Window”, page 380
⇒ “5.2 Overview - Rear Door Window”, page 381
⇒ “5.3 Overview - Fixed Rear Door Window”, page 382
⇒ “5.4 Front Door Window, Removing and Installing”, page 382
⇒ “5.5 Rear Door Window, Removing and Installing”, page 387
⇒ “5.6 Fixed Rear Door Window, Removing and Installing”, page
5.1
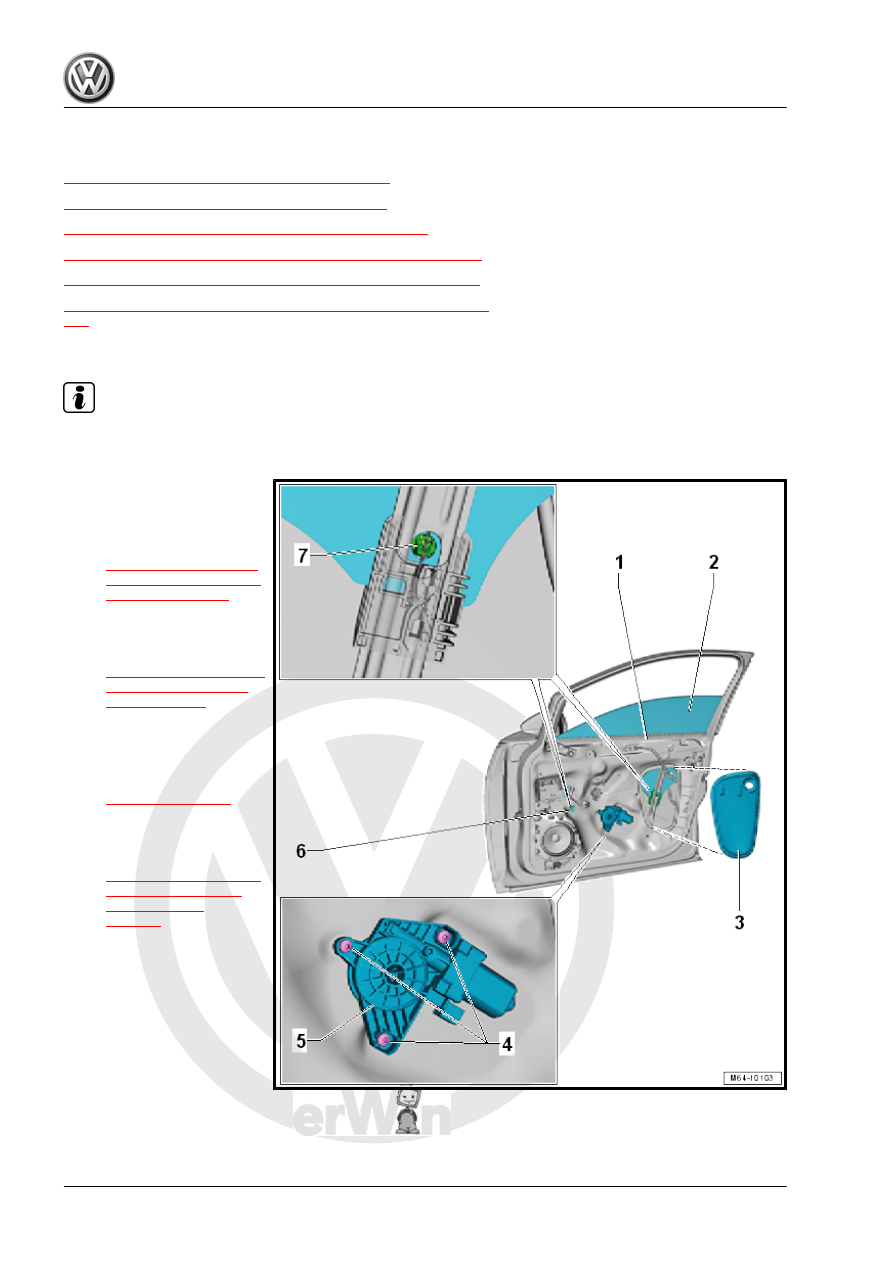
Overview - Front Door Window
Note
The illustration shows the left side. The right side is identical.
1 - Front Door
2 - Front Door Window
❑ Removing and instal‐
ling. Refer to
3 - Door Inner Cover
❑ Removing and instal‐
ling. Refer to
4 - Bolt
❑ Quantity: 3
❑ Tightening specification
-item 4-
.
5 - Window Regulator Motor
❑ Removing and instal‐
ling. Refer to
6 - Cable Bushing
7 - Hooks
❑ Quantity: 2
❑ For attaching the door
window on the window
regulator