Volkswagen Golf / Golf GTI / Golf Variant. Manual - part 310


  Index      Volkswagen     Volkswagen Golf / Golf GTI / Golf Variant - service repair manual 2013 year


Search            copyright infringement  


Content   ..  308  309  310  311   ..


Volkswagen Golf / Golf GTI / Golf Variant. Manual - part 310


– While cutting free, press the cutting wire -3- against the rear

window using the Flush Bonded Window Kit - Wedge (5 pc.) -

VAG1474/5- in order to have clearance on the body flange.

– Then cut the rear window free at the bottom.
– Hold the rear window with two suction lifter when cutting free.

Caution

More force will be needed because at the bottom of the rear

window two adhesive beads will be cut through.

– Remove the rear window at the two suction lifters from the rear

window.

Installing
Install in reverse order of removal. Note the following:
– Prepare the undamaged window for glazing. Refer to

⇒ “1.4 Undamaged Window Glass, Preparing for Installation”,

page 357

 .

– Prepare the new window glass for glazing. Refer to

⇒ “1.5 New Window Glass, Preparing for Installation”,

page 357

 .

– Prepare the body flange for glazing. Refer to

⇒ “1.6 Body Flange, Preparing for Installation”, page 359

 .

– Installation Instructions. Refer to

⇒ “1.3 Installation Instructions for Bonded Window Glass”,

page 356

 .

– Minimum Curing Time. Refer to

⇒ “1.1 Minimum Curing Times for Bonded Windows”,

page 355

 .

3.2.2

Damaged Rear Window, Removing

– Protect the body and vehicle interior from glass splinters.
– Remove the glass pieces up to the adhesive.
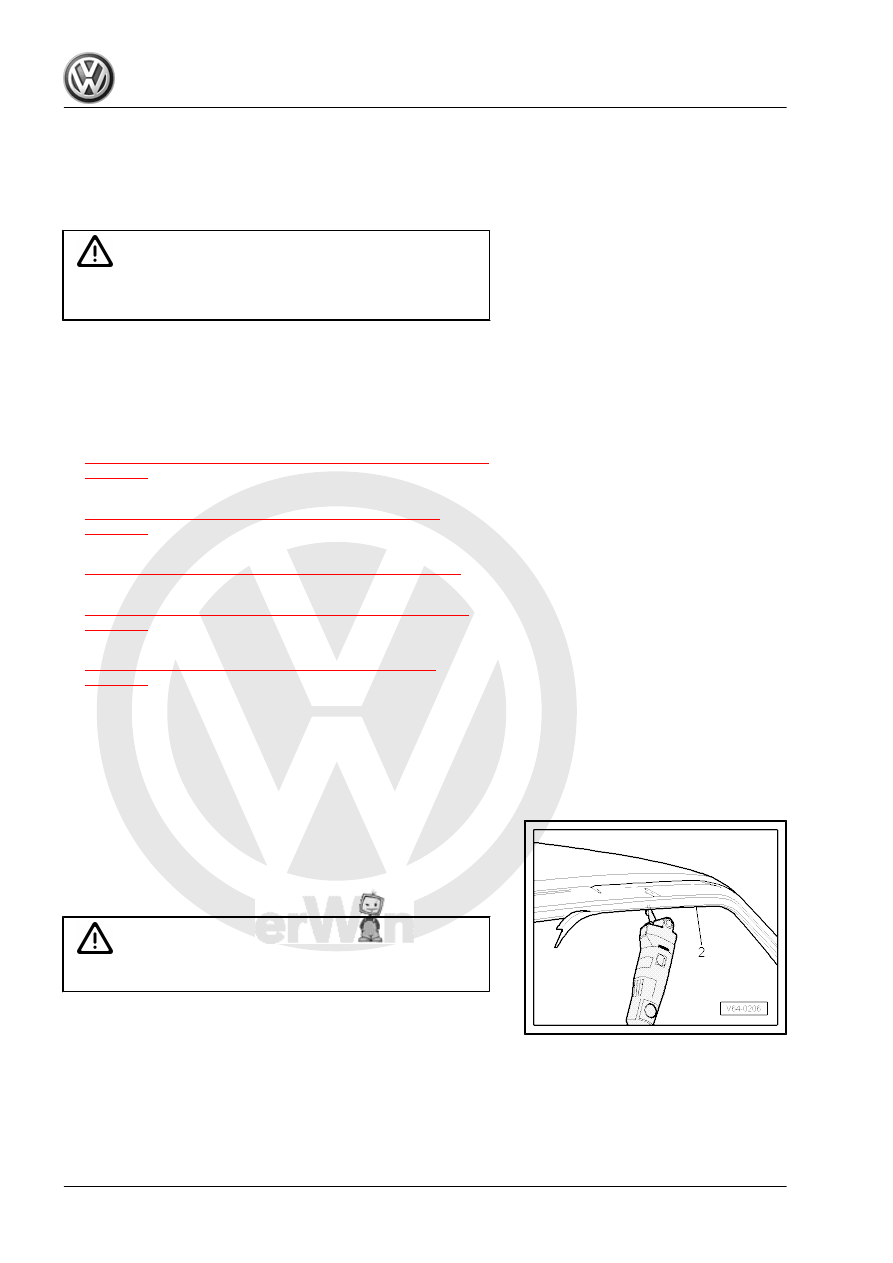
– Remove the connections for the window defogger and anten‐

na.

– Bond the flange -2- all around with fabric reinforced adhesive

tape.

– Cut through the adhesive (with the remaining glass) in the

window opening with the Window Cutter - VAG1561A- and the

Window Cutter - VAG1561- .

WARNING

Always wear protective eyewear and leather gloves.

4

Side Windows

⇒ “4.1 Overview - Front Side Window”, page 373
⇒ “4.2 Overview - Rear Side Window”, page 374
⇒ “4.3 Front Side Window, Removing and Installing”, page 375
⇒ “4.4 Rear Side Window, Removing and Installing”, page 377

4.1

Overview - Front Side Window

1 - Centering Clip
2 - Clip

❑ Quantity: 2

3 - Side Window

❑ Removing and instal‐

ling. Refer to

⇒ “4.3 Front Side Win‐

dow, Removing and In‐

stalling”, page 375

 .

4 - Seal

❑ Part of the front side

window

5 - PUR Adhesive Sealant

❑ Bead diameter: width =

6.5 mm dimension -a-,

height = 10 mm dimen‐

sion -b- (including resid‐

ual material on window

glass and window glass

flange)

❑ Minimum curing time.

Refer to

⇒ “1.1 Minimum Curing

Times for Bonded Win‐

dows”, page 355

 .

4.2

Overview - Rear Side Window

⇒ “4.2.1 Overview - Rear Side Window, Sedan”, page 374
⇒ “4.2.2 Overview - Rear Side Window, Wagon”, page 375

4.2.1

Overview - Rear Side Window, Sedan

1 - Side Window

❑ Side window, removing.

Refer to

⇒ “4.4 Rear Side Win‐

dow, Removing and In‐

stalling”, page 377

 .

2 - Seal

❑ Part of the rear side win‐

dow

3 - PUR Adhesive Sealant

❑ Bead diameter: Height =

10 mm dimension -b-,

width = 6.5 mm dimen‐

sion -a- (including pre-

coating, residual materi‐

al on window glass and

window glass flange)

❑ Minimum curing time.

Refer to

⇒ “1.1 Minimum Curing

Times for Bonded Win‐

dows”, page 355

 .

4 - Body Flange
5 - Gap Dimension

❑ Must be applied evenly.

4.2.2

Overview - Rear Side Window, Wagon

1 - Side Window

❑ Side window, removing.

Refer to

⇒ “4.4.1 Rear Side Win‐

dow, Removing and In‐

stalling”, page 377

 .

2 - PUR Adhesive Sealant

❑ Bead diameter: Height =

10 mm -dimension b-,

width = 6.5 mm

-dimension a- (including

pre-coating, residual

material on window

glass and window glass

flange)

❑ The width of the glass/

paint primer application

is 14 mm -dimension c-

❑ Minimum curing time

3 - Body Flange
4 - Guide Clip

❑ Quantity: 2

4.3

Front Side Window, Removing and In‐

stalling

⇒ “4.3.1 Front Side Window, Removing and Installing”,

page 375
⇒ “4.3.2 Damaged Front Side Window, Removing”, page 377

4.3.1

Front Side Window, Removing and Installing

WARNING

Always wear protective eyewear and leather gloves.

Note

The Cutting Tool for Bonded Windows - Wire Reel - VAS6452/1- is used to remove the front side window.


Content   ..  308  309  310  311   ..