Volkswagen Golf / Golf GTI / Golf Variant. Manual - part 278
 

  Index      Volkswagen     Volkswagen Golf / Golf GTI / Golf Variant - service repair manual 2013 year


Search            copyright infringement  


Content   ..  276  277  278  279   ..


Volkswagen Golf / Golf GTI / Golf Variant. Manual - part 278


– Remove the seal -5- from the assembly frame.
– Only loosen both front left and right screws -4- for the front

glass panel -2-.

– Adjust the front glass panel -3- according to the dimensions.

Refer to 

⇒ page 245

 .

– Tighten the left and right screws -4-.
– Install the trim. Refer to

⇒ “1.6.4 Glass Panel, Removing and Installing, Wagon”, page

233

 .

– Install the seal -5- on the frame.
Tightening Specifications

1.9

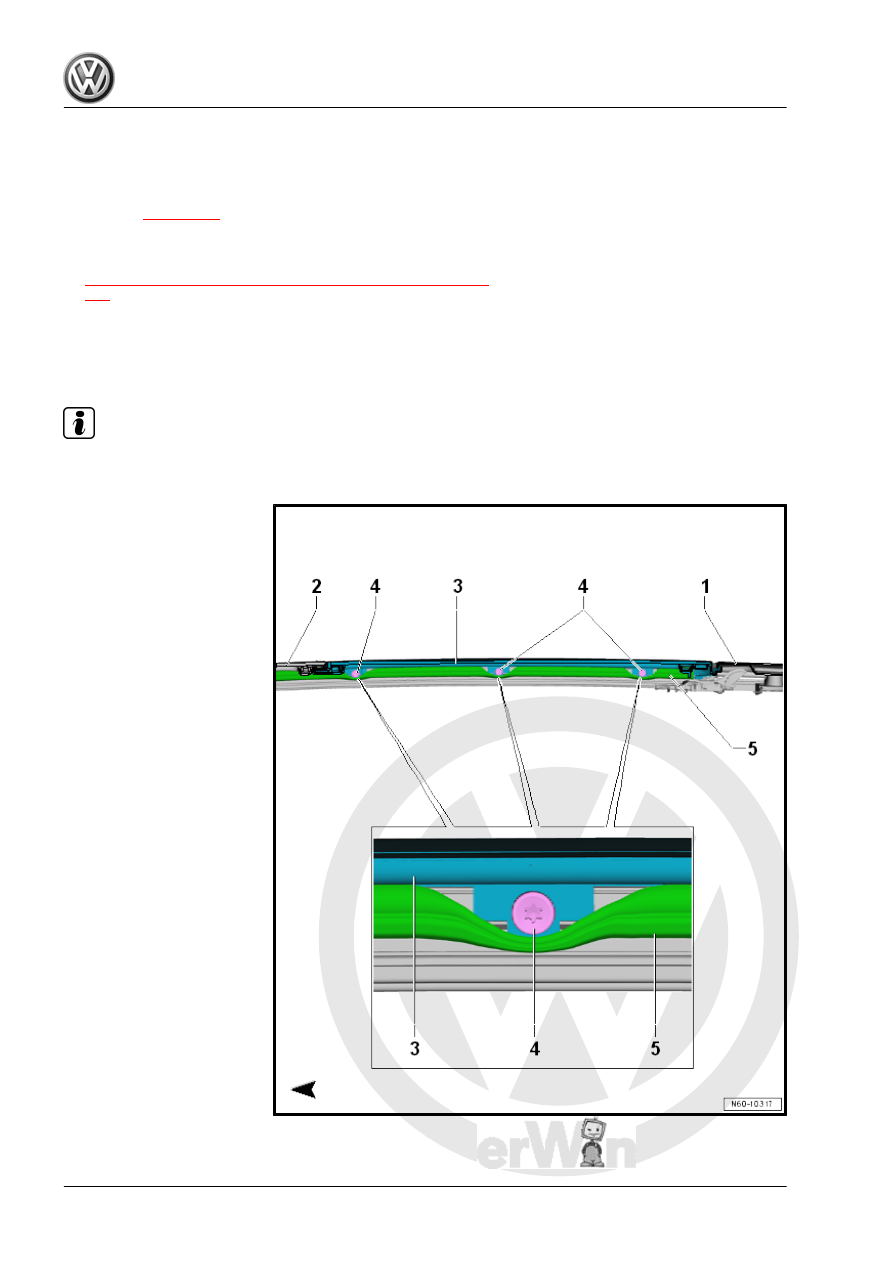
Rear Glass Panel, Adjusting

Note

The arrow points in the direction of travel.

– Pull off the inner seal -5-.

– Loosen the bolts -4- from the rear glass panel -3-.
– Adjust the rear glass panel -3- according to the dimensions.

Refer to 

⇒ page 245

 .

– Tighten the left and right screws -4-.
– Install the seal -5- on the frame.
Tightening Specifications

1.10

Height Adjustment, Checking

Note

♦

The front glass panel is only adjusted at the front edge and the rear glass panel only at the rear edge.

♦

To achieve the best possible external appearance, make sure that the adjustment on the left and right sides

is performed evenly (symmetrically).

♦

The arrow points in the direction of travel.

Height Adjustment, Checking
– Use a depth gauge to check the adjustment of the front glass

panel -1- and the rear sunroof panel -2-.

If the measured values deviate from the specified values, then the

glass sunroof panel must be adjusted accordingly.

1.11

Slotted Guide Rail Guide, Removing

and Installing

⇒ “1.11.1 Slotted Guide Rail Guide, Removing and Installing, Se‐

dan through 02/2015”, page 246
⇒ “1.11.2 Slotted Guide Rail Guide, Removing and Installing, Se‐

dan from 03/2015”, page 250

1.11.1

Slotted Guide Rail Guide, Removing

and Installing, Sedan through 02/2015

Special tools and workshop equipment required
♦ Torque Wrench 1783 - 2-10Nm - VAG1783-

Caution

A visual inspection when the sliding sunroof is open on the

vehicle is essential to order the correct replacement part. Refer

to 

⇒ “1.1 Characteristics - Sliding Sunroof, Sedan”, page 193

Note

♦

The guide rails and the mounting carrier form one unit.

♦

The cables and the tilting mechanism are integrated in this component and cannot be replaced individually.

Removing
– Remove the headliner. Refer to ⇒  Body Interior; Rep. Gr.  70 ;

Roof Trim Panels; Headliner, Removing and Installing .

– Remove the glass panel. Refer to

⇒ “1.6 Glass Panel, Removing and Installing”, page 223

 .

– Mark the position -4- of the guide rails -1- on the sunroof frame

-3-.

– Remove the screws -2-.


Content   ..  276  277  278  279   ..