Toyota Land Cruiser (2021 year). Manual in english - part 8
464
LC200_OM_OM60T03U_(U)
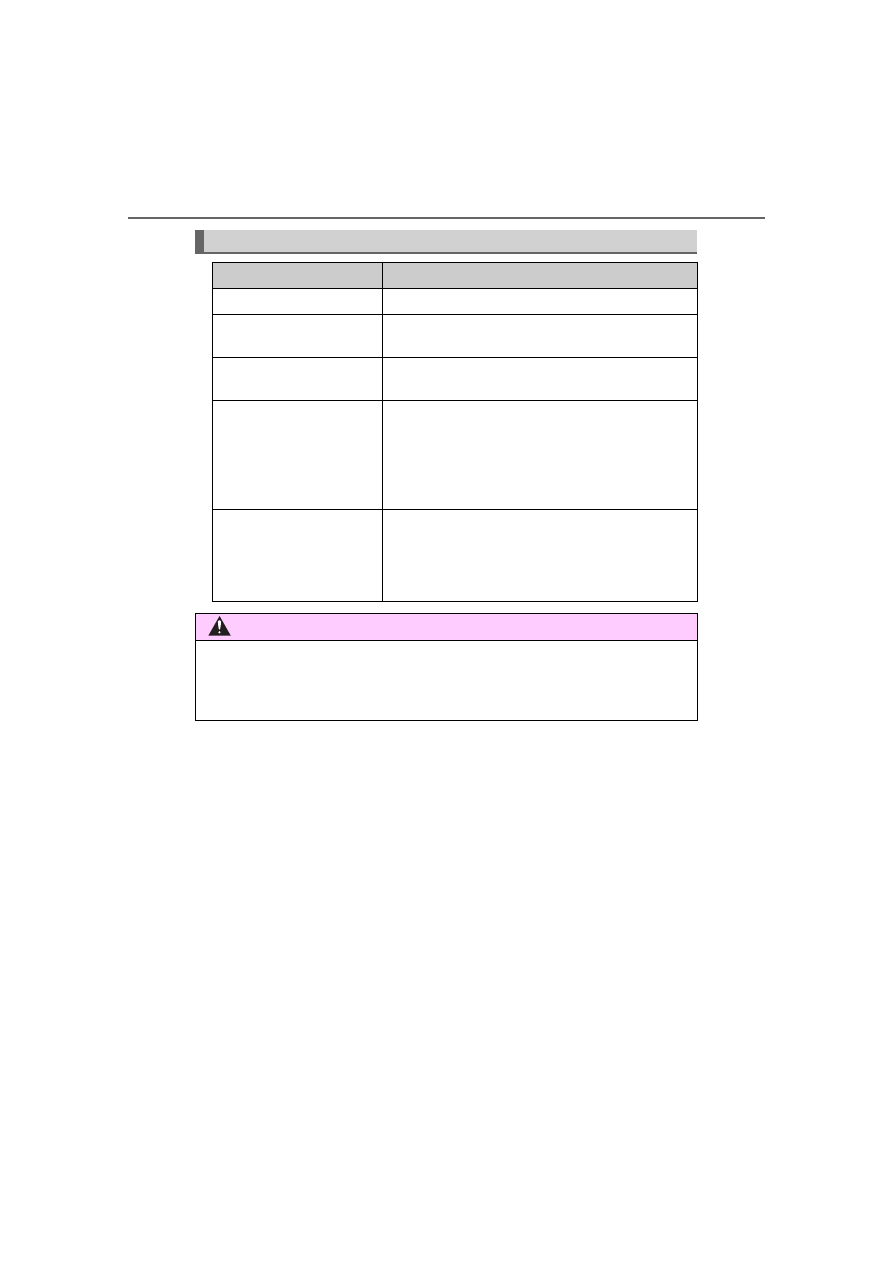
Vehicle exterior
Items
Check points
Doors
• Do the doors operate smoothly?
Engine hood
• Does the engine hood lock system work prop-
erly?
Fluid leaks
• There should not be any signs of fluid leakage
after the vehicle has been parked.
Tires
• Is the tire inflation pressure correct?
• The tires should not be damaged or exces-
sively worn.
• Have the tires been rotated according to the
maintenance schedule?
• The wheel nuts should not be loose.
Windshield wipers/rear
window wiper
• The wiper blades should not show any signs
of cracking, splitting, wear, contamination or
deformation.
• The wiper blades should clear the windshield/
rear window without streaking or skipping.
WARNING
■
If the engine is running
Turn off the engine and ensure that there is adequate ventilation before per-
forming maintenance checks.