Toyota Corolla (2020 year). Owner's manual - part 26
406
6-4. Other interior features
■
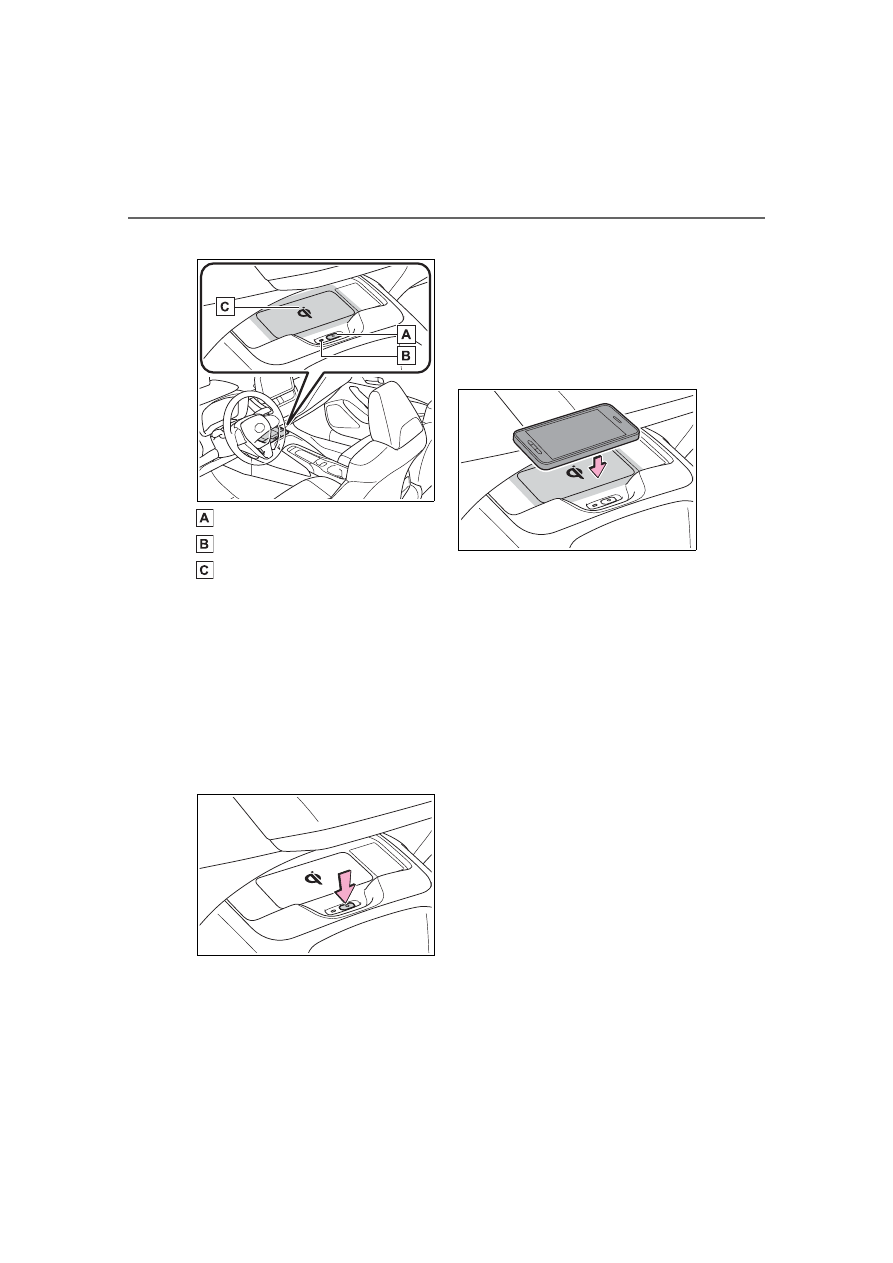
Name for all parts
Power supply switch
Operation indicator light
Charge area
■
Using the wireless charger
1
Press the power supply
switch of the wireless char-
ger.
Pressing the switch again turns the
wireless charger off.
When turned on, the operation indi-
cator light (green) comes on.
When the engine switch is turned
off, the on/off state of the wireless
charger will be memorized.
2
Place a portable device on
the charging area with its
charging surface facing
down.
While charging, the operation indi-
cator light (orange) will be illumi-
nated.
If charging does not begin, move
the portable device as close to the
center of the charging area as pos-
sible.
When charging is complete, the
operation indicator light (green) will
illuminate.
■
Recharging function
If a certain amount of time has
elapsed since charging com-
pleted and the portable device
has not been moved, the
wireless charger will restart
charging.
If the portable device is
moved within the charging
area, charging will stop tem-
porarily then restart.