Toyota Corolla (2020 year). Owner's manual - part 25
390
6-1. Using the air conditioning system and defogger
■
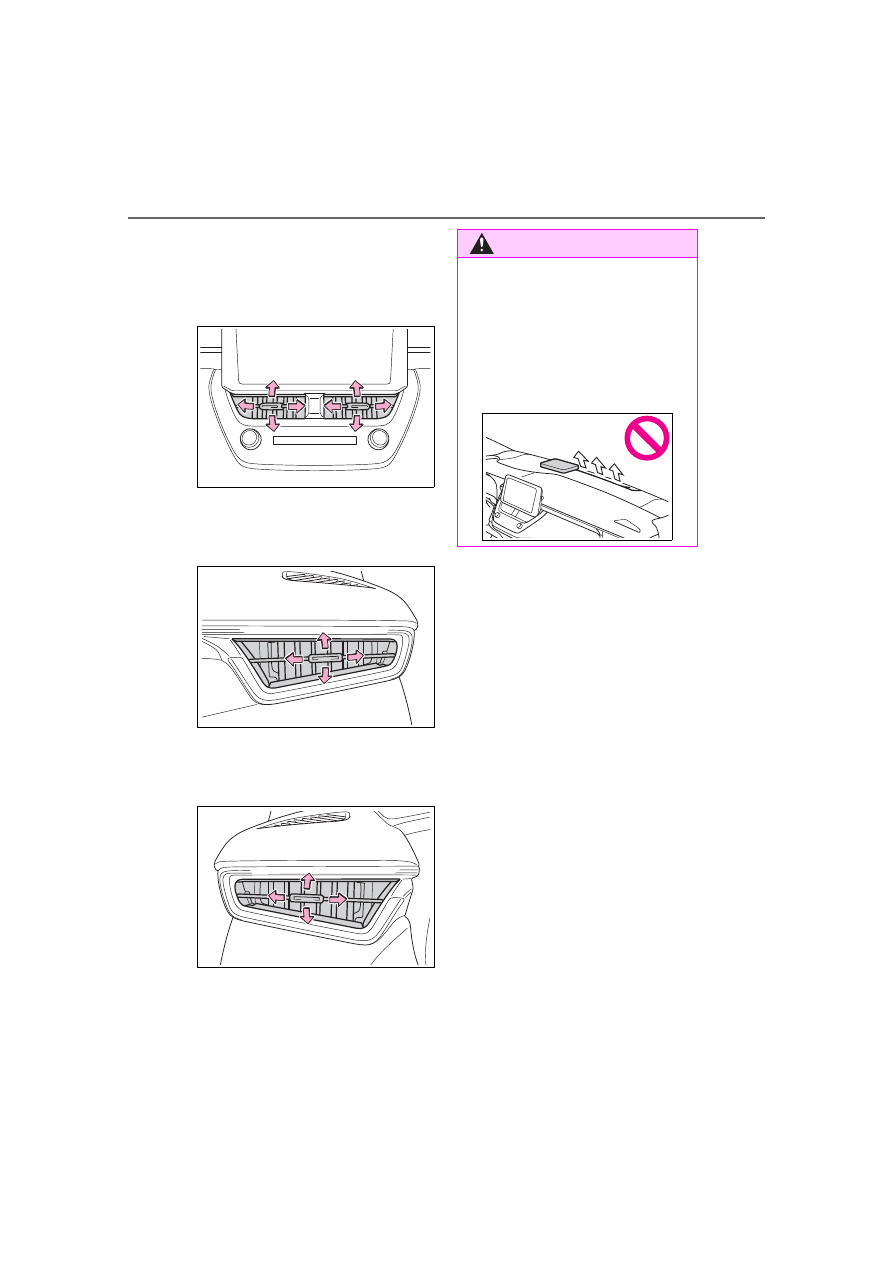
Adjusting the position of
and opening and closing
the air outlets
Front center
Direct air flow to the left or right, up
or down
Front right-hand side
Direct air flow to the left or right, up
or down
Front left-hand side
Direct air flow to the left or right, up
or down
WARNING
■
To prevent the windshield
defogger from operating
improperly
Do not place anything on the
instrument panel which may cover
the air outlets. Otherwise, air flow
may be obstructed, preventing the
windshield defoggers from defog-
ging.