Toyota Tundra (2015 year). Manual - part 2931


  Index      Toyota     Toyota Tundra (2015 year) - Service and Repair Manual


Search            copyright infringement  


Content   ..  2929  2930  2931  2932   ..


Toyota Tundra (2015 year). Manual - part 2931


(1) Remove the release paper and apply the tape carefully with your fingers.

(2) Before applying the tape to each corner, heat the tape using a heat light and gradually apply it to avoid

wrinkles in the tape and achieve a neat finish.

(g) Check after installation

(1) After completing the application, check if the tape is applied neatly. If the tape is not applied neatly,

apply new tape.

NOTICE:

Do not reuse the tape.

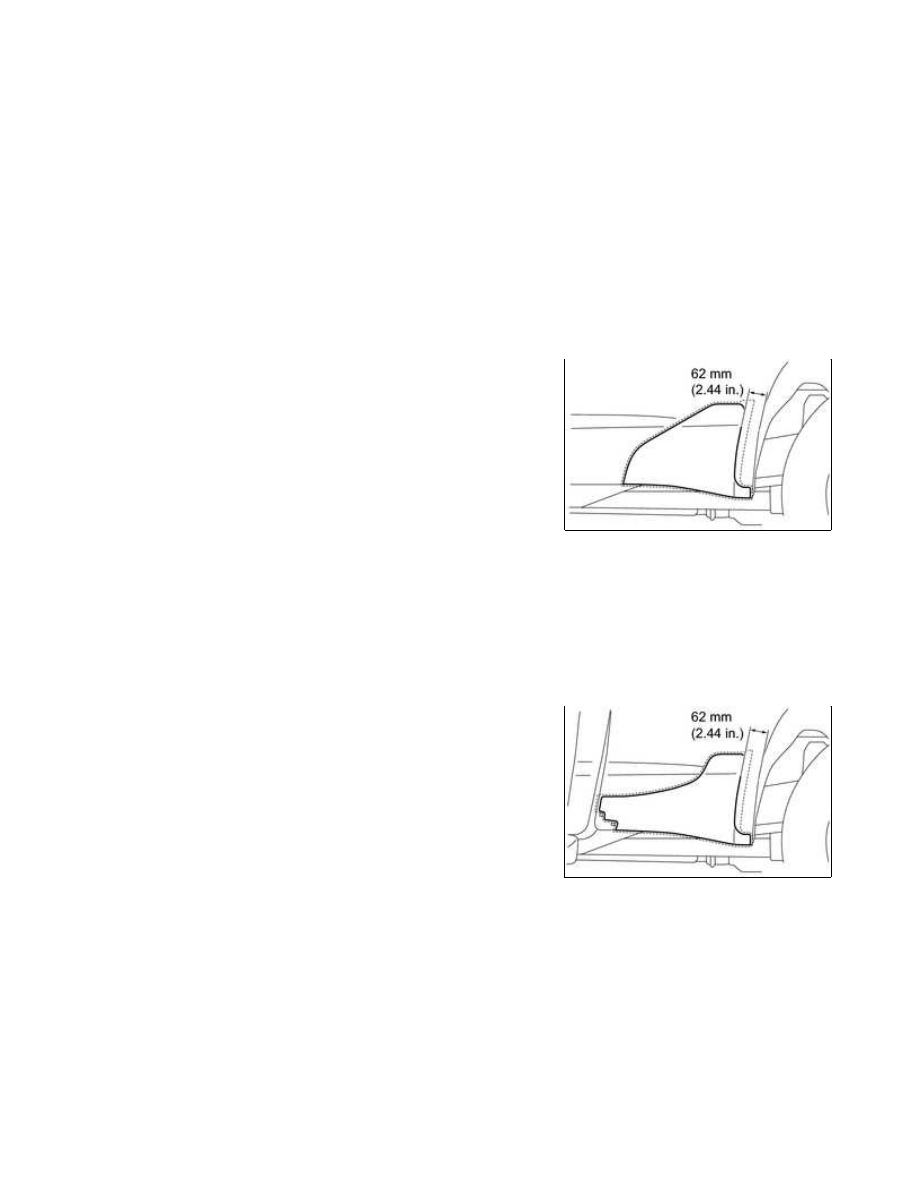
(h) for Regular Cab:

(1) Using a heat light, heat the vehicle body and a new rear

body No. 3 protector LH.

body No. 3 protector LH.

(1) Using a heat light, heat the vehicle body and a new rear

body No. 3 protector LH.

body No. 3 protector LH.

EXTERIOR: SIDE MOULDING: INSTALLATION; 2015 MY Tundra [...

(1) Using a heat light, heat the vehicle body and a new rear

body No. 3 protector LH.

body No. 3 protector LH.

HINT:

When installing the lower No. 1 side panel moulding LH, heat the vehicle body and lower No. 1 side panel

moulding LH using a heat light.

Standard:

ITEM

TEMPERATURE

Vehicle Body

40 to 60°C (104 to 140°F)

Lower No. 1 Side Panel Moulding LH

20 to 30°C (68 to 86°F)

NOTICE:

Do not heat the vehicle body or lower No. 1 side panel moulding LH excessively.

(a) Clean the vehicle body surface.

(1) Using a heat light, heat the vehicle body surface.

(2) Remove the double-sided tape from the vehicle body.

(3) Wipe off any tape adhesive residue with cleaner.

(b) for Regular Cab:

(1) Using a heat light, heat the vehicle body and lower No. 1 side panel moulding LH.

After removing the peeling paper, keep the exposed adhesive free from foreign matter.

(3) Attach the 2 clips to install a new lower No. 1 side panel moulding LH.

HINT:

Press the lower No. 1 side panel moulding LH firmly to install it.

(c) for Double Cab:

(1) Using a heat light, heat the vehicle body and lower No. 1 side panel moulding LH.

EXTERIOR: SIDE MOULDING: INSTALLATION; 2015 MY Tundra [...

After removing the peeling paper, keep the exposed adhesive free from foreign matter.

(3) Attach the 2 clips to install a new lower No. 1 side panel moulding LH.

HINT:

Press the lower No. 1 side panel moulding LH firmly to install it.

(d) for CrewMax:

(1) Using a heat light, heat the vehicle body and lower No. 1 side panel moulding LH.

After removing the peeling paper, keep the exposed adhesive free from foreign matter.

(3) Attach the 2 clips to install a new lower No. 1 side panel moulding LH.

HINT:

Press the lower No. 1 side panel moulding LH firmly to install it.

EXTERIOR: SIDE MOULDING: INSTALLATION; 2015 MY Tundra [...

Last Modified: 9-16-2014

6.6 K

Doc ID: RM000002W7U00BX

Model Year: 2015

Model: Tundra

Prod Date Range: [08/2014 -           ]

Title: EXTERIOR: SIDE STEP: COMPONENTS; 2015 MY Tundra [08/2014 -        ]

COMPONENTS

ILLUSTRATION

EXTERIOR: SIDE STEP: COMPONENTS; 2015 MY Tundra [08/2014 - ...


Content   ..  2929  2930  2931  2932   ..