Toyota Tundra (2015 year). Manual - part 2400


  Index      Toyota     Toyota Tundra (2015 year) - Service and Repair Manual


Search            copyright infringement  


Content   ..  2398  2399  2400  2401   ..


Toyota Tundra (2015 year). Manual - part 2400


(b) Attach the 4 clips to install the front quarter trim panel assembly LH.

(c) Install the 2 bolts.

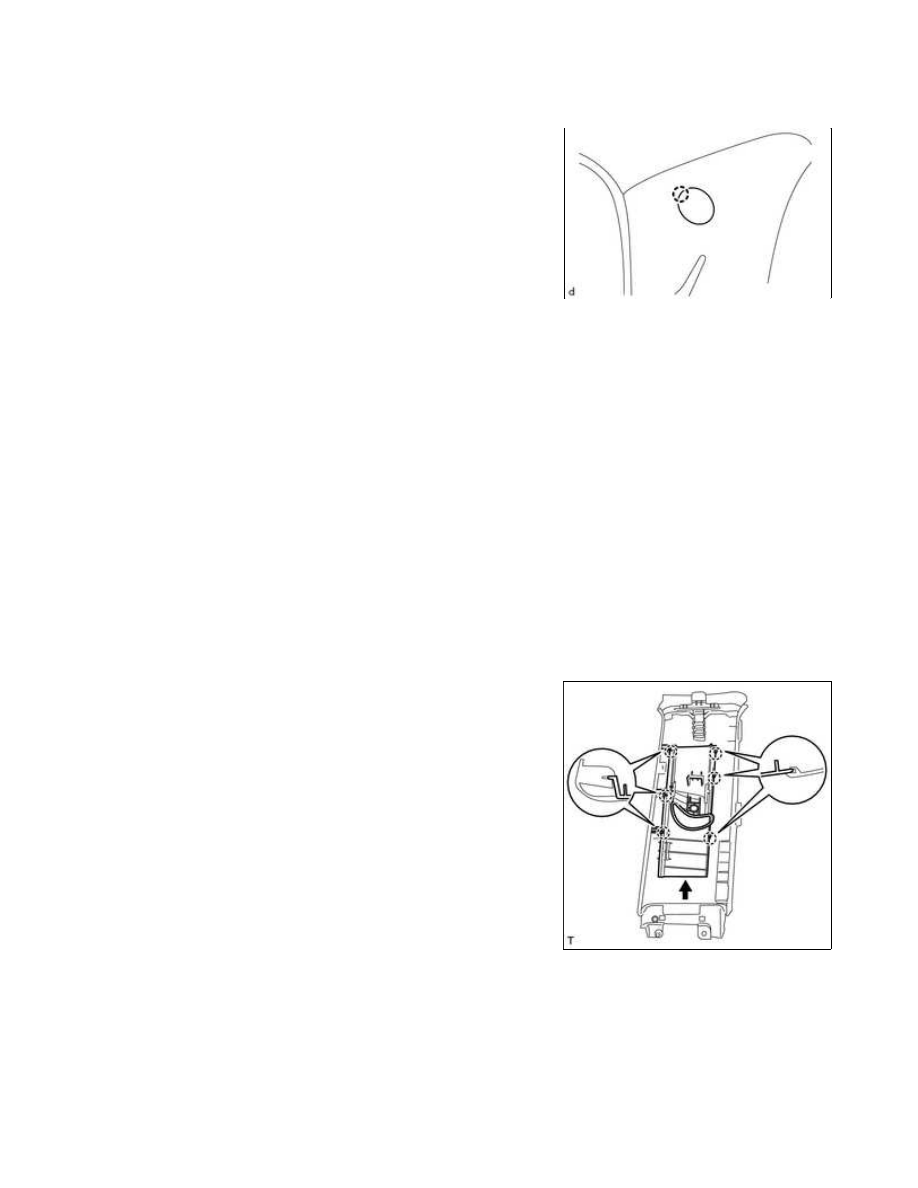
(d) Attach the claw to close the cover.

12. INSTALL FRONT QUARTER TRIM PANEL ASSEMBLY RH

HINT:

Use the same procedure described for the LH side.

13. INSTALL LOWER QUARTER TRIM PANEL ASSEMBLY LH

(a) Attach the 6 clips to install the lower quarter trim panel assembly LH.

(b) Connect the rear seat outer belt assembly with the bolt.

Torque:

42 N·m {428 kgf·cm, 31ft·lbf}

(c) Attach the 2 claws to install the cover.

14. INSTALL LOWER QUARTER TRIM PANEL ASSEMBLY RH

HINT:

Use the same procedure described for the LH side.

15. INSTALL FRONT SHOULDER BELT ANCHOR PLATE

SUB-ASSEMBLY LH

(a) Slide the front shoulder belt anchor plate sub-assembly LH in the

HINT:

Use the same procedure described for the LH side.

17. INSTALL CENTER PILLAR GARNISH LH

(b) Attach the guide and clip to install the center pillar garnish LH.

(c) Install the bolt.

(d) Install the rear assist grip assembly to the center pillar garnish LH with the 2 bolts.

(e) Attach the 2 claws to close the 2 assist grip covers.

18. INSTALL CENTER PILLAR GARNISH RH

HINT:

Use the same procedure described for the LH side.

19. INSTALL LOWER CENTER PILLAR GARNISH LH

(a) Attach the 7 clips and 2 claws to install the lower center pillar garnish LH.

(b) Connect the front seat outer belt assembly LH with the bolt.

Torque:

42 N·m {428 kgf·cm, 31ft·lbf}

(c) Attach the 2 claws to install the cover.

20. INSTALL LOWER CENTER PILLAR GARNISH RH

HINT:

Use the same procedure described for the LH side.

21. INSTALL FRONT PILLAR GARNISH LH

(a) Attach the clip to install the front pillar garnish LH.

(b) Install the bolt.

(c) Attach the claw to close the cover.

22. INSTALL FRONT PILLAR GARNISH RH

INTERIOR: ROOF HEADLINING (for Double Cab): INSTALLATION; ...

(a) Attach the clip to install the front pillar garnish RH.

(b) Install the front assist grip sub-assembly to the front pillar garnish RH with the 2 bolts.

(c) Attach the 2 claws to close the 2 assist grip covers.

23. INSTALL REAR DOOR OPENING TRIM WEATHERSTRIP LH

(a) Install the rear door opening trim weatherstrip LH.

24. INSTALL REAR DOOR OPENING TRIM WEATHERSTRIP RH

HINT:

Use the same procedure described for the LH side.

25. INSTALL FRONT DOOR OPENING TRIM WEATHERSTRIP LH

(a) Install the front door opening trim weatherstrip LH.

26. INSTALL FRONT DOOR OPENING TRIM WEATHERSTRIP RH

HINT:

Use the same procedure described for the LH side.

27. INSTALL COWL SIDE TRIM BOARD LH

(a) Attach the 2 clips to install the cowl side trim board LH.

(b) Install the nut.

28. INSTALL COWL SIDE TRIM BOARD RH

HINT:

Use the same procedure described for the LH side.

29. INSTALL REAR DOOR SCUFF PLATE LH

(a) Attach the 6 claws and 2 clips to install the rear door scuff plate LH.

30. INSTALL REAR DOOR SCUFF PLATE RH

HINT:

Use the same procedure described for the LH side.

31. INSTALL FRONT DOOR SCUFF PLATE LH

(a) Attach the 6 claws and 3 clips to install the front door scuff plate LH.

INTERIOR: ROOF HEADLINING (for Double Cab): INSTALLATION; ...

32. INSTALL FRONT DOOR SCUFF PLATE RH

HINT:

Use the same procedure described for the LH side.

33. INSTALL REAR SEAT ASSEMBLY

34. INSTALL FRONT SEAT ASSEMBLY (for Center Seat)

35. INSTALL FRONT SEAT ASSEMBLY (for Manual Seat)

36. INSTALL FRONT SEAT ASSEMBLY (for Power Seat)

37. CONNECT CABLE TO NEGATIVE BATTERY TERMINAL

NOTICE:

When disconnecting the cable, some systems need to be initialized after the cable is reconnected 


.

38. CHECK SRS WARNING LIGHT

INTERIOR: ROOF HEADLINING (for Double Cab): INSTALLATION; ...


Content   ..  2398  2399  2400  2401   ..