Content .. 1146 1147 1148 1149 ..
Subaru Legacy IV (2008 year). Manual - part 1148
EB-12
General Description
EXTERIOR BODY PANELS
C: CAUTION
• Exterior body panels are heavy. Do not drop and damage the panels. During removal and installation, do
not damage the panel painting surface.
• While removing mounting bolts, using assistance devices such as a support jack will help support the pan-
el.
• Be careful not to lose small parts.
D: PREPARATION TOOL
1. SPECIAL TOOL
2. GENERAL TOOL
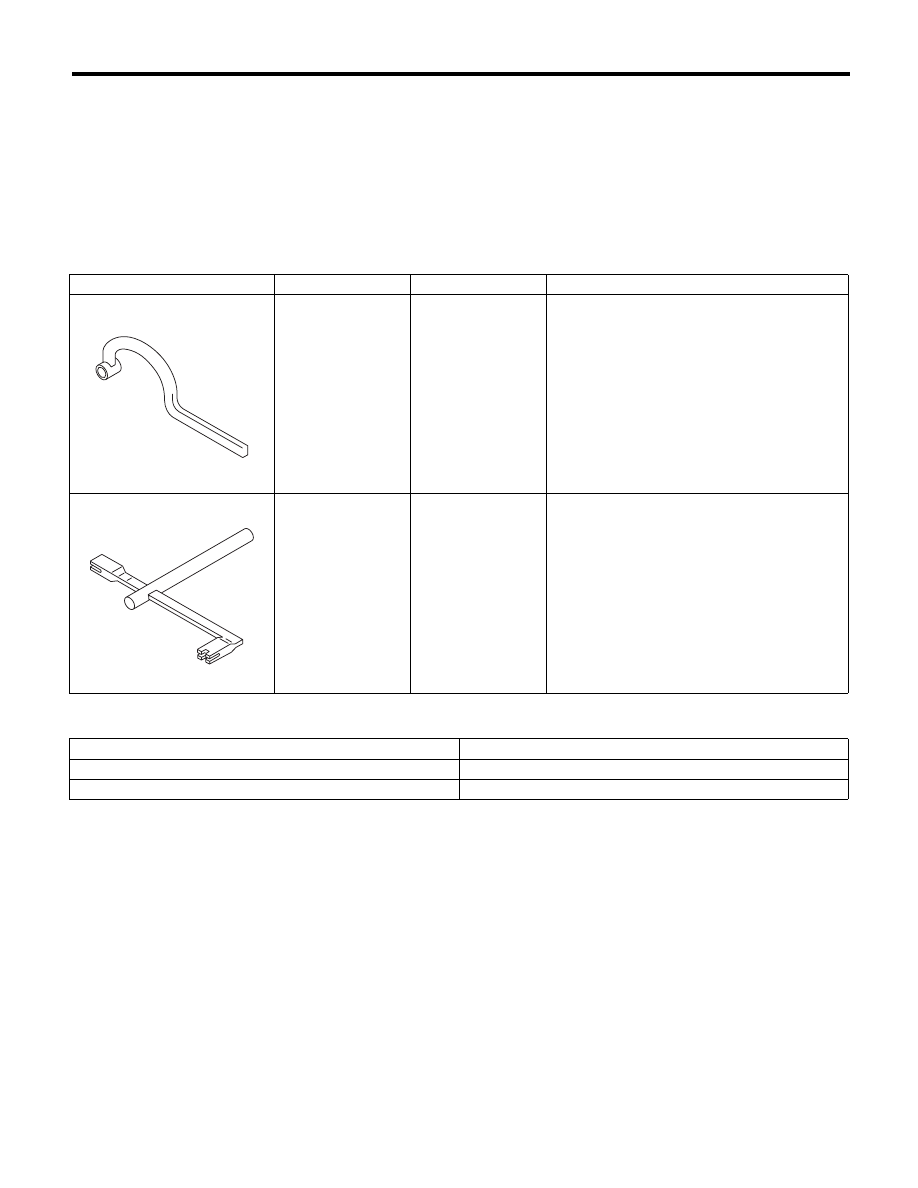
ILLUSTRATION
TOOL NUMBER
DESCRIPTION
REMARKS
925610000
WRENCH
Used for removing and installing door hinge.
927780000
REMOVER
Used for removing and installing the trunk tor-
sion bar.
TOOL NAME
REMARKS
Support jack
Used for supporting door panel.
Clip remover
Used for removing various types of clips.
ST-925610000
ST-927780000