Content .. 1137 1138 1139 1140 ..
Subaru Legacy IV (2008 year). Manual - part 1139
EI-55
Center Console
EXTERIOR/INTERIOR TRIM
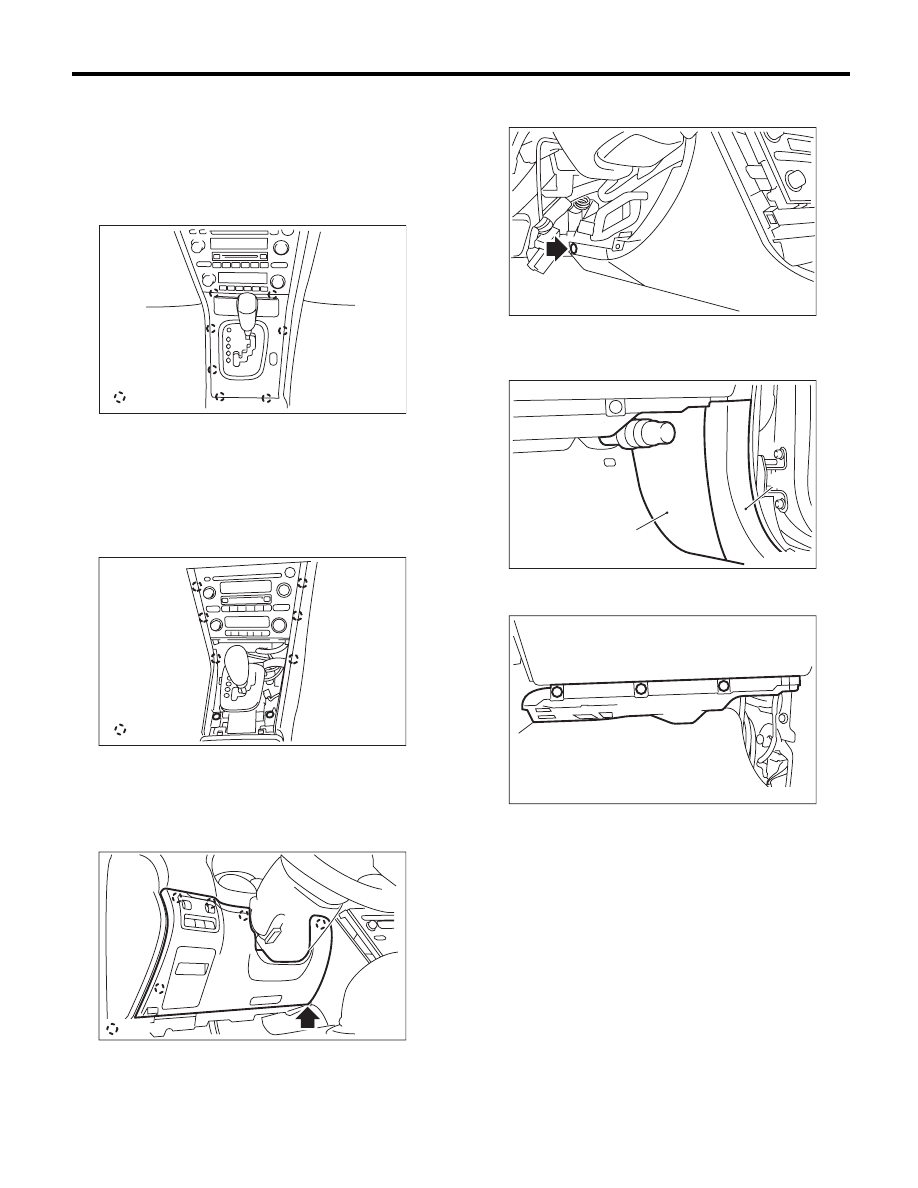
21.Center Console
A: REMOVAL
1) Disconnect the ground cable from the battery.
2) Remove the console box. <Ref. to EI-54, RE-
MOVAL, Console Box.>
3) Remove the console front panel.
NOTE:
For the AT model, remove the ring indicator.
For the MT model, remove the shift knob.
4) Loosen the screw, remove the hook, and re-
move the console side garnish.
5) Remove the instrument panel lower cover. <Ref.
to EI-51, REMOVAL, Instrument Panel Lower Cov-
er.>
6) Remove the clip at the tip of the console side
panel.
7) Remove the passenger’s side front inside scuff
plate (A) and front pillar lower trim (B). <Ref. to EI-
61, REMOVAL, Lower Inner Trim.>
8) Remove the clips, and remove the glove box
lower cover.
(A) Hook
(A) Hook
EI-00761
: (A)
EI-00762
: (A)
EI-01728
(A)
:(B)
EI-00769
EI-00763
(B)
(A)
EI-00764