Content .. 1076 1077 1078 1079 ..
Subaru Legacy IV (2008 year). Manual - part 1078
GW-39
Wiper Deicer Switch
GLASS/WINDOWS/MIRRORS
21.Wiper Deicer Switch
A: REMOVAL
1) Remove the instrument panel lower cover. <Ref.
to EI-51, REMOVAL, Instrument Panel Lower Cov-
er.>
2) Disconnect the harness connector and remove
wiper deicer switch.
B: INSTALLATION
Install in the reverse order of removal.
C: INSPECTION
1. CHECK WITH SUBARU SELECT
MONITOR
CAUTION:
Check whether the wiper deicer timer is in ini-
tial setting or customize setting before perform-
ing inspection.
1) Check the input signal when the wiper deicer
switch is operated using Subaru Select Monitor.
(1) Prepare the Subaru Select Monitor kit. <Ref.
to GW-7, PREPARATION TOOL, General De-
scription.>
(2) Turn the ignition switch to ON (engine OFF)
and run the “PC application for Subaru Select
Monitor”.
(3) On the «System Selection Menu» display,
select the {Integ. unit mode}.
(4) Select the {Current Data Display & Save}.
(5) Display the data of wiper deicer switch.
2) After the wiper deicer switch is set to ON, check
whether it turns OFF in 15 minutes or operates con-
tinuously.
3) When it becomes OFF on above 2), it is normal.
When it operates continuously, replace the body in-
tegrated unit.
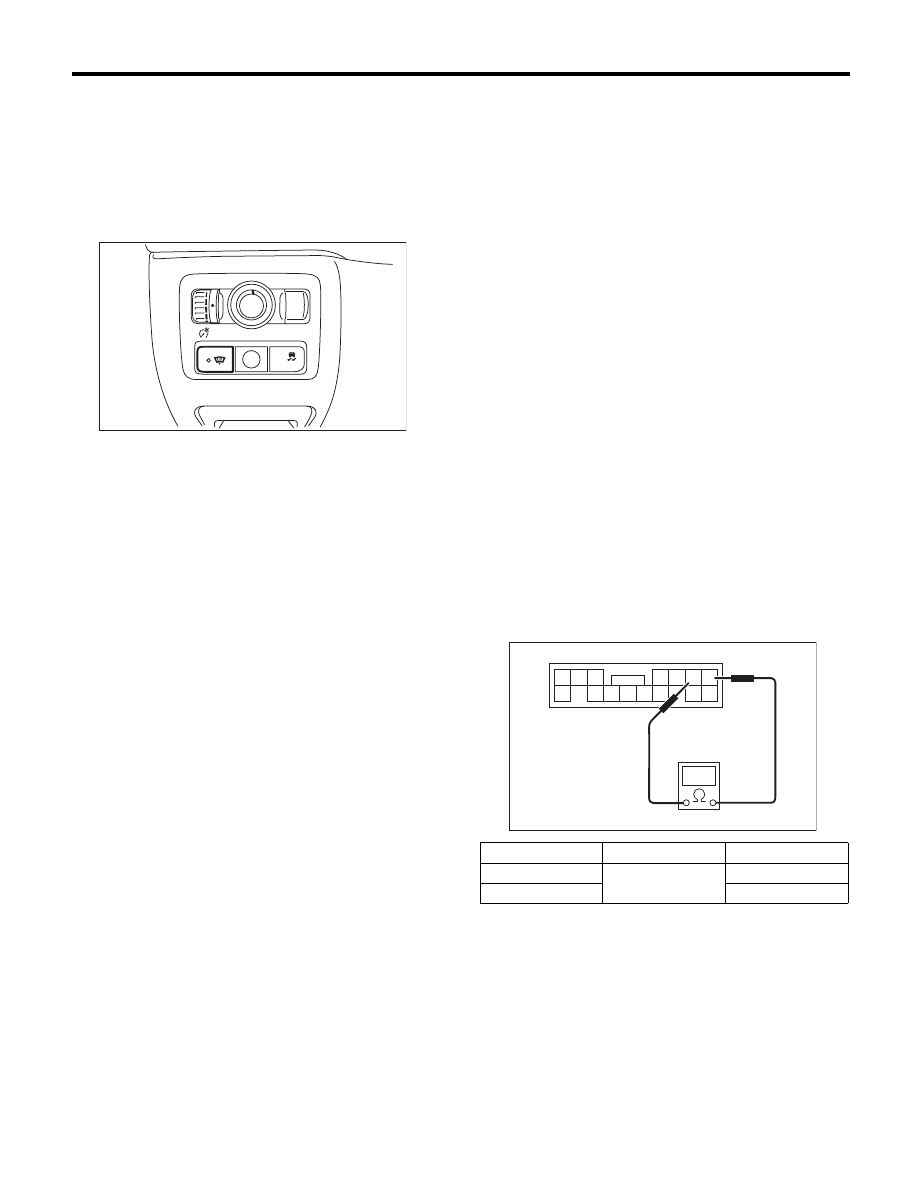
2. CHECK SWITCH
Remove the wiper deicer switch, and measure the
switch resistance.
Replace the wiper deicer switch if faulty.
L
R
OFF
OFF
GW-00392
Switch position
Terminal No.
Standard
OFF
1 and 2
1 M
: or more
ON
Less than 1
:
GW-00330
9
14
7 6 5
4 3 2 1
8
13
11 10
15
12