Content .. 1068 1069 1070 1071 ..
Subaru Legacy IV (2008 year). Manual - part 1070
GW-7
General Description
GLASS/WINDOWS/MIRRORS
C: PREPARATION TOOL
1. SPECIAL TOOL
2. GENERAL TOOL
ILLUSTRATION
TOOL NUMBER
DESCRIPTION
REMARKS
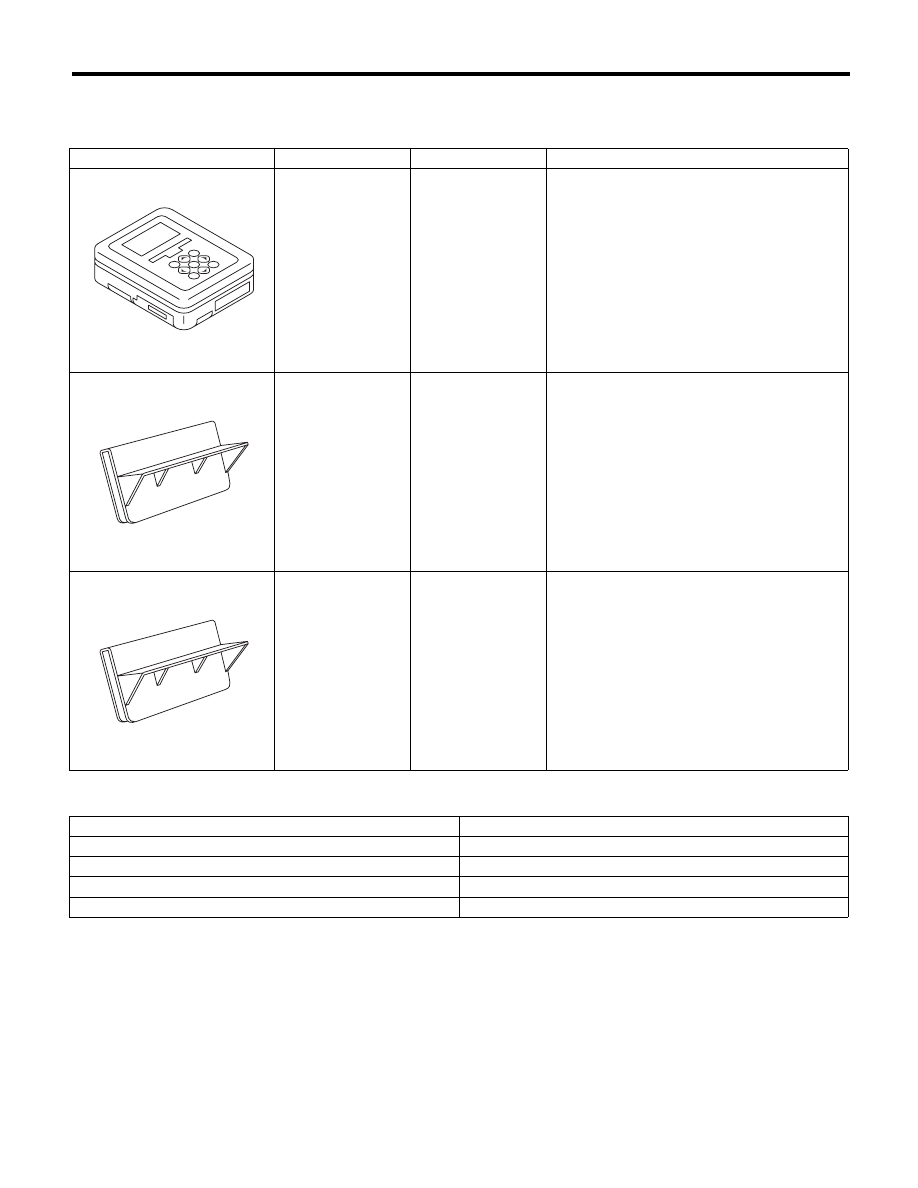
1B022XU0
SUBARU SELECT
MONITOR III KIT
Used for setting of each function and trouble-
shooting for electrical system.
61299AE000
SPACER
Used for adjusting the upper end position of the
front door glass. (Glass thickness: 5 mm (0.197
in))
61299AE010
SPACER
Used for adjusting the upper end position of rear
door glass. (Glass thickness: 4 mm (0.157 in))
TOOL NAME
REMARKS
Circuit tester
Used for checking voltage and continuity.
Piano wire
Used for removing the window glass.
Windshield glass knife
Used for removing the window glass.
TORX
®
T20
Used for removing and installing the rearview mirror.
ST1B022XU0
ST61299AE000
ST61299AE010