Peugeot Boxer Benne (2012 year). Instruction - part 2
2
2
1
FAMILIARISA
TION
15
Familiarisation
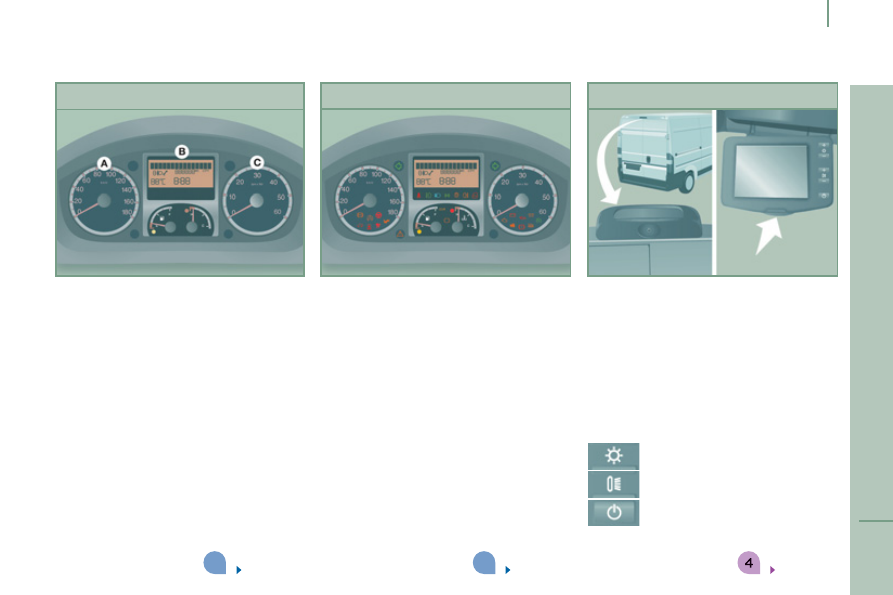
Reversing camera
The camera comes on when you engage
reverse gear and remains active up to
approximately 9 mph (15 km/h). It is
deactivated above 11 mph (18 km/h).
84
Instrument panel
A. Speedometer.
B. Instrument panel screen.
C. Rev counter.
30
Warning lamps
With the ignition on, the orange and red
warning lamps come on.
With the engine running, these warning
lamps should switch off.
If warning lamps remain on, refer to the
chapter concerned.
31
MONITORING
Buttons
Brightness adjustment.
Screen
Press the button and place the screen in the
required position.
Back-lighting adjustment.
ON/OFF provides views of the
rear without engaging reverse
gear.