Opel Frontera UBS. Manual - part 21
00 – 56 SERVICE INFORMATION
901RW032
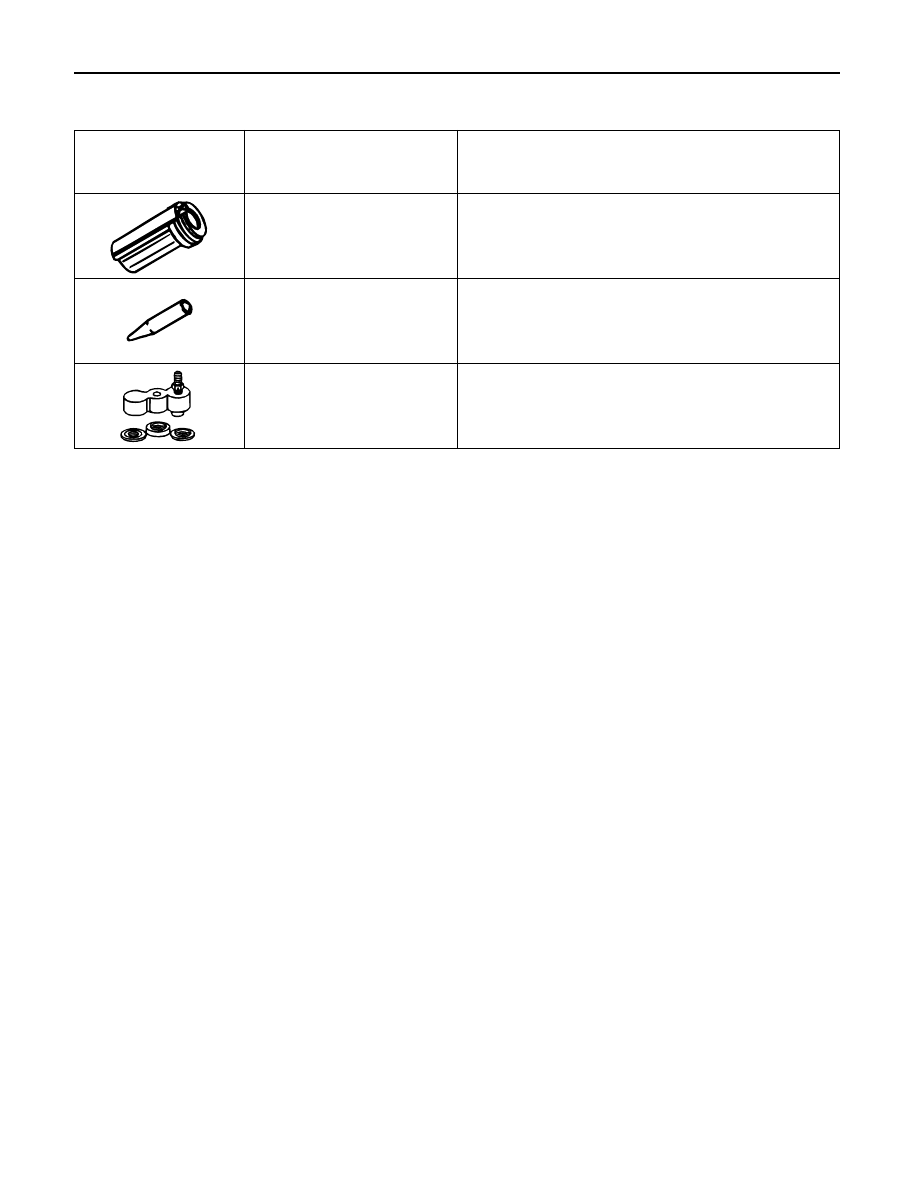
ILLUSTRATION
TOOL NO.
TOOL NAME
5-8840-2609-0
O-Ring Installer
(J-33011)
5-8840-0368-0
Shaft Seal Protector
(J-34614)
5-8840-2616-0
Pressure Testing Connector
(J-39893)
901RW026
901RW027
901RW032