Opel Frontera UE. Manual - part 460


  Index      Opel     Opel Frontera UE - service repair manual 1999-2001 year


Search            


Content   ..  458  459  460  461   ..


Opel Frontera UE. Manual - part 460


WIPER/WASHER SYSTEM

8B–3

Windshield Washer Motor

Removal

1. Disconnect the battery ground cable.

2. Remove the fender inner liner (right side).

3. Disconnect the windshield washer motor connector 

and the rear washer motor connector.

4. Disconnect the windshield washer hose connector 

and the rear washer hose connector.

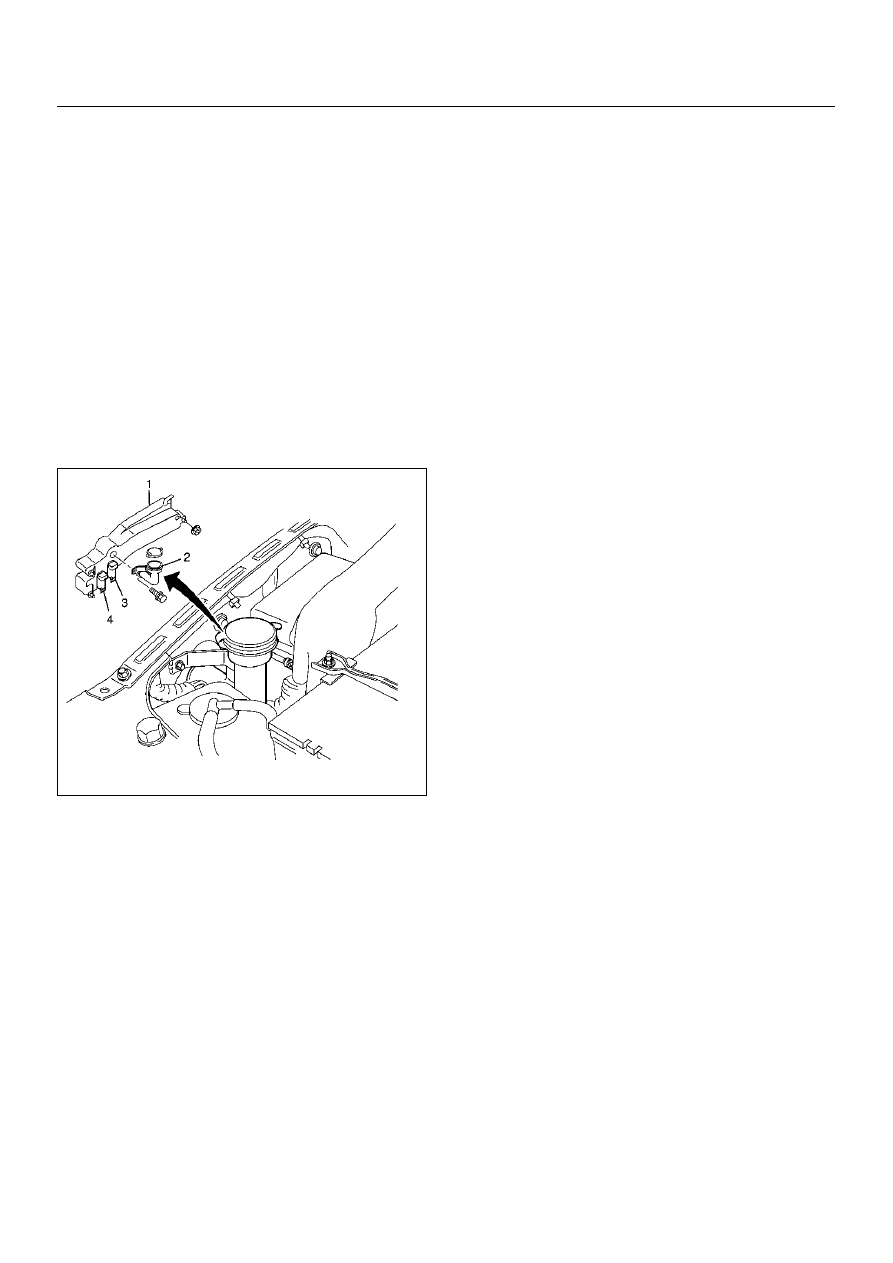
5. Remove the filler neck (2).

• Remove the bolt.

6. Remove the washer tank (1).

• Remove the three nuts.

7. Pull out the windshield washer motor (4) from the 

washer tank.

880RW028

Installation

To install, follow the removal steps in the reverse order.

8B–4

WIPER/WASHER SYSTEM

Windshield Washer Spray Pattern

880RW024

Legend

EndOFCallout

(1) Spray Target
(2) Washer Nozzle

WIPER/WASHER SYSTEM

8B–5

Windshield Wiper Linkage

Windshield Wiper Linkage and Associated Parts

880RW026-1

Legend

EndOFCallout

Removal

1. Disconnect the battery ground cable.

2. Remove the windshield wiper arm/blade.

3. Remove the vent cowl cover.

4. Remove the windshield wiper motor.

5. Remove the pivot assembly mounting nuts, fixing 

screws.

6. Take out the windshield wiper linkage assembly 

from the opening of the cowl.

Installation

To install, follow the removal steps in the reverse order.

(1) Windshield Wiper Arm/Blade
(2) Vent Cowl Cover
(3) Windshield Wiper Linkage Assembly

(4) Windshield Wiper Motor
(5) Windshield Wiper Arm Nut

8B–6

WIPER/WASHER SYSTEM

Windshield Wiper Arm/Blade

Removal

1. Dry the cap(2) off with the tip of a screwdriver.

2. Remove the nut.

3. Remove the wiper arm/blade(1).

880RW023

Installation

To install, follow the removal steps in the reverse order, 
noting the following points:

880RW027

1. Before installing the wiper arm/blade to the shaft, 

confirm that the motor stops at the autostop 
position.

2. Set the wiper arm/blade so that the tips of both 

blades are positioned about 40mm (1.57in)  from 
the upper edge of the cowl cover as shown in the 
figure.

3. Tighten the nuts to the specified torque.

Torque: 23N·m (2.3kg·m/17lbft)


Content   ..  458  459  460  461   ..