Opel Frontera UE. Manual - part 1582


  Index      Opel     Opel Frontera UE - service repair manual 1999-2001 year


Search            


Content   ..  1580  1581  1582  1583   ..


Opel Frontera UE. Manual - part 1582


7A–50

AUTOMATIC TRANSMISSION (4L30–E)

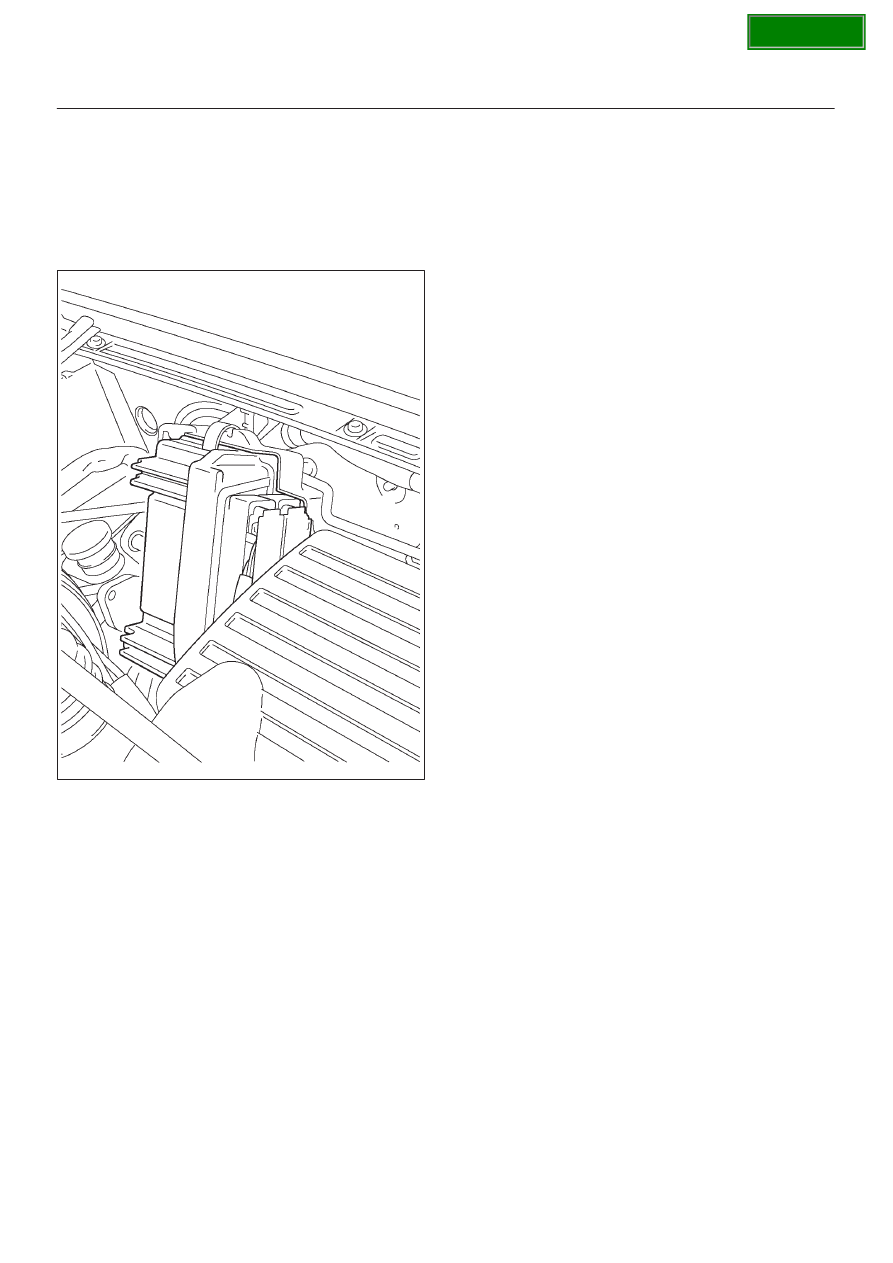
Powertrain Control Module (PCM)

Removal

1. Disconnect battery ground cable.
2. Disconnect PCM wiring harness connectors from

PCM.

3. Remove PCM from bracket.

825R100018

Installation

1. Install PCM to bracket.
2. Connect PCM wiring harness connectors to PCM.
3. Connect battery ground cable.

SECTION

7A–51

AUTOMATIC TRANSMISSION (4L30–E)

Speed Sensor (Extension Housing)

Removal

1. Disconnect battery ground cable.
2. Remove front console.
3. Remove selector lever assembly.

241RW007

4. Disconnect speed sensor harness connector from

speed sensor.

5. Remove one 10 mm screw and speed sensor with

O-ring.

Installation

1. Inspect the speed sensor O-ring, and replace it if

necessary.

2. Install speed sensor assembly and 10 mm screw.

Torque: 9 N

m (78 lb in)

3. Connect speed sensor harness connector to speed

sensor.

4. Install selector lever assembly.

D

Adjust shift lock cable.
Refer to 

Shift Lock Cable in this section.

5. Install front console.
6. Connect battery ground cable.

SECTION

7A–52

AUTOMATIC TRANSMISSION (4L30–E)

Transmission Oil Temperature Sensor (Main Case)

Removal

1. Raise the vehicle and support it on jack stands.
2. Disconnect battery ground cable.
3. Drain fluid.
4. Remove sixteen 10 mm main case oil pan fixing

screws, main case oil pan, and gasket.

5. Disconnect wiring harness from shift solenoids, band

apply solenoid, and 7 way connector of main case.
Pull only on connectors, not on wiring harness.

6. Remove wiring harness assembly with transmission

oil temperature sensor.

244RY001

Installation

1. Install wiring harness assembly with transmission oil

temperature sensor to band apply solenoid, shift
solenoids, and 7 way connector of main case.

2. Install oil pan gasket, oil pan and sixteen 10 mm fixing

screws. Tighten the screws to the specified torque.

Torque: 11 N

m (96 lb in)

3. Fill transmission through the overfill screw hole of oil

pan, using ATF DEXRON

–III.

Refer to 

Changing Transmission Fluid in this section.

4. Connect battery ground cable.

SECTION

7A–53

AUTOMATIC TRANSMISSION (4L30–E)

Front Oil Seal (Converter Housing)

Removal

1. Remove transmission assembly from the vehicle

,refer to 

Transmission (With Transfer Case) in this

section.

2. Remove torque converter from converter housing.
3. Remove three screws and oil seal ring from converter

housing.

241RW008

Installation

1. Apply clean ATF to the new oil seal ring lip.

D

Install oil seal ring to converter housing, tighten to
the specified torque.

Torque: 3 N

m (26 lb in)

2. Install torque converter to converter housing.
3. Install transmission assembly to the vehicle, refer to

Transmission (With Transfer Case) in this section.

Rear Oil Seal (Extension Housing)

Removal

1. Remove transfer case assembly from the vehicle.

Refer to 

Transfer Case in Drive Line/Axle section.

2. Remove rear oil seal from transmission extension

housing.

241RW005

Installation

1. Use J–36797 extension housing oil seal installer, and

install the rear oil seal to the transmission extension
housing.

2. Install the transfer case assembly to the vehicle.

Refer to 

Transfer Case in Drive Line/Axle section.

SECTION


Content   ..  1580  1581  1582  1583   ..