Nissan Frontier D40. Manual - part 827
PREPARATION
LU-19
< PREPARATION >
[VQ40DE]
C
D
E
F
G
H
I
J
K
L
M
A
LU
N
P
O
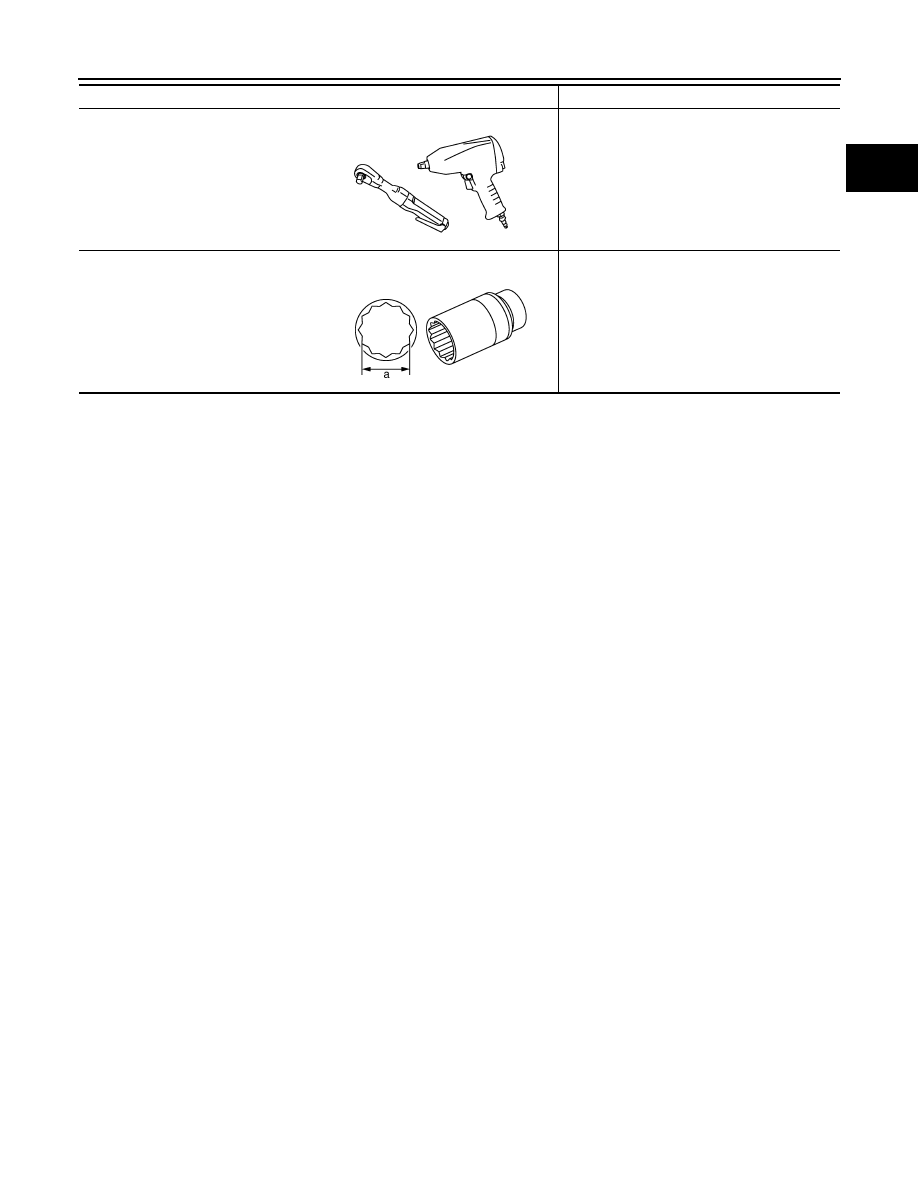
Tool name
Description
Power tool
Loosening nuts and bolts
Deep socket
Removing and installing oil pressure switch
a: 24 mm (0.94 in)
PBIC0190E
PBIC2072E